Category: Sea Turtles

  • Turtle Class Was a Success

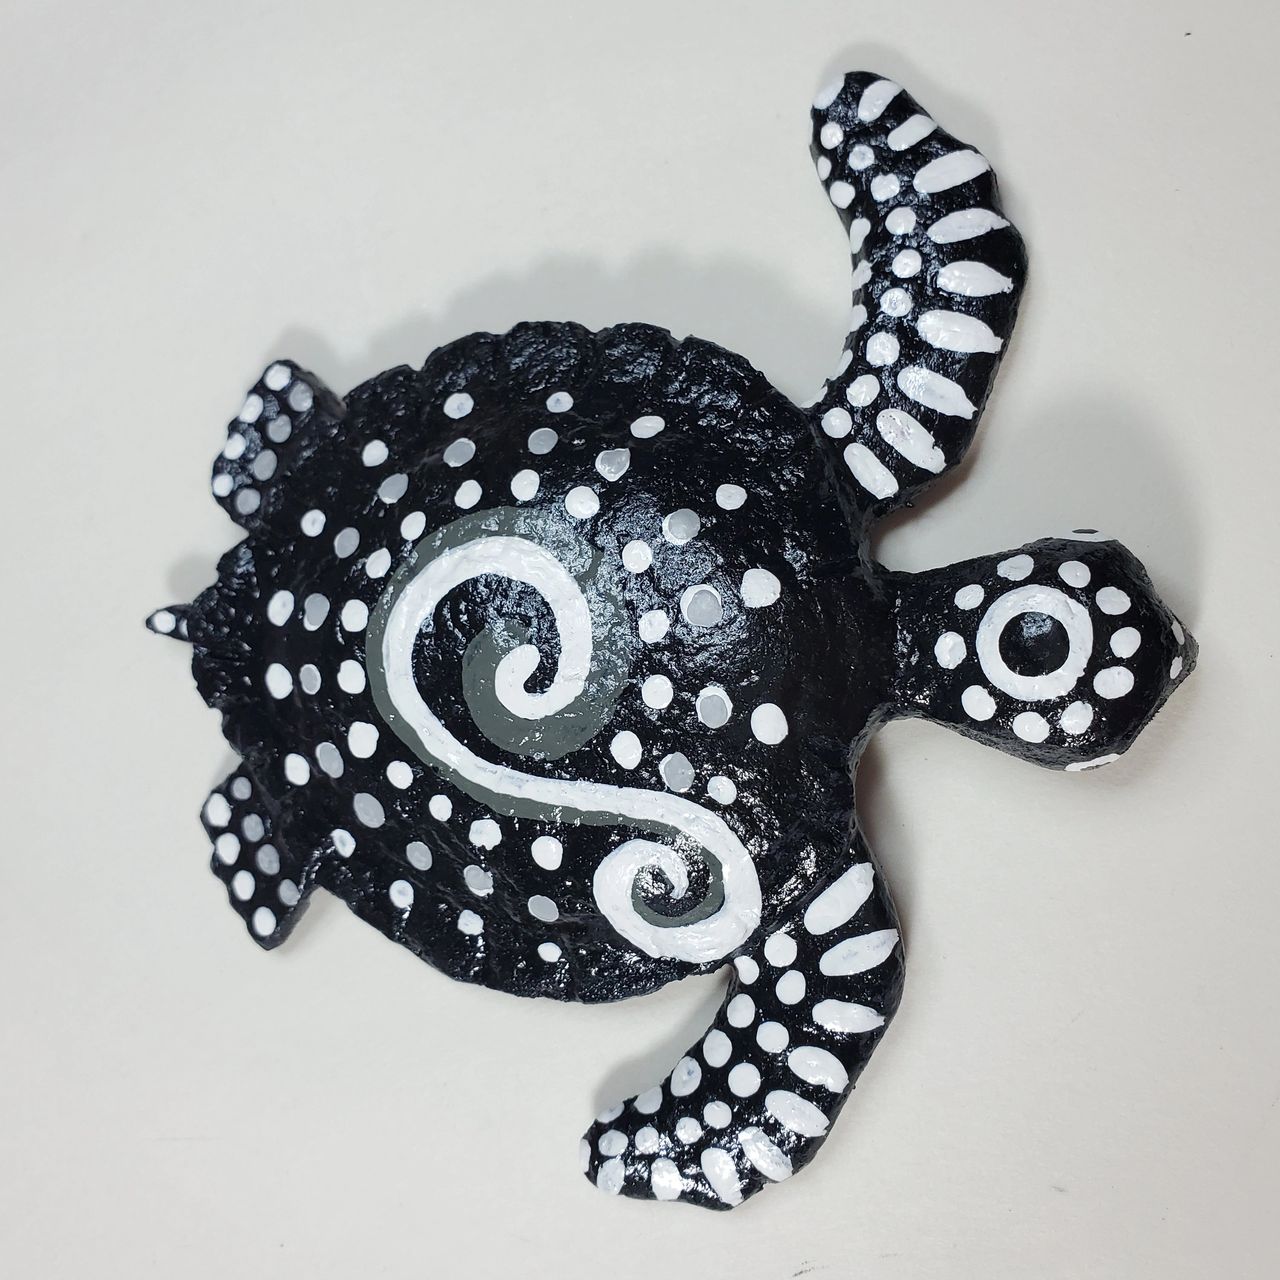
    A total of 9 people attended the class last Thursday and we had a lot of fun.

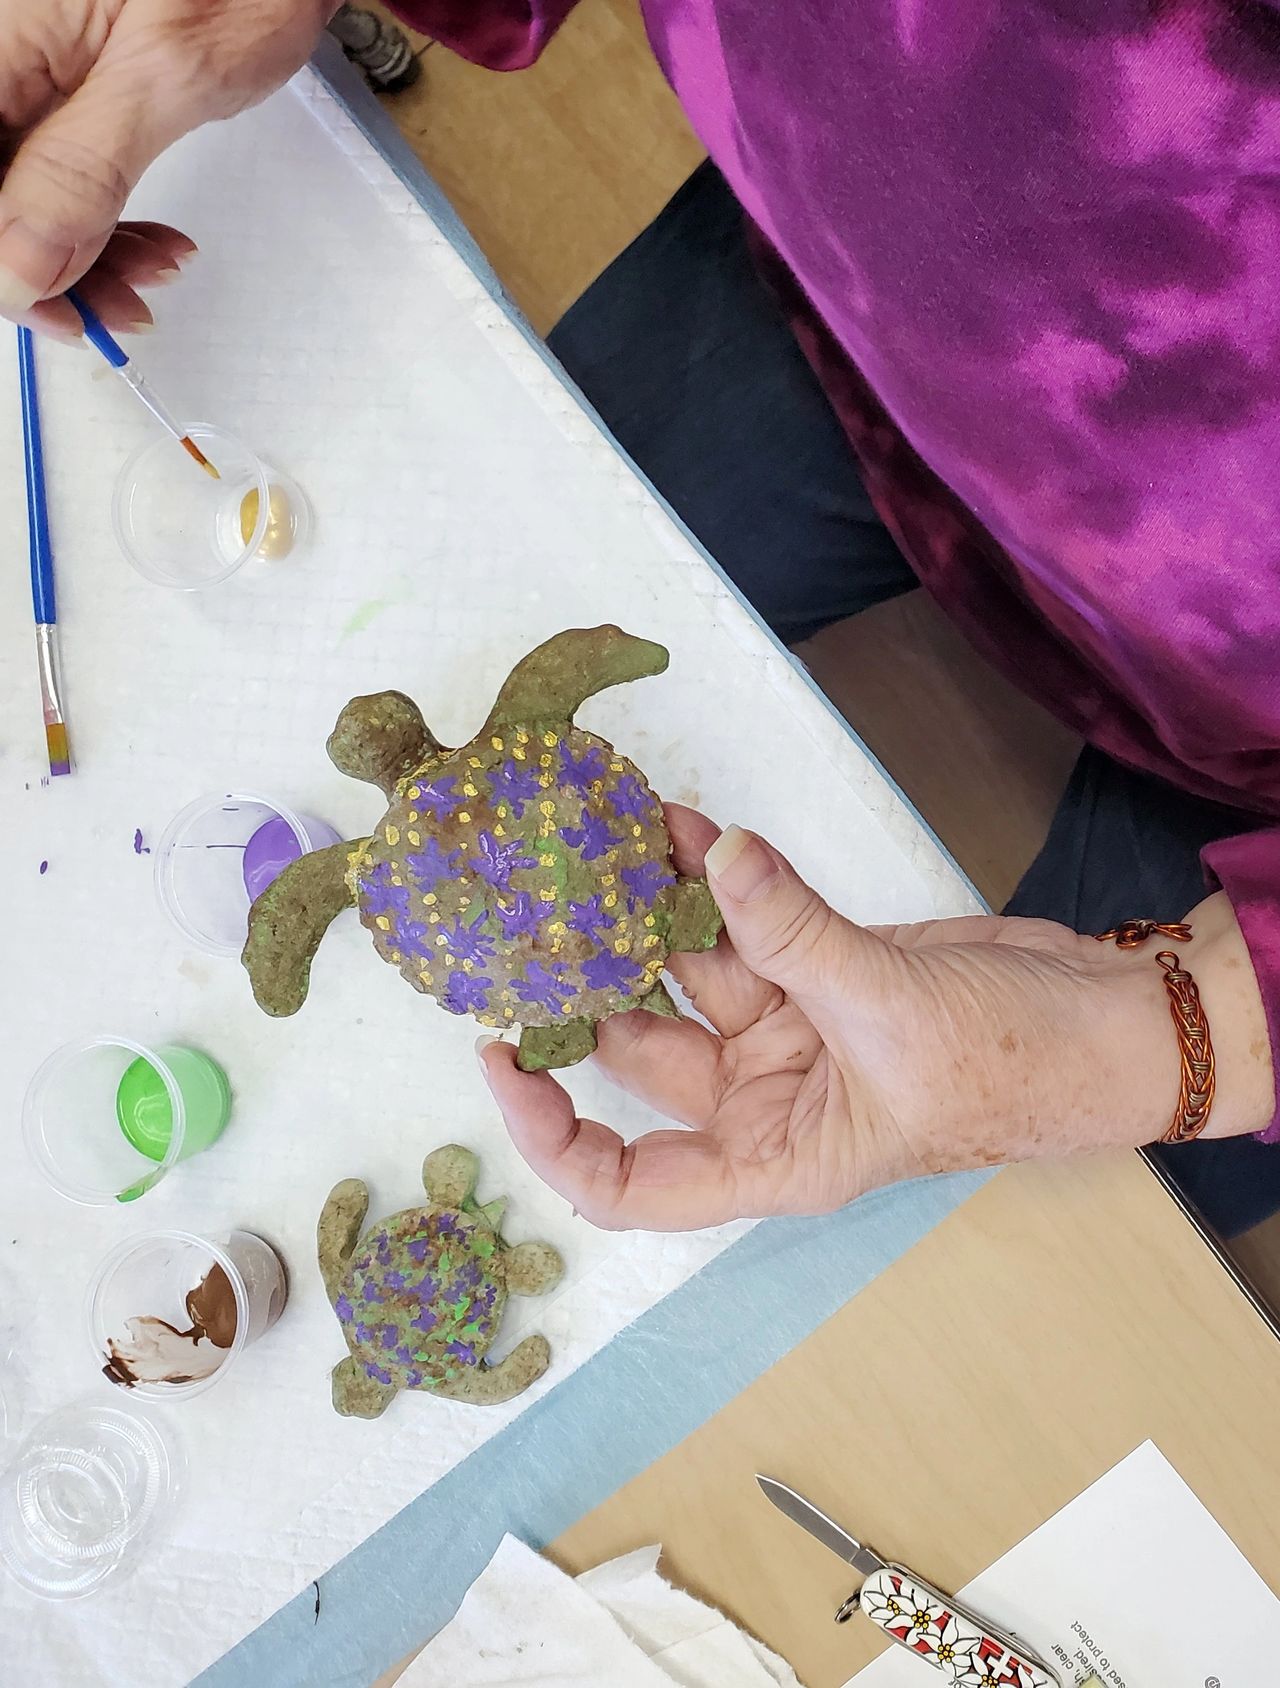
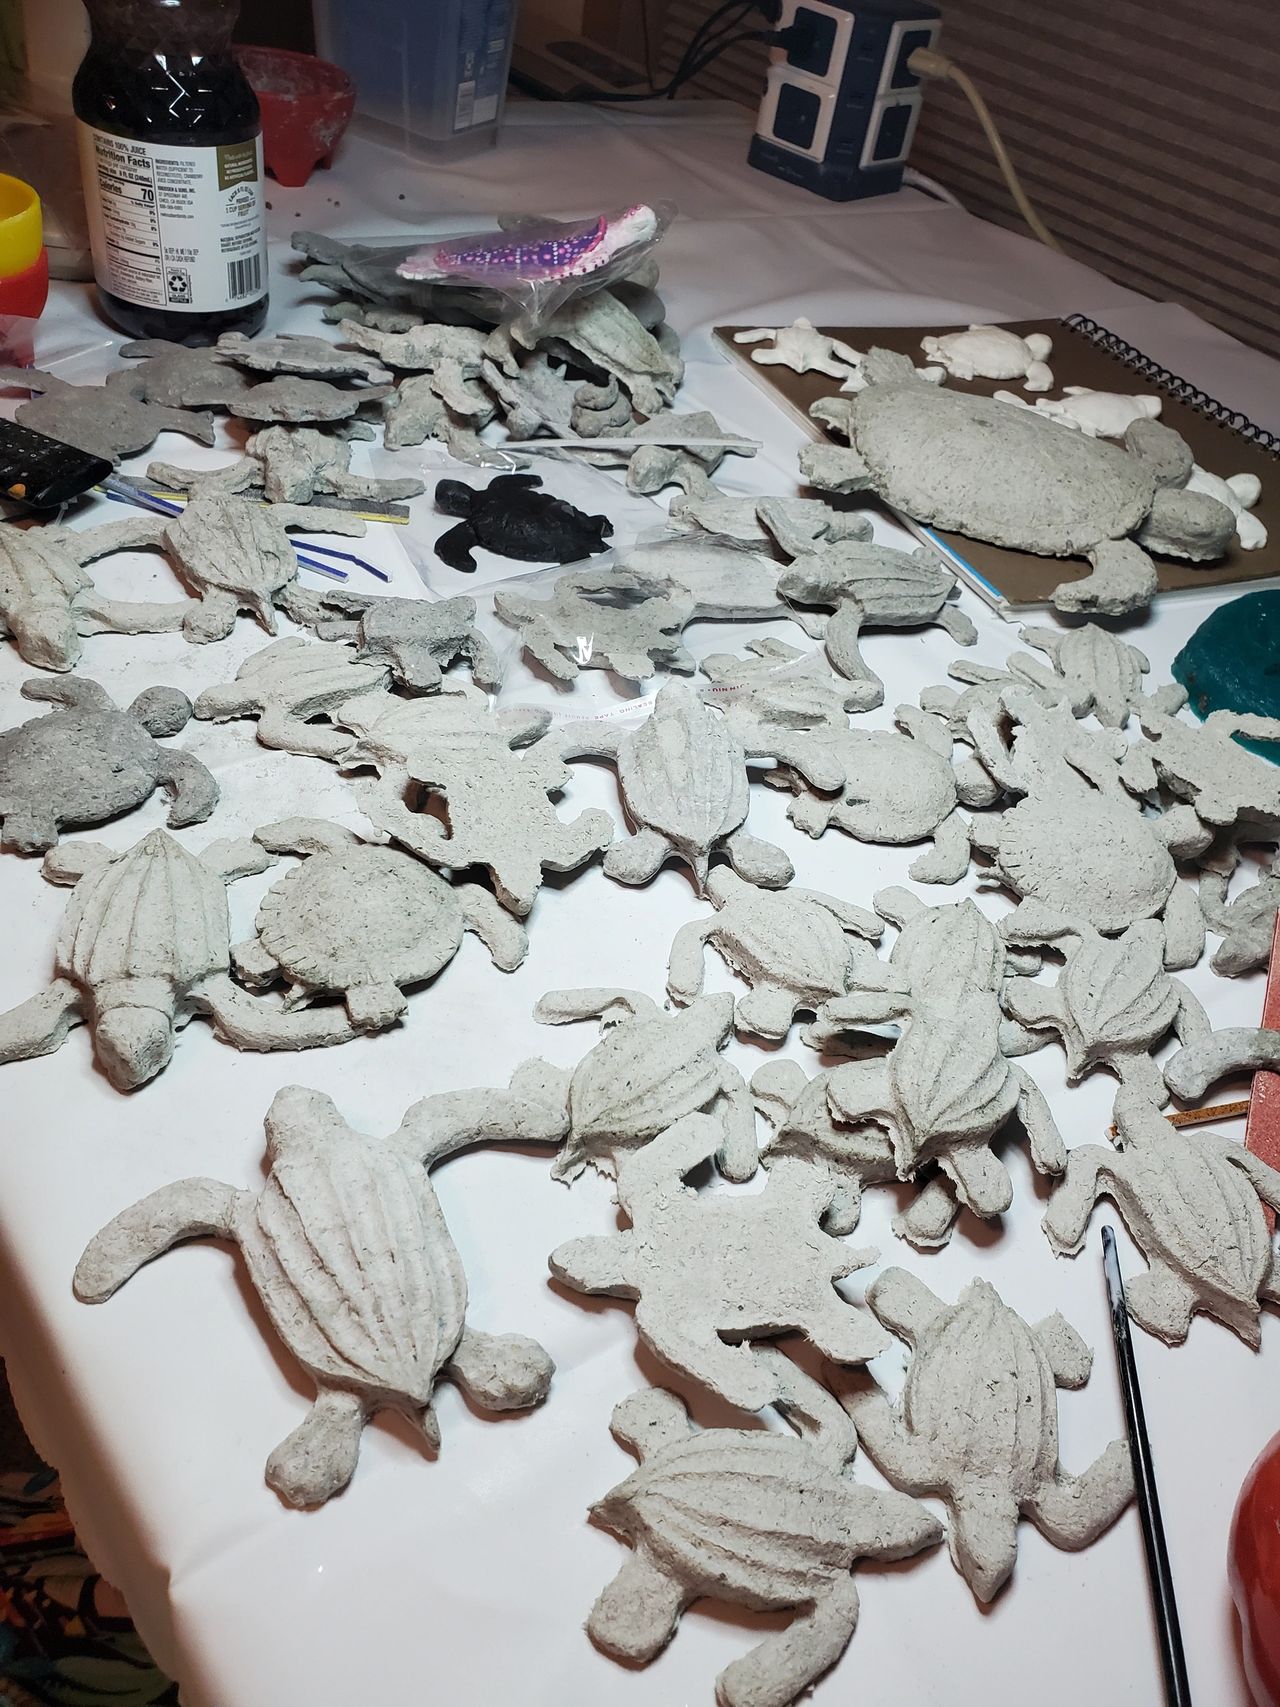
    We painted a total of 20 premade baby turtles and molded at least 20 more for baking at home.

    Most of the attendees are local artists themselves.  I am looking forward to seeing their finished turtles and learning what they do with the little beauties.

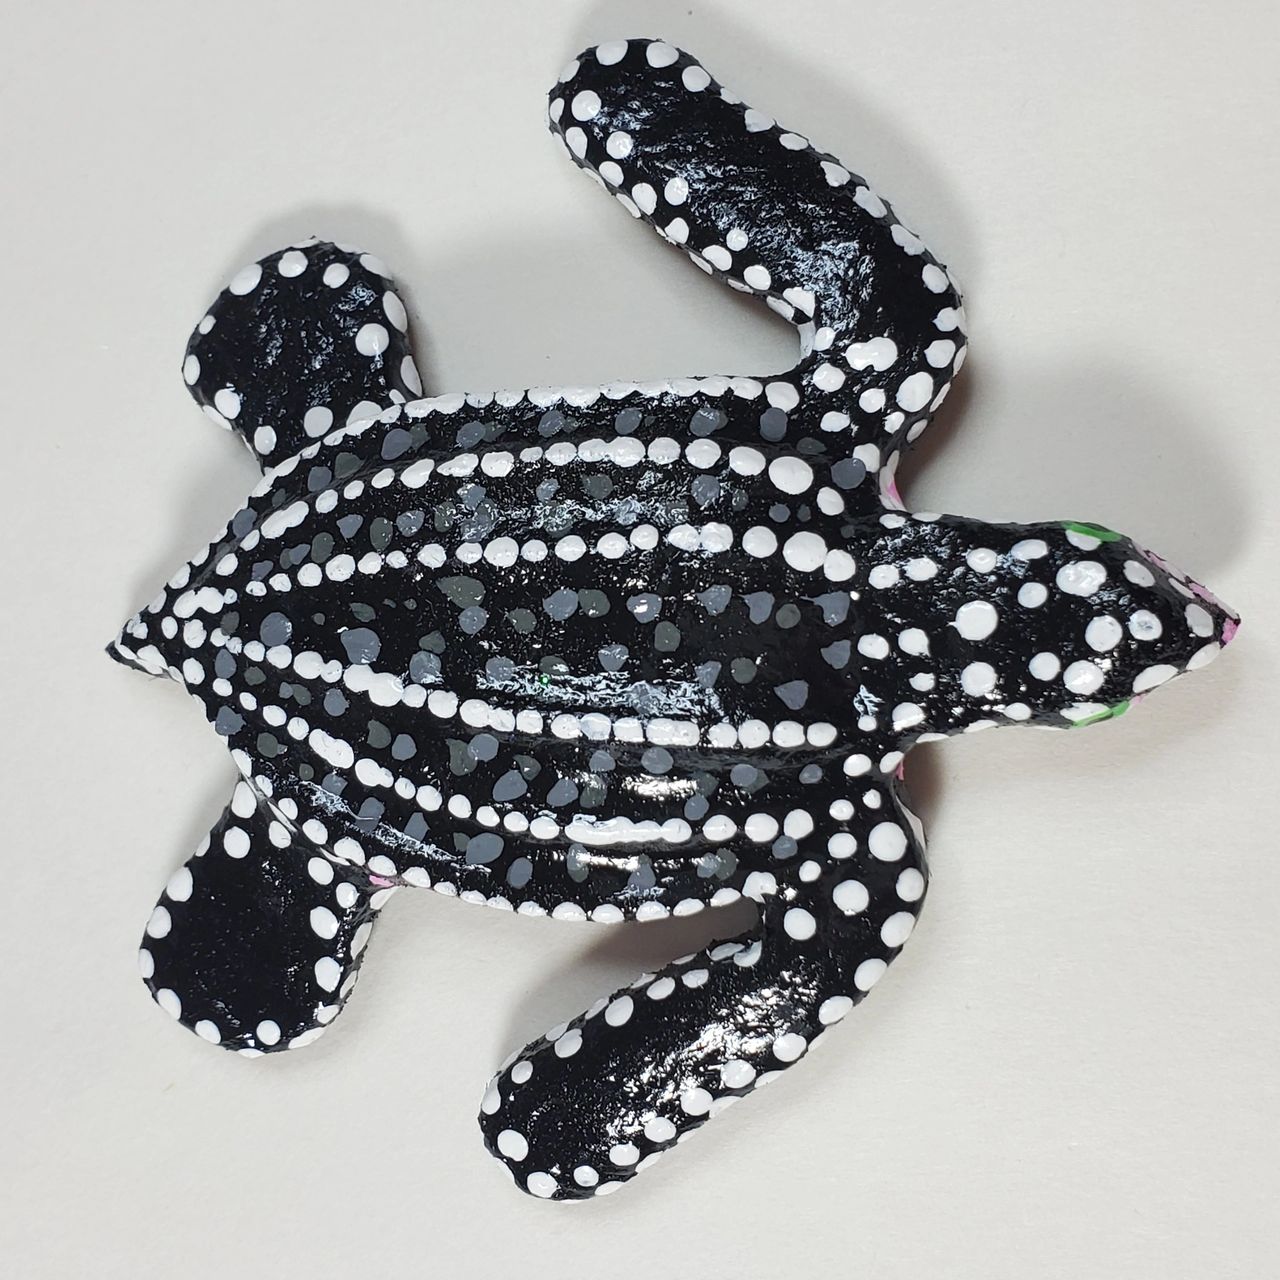
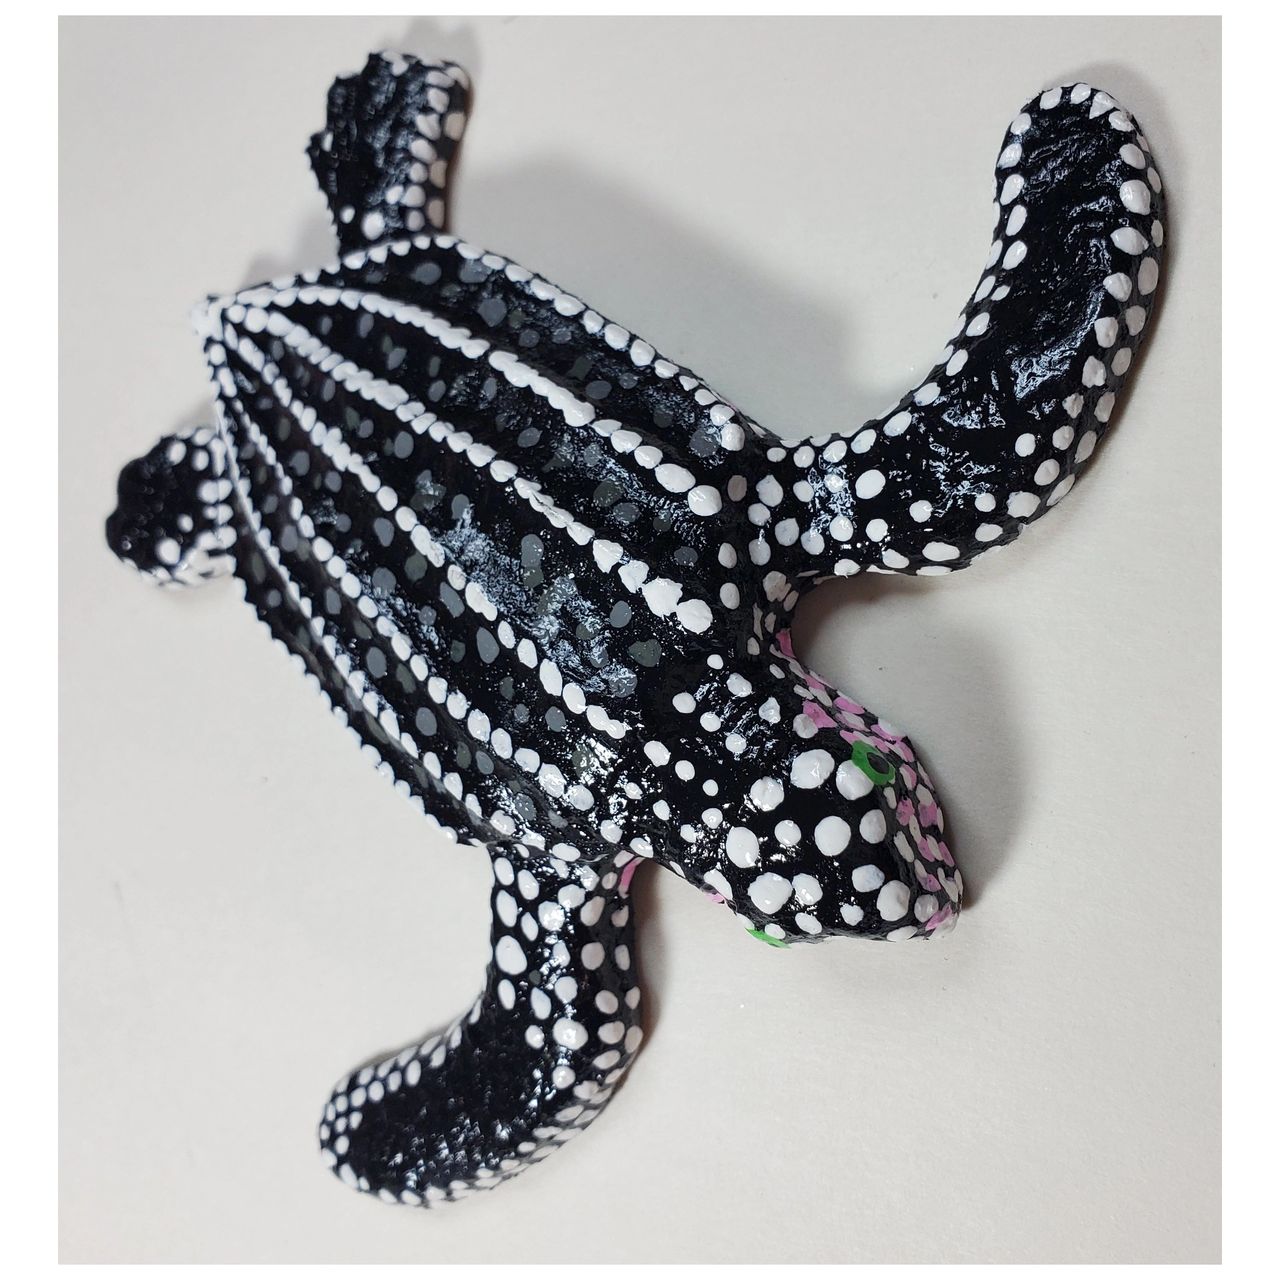
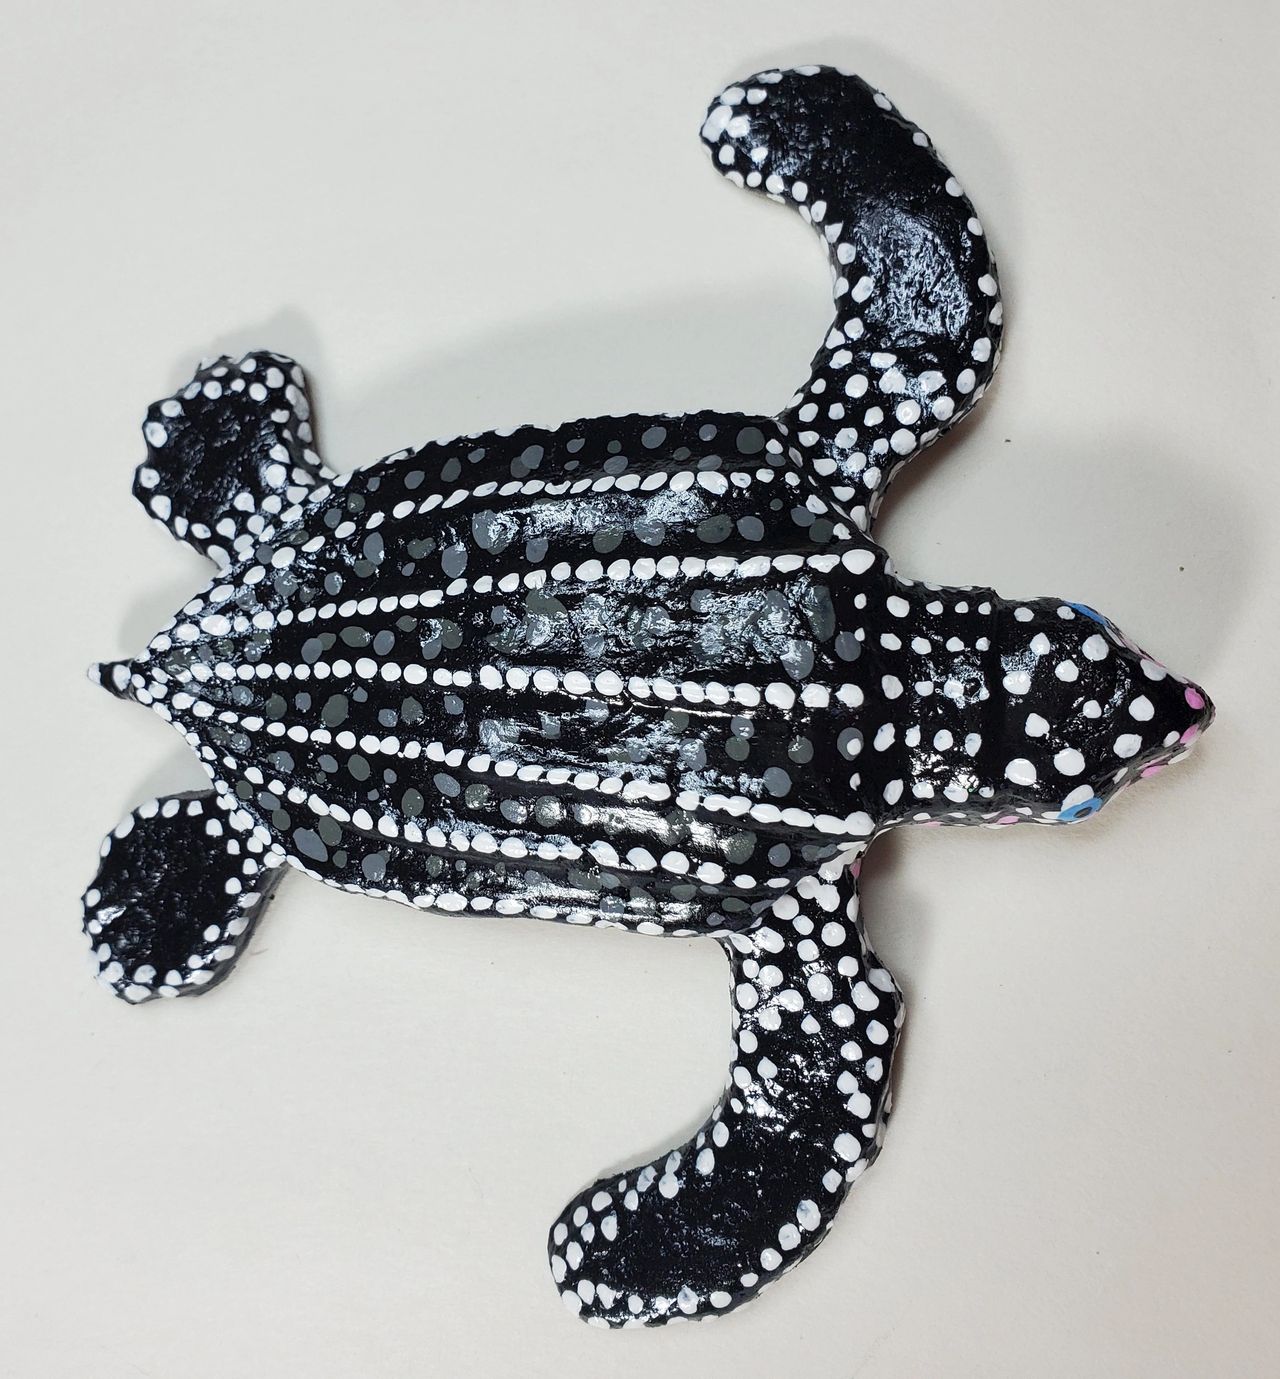
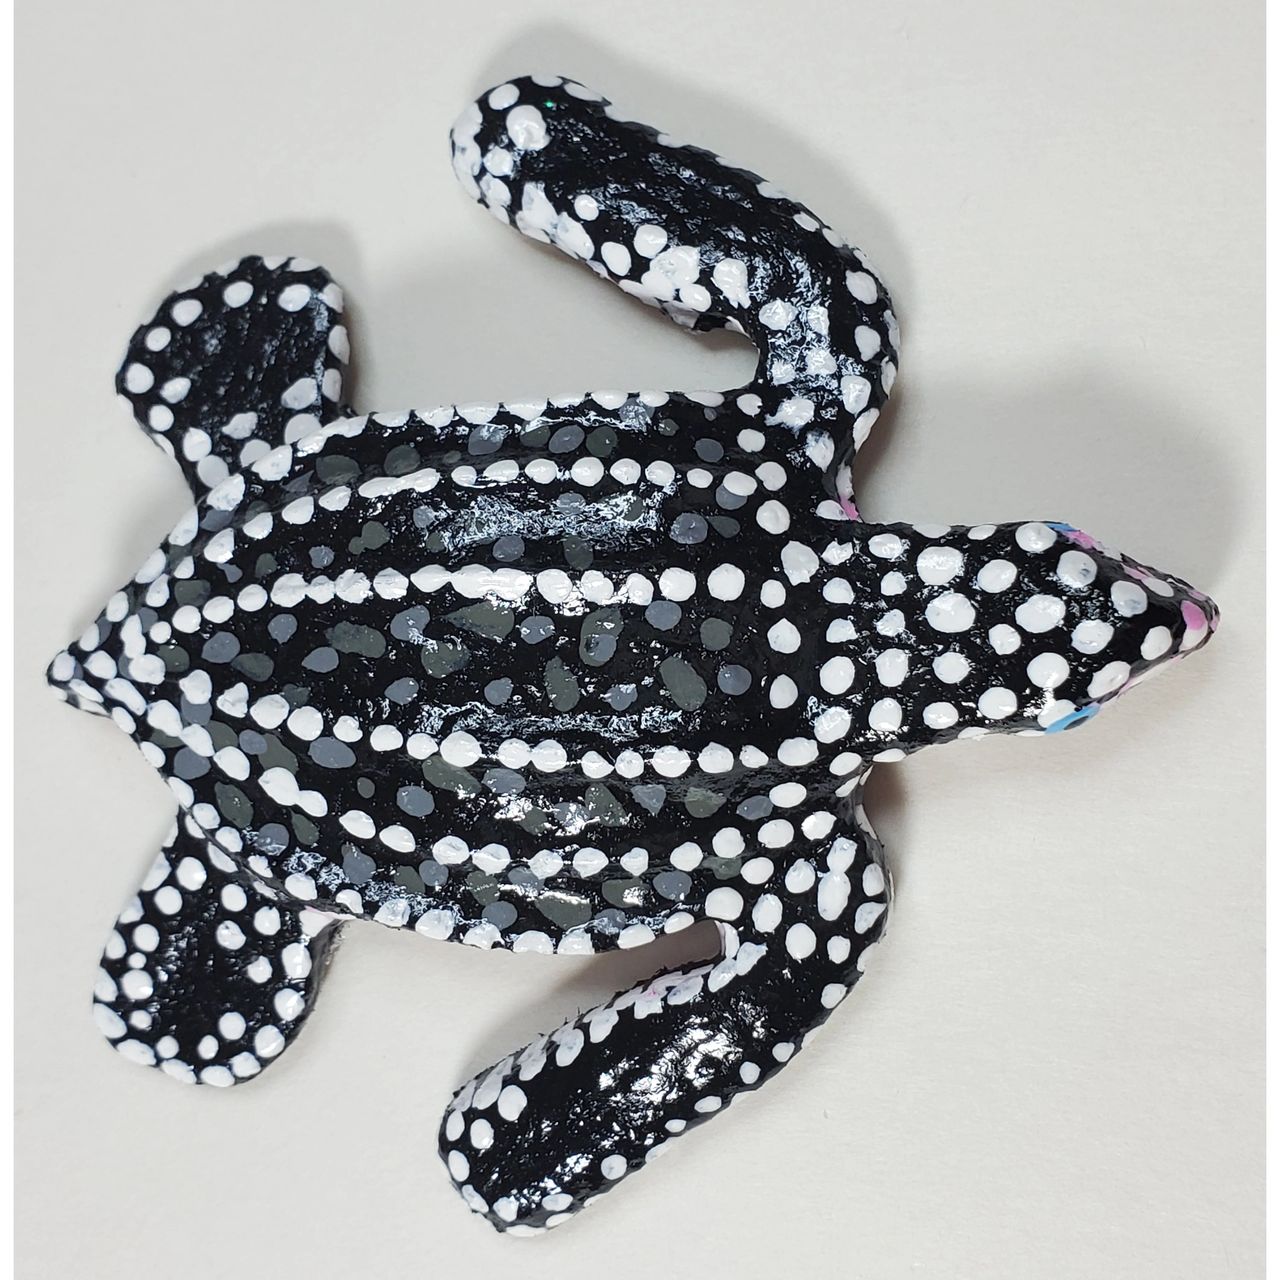
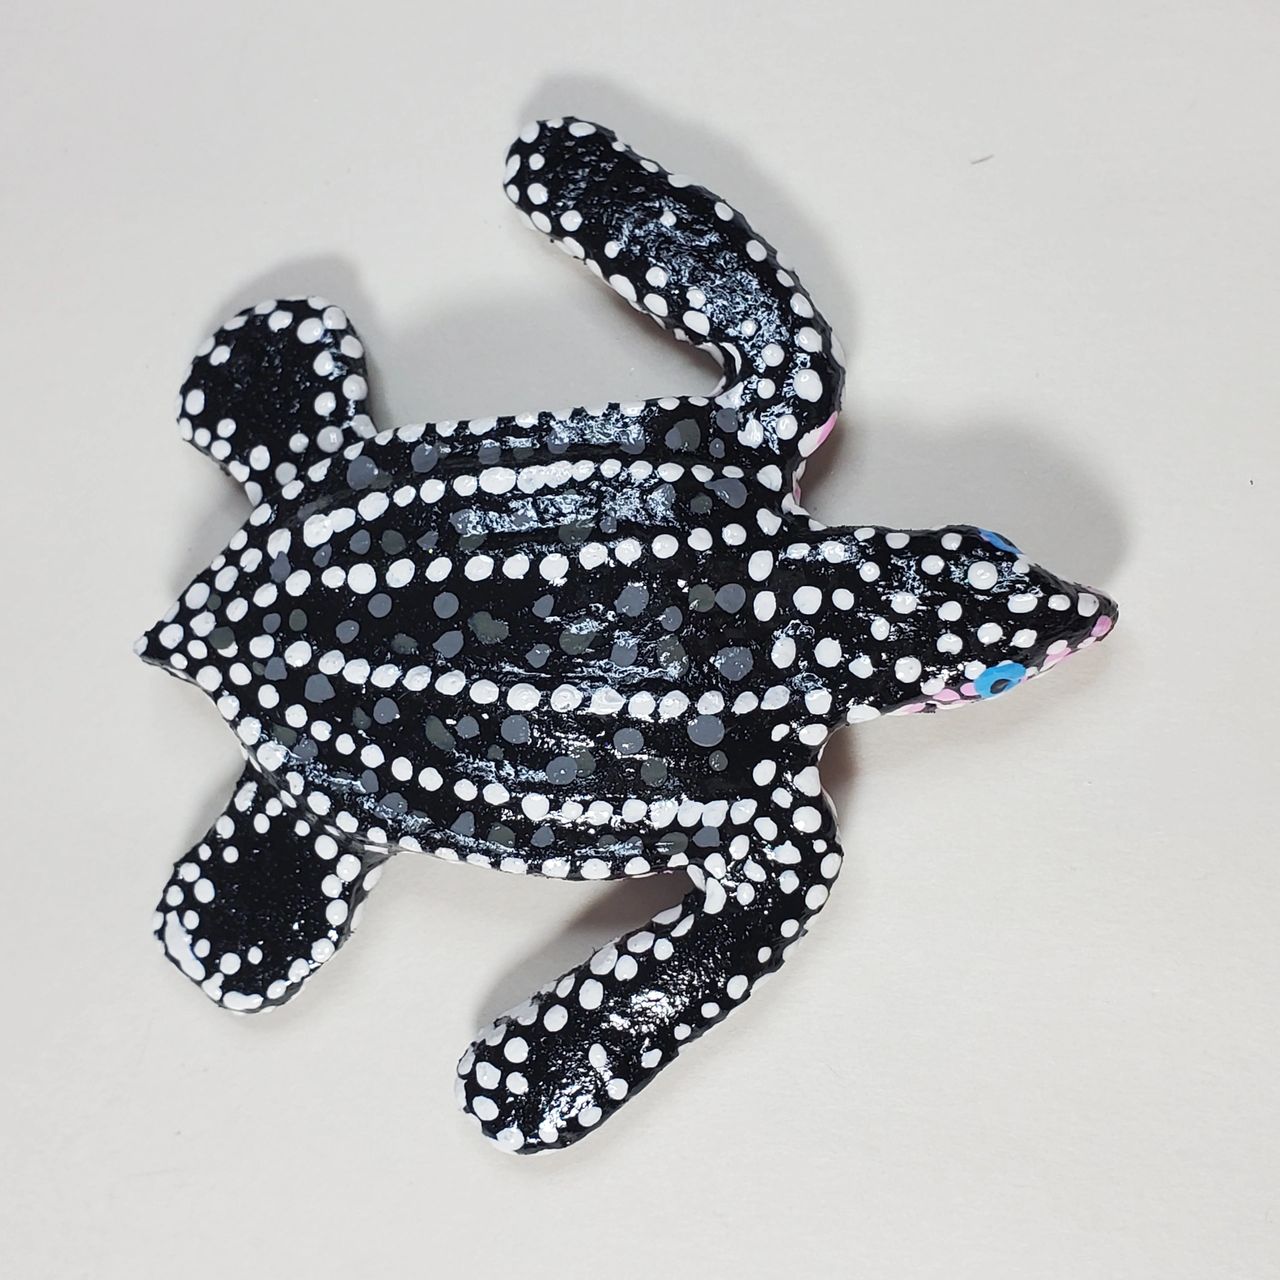
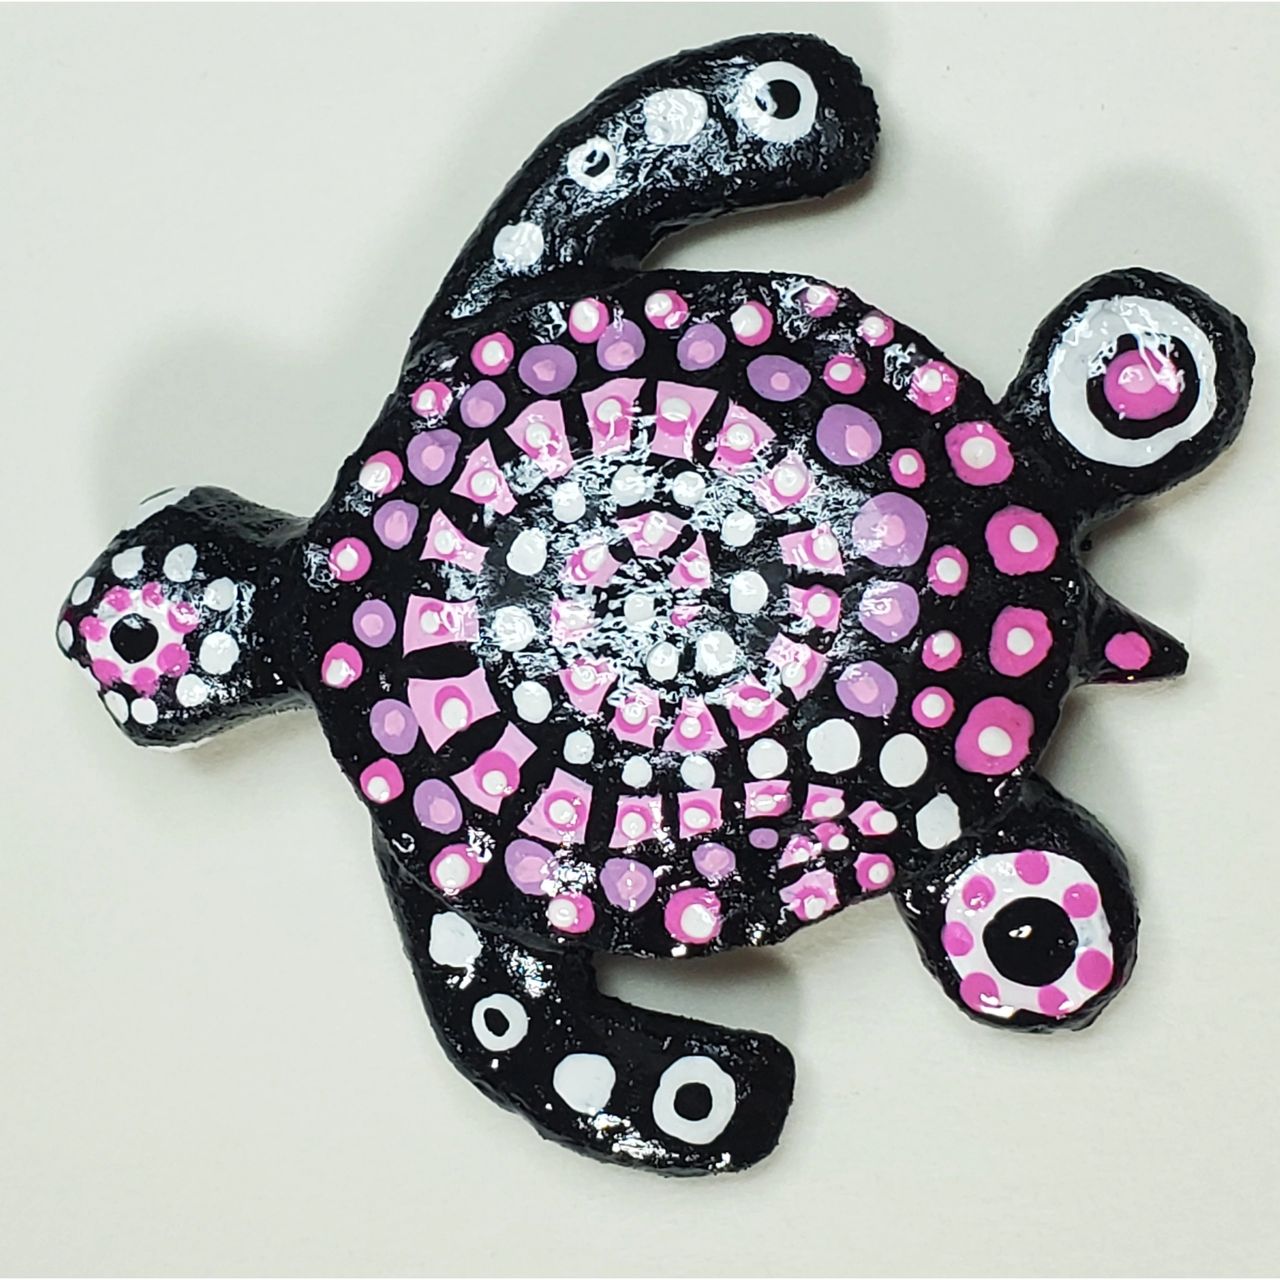
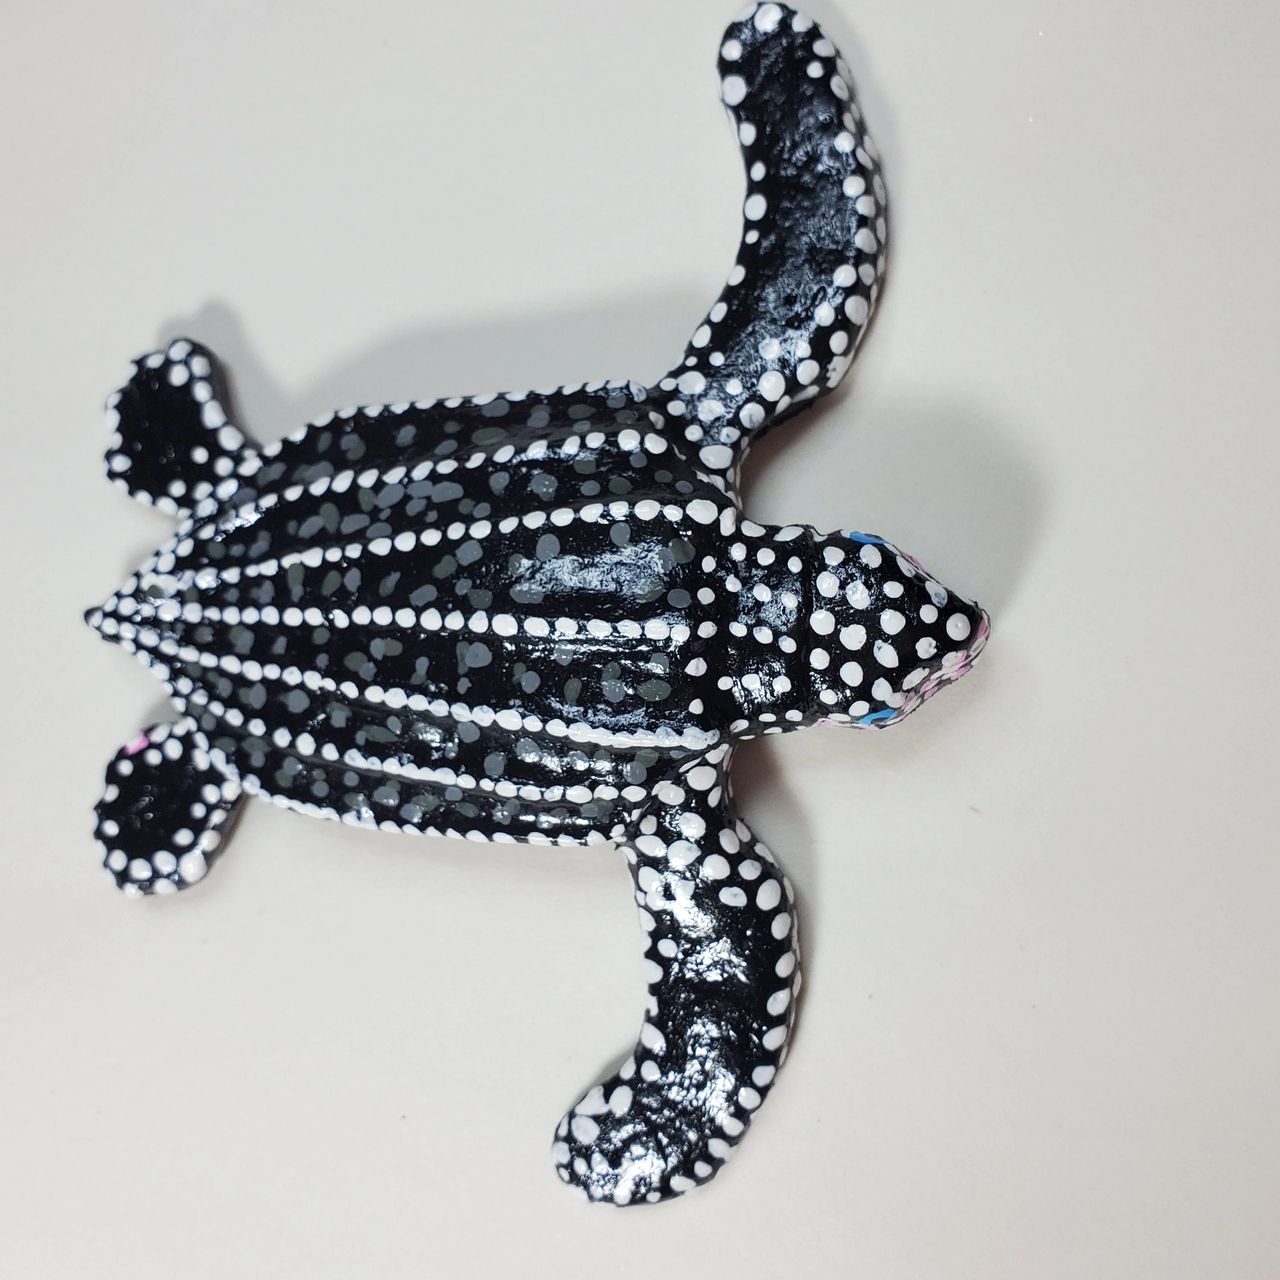
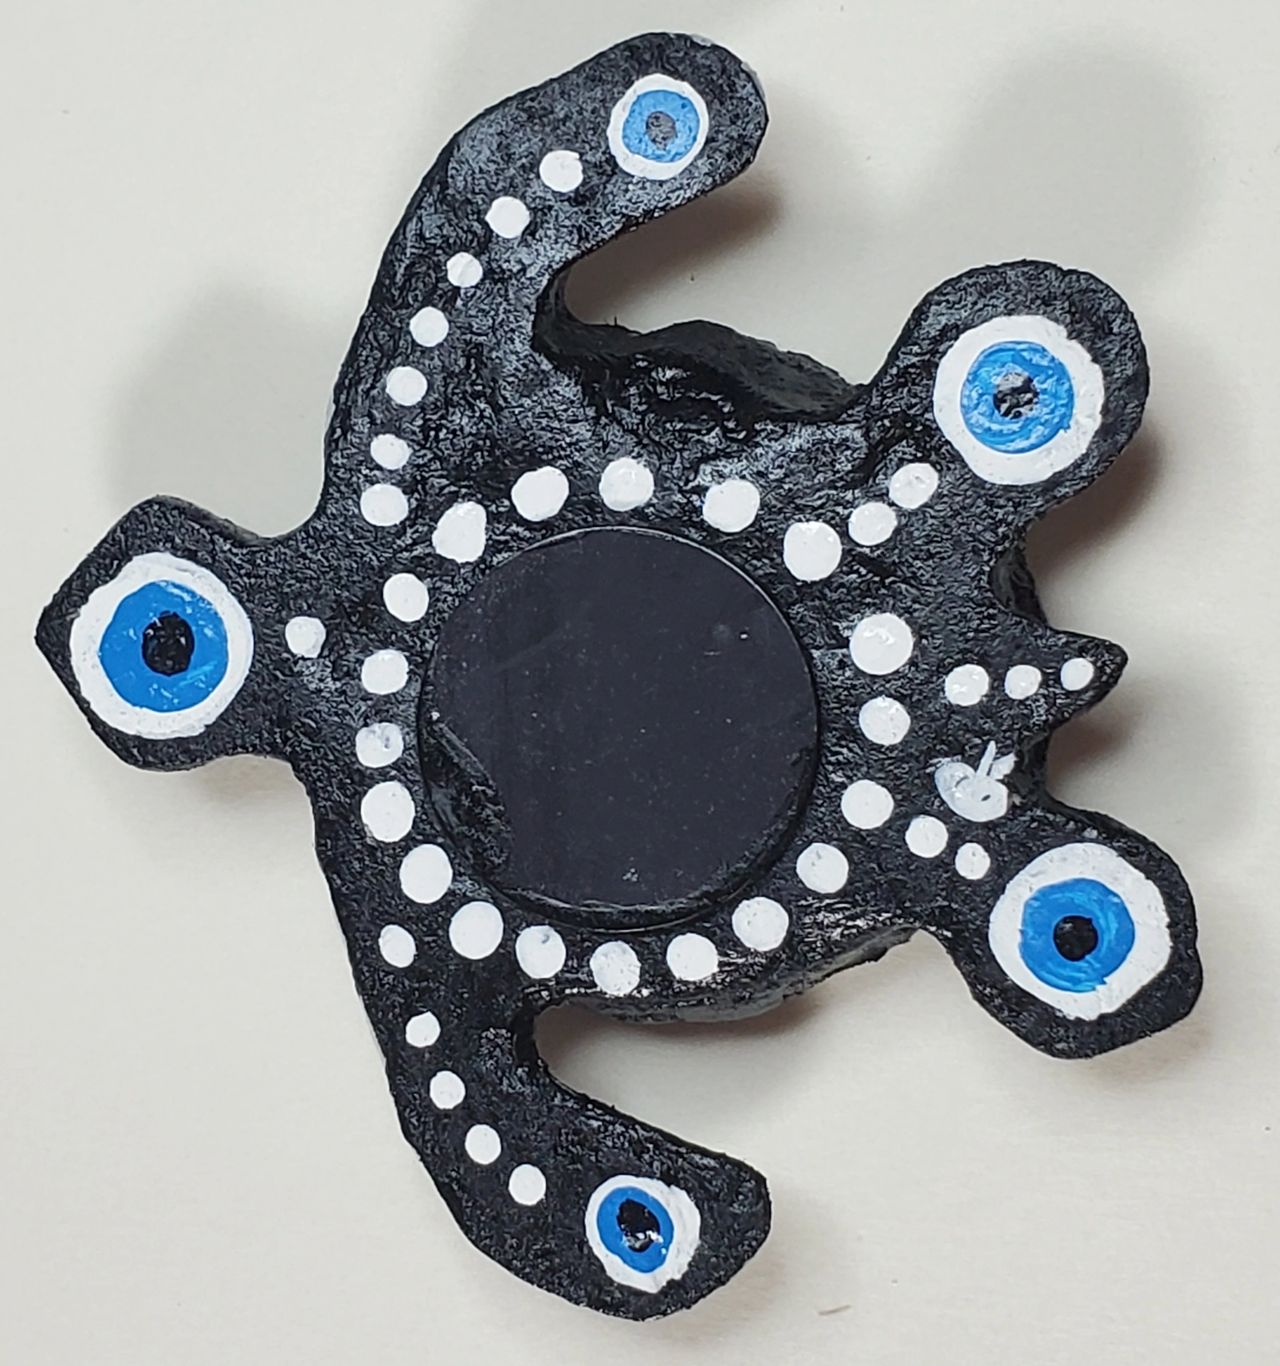
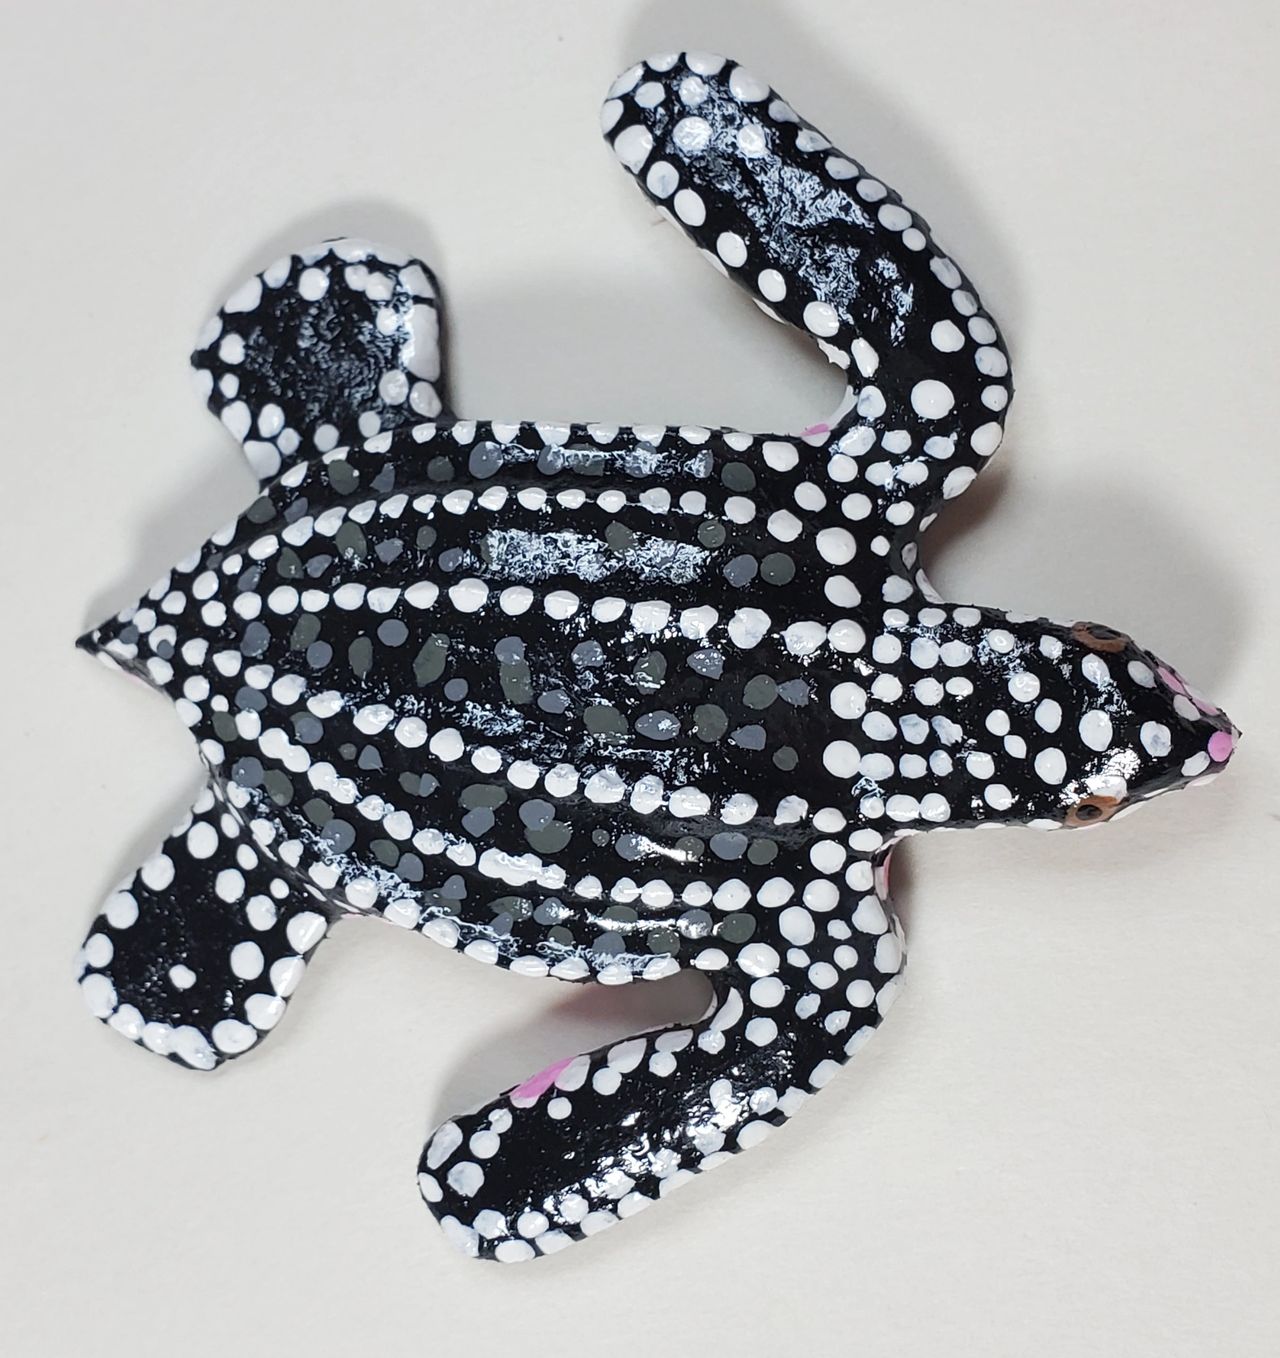
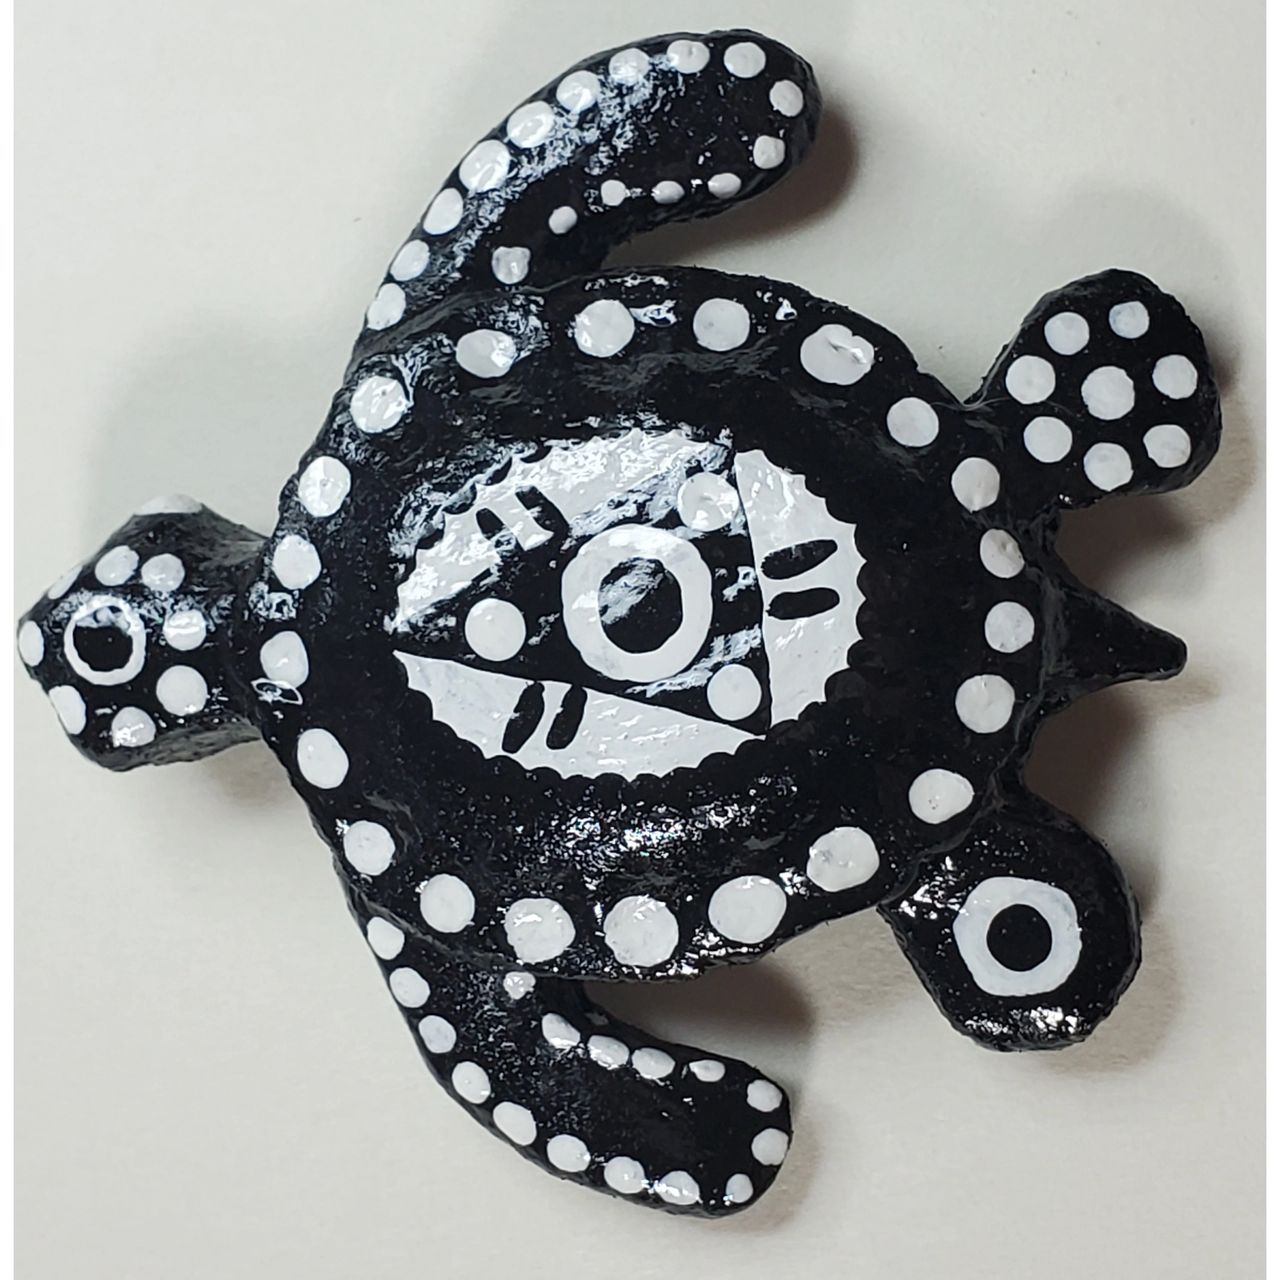
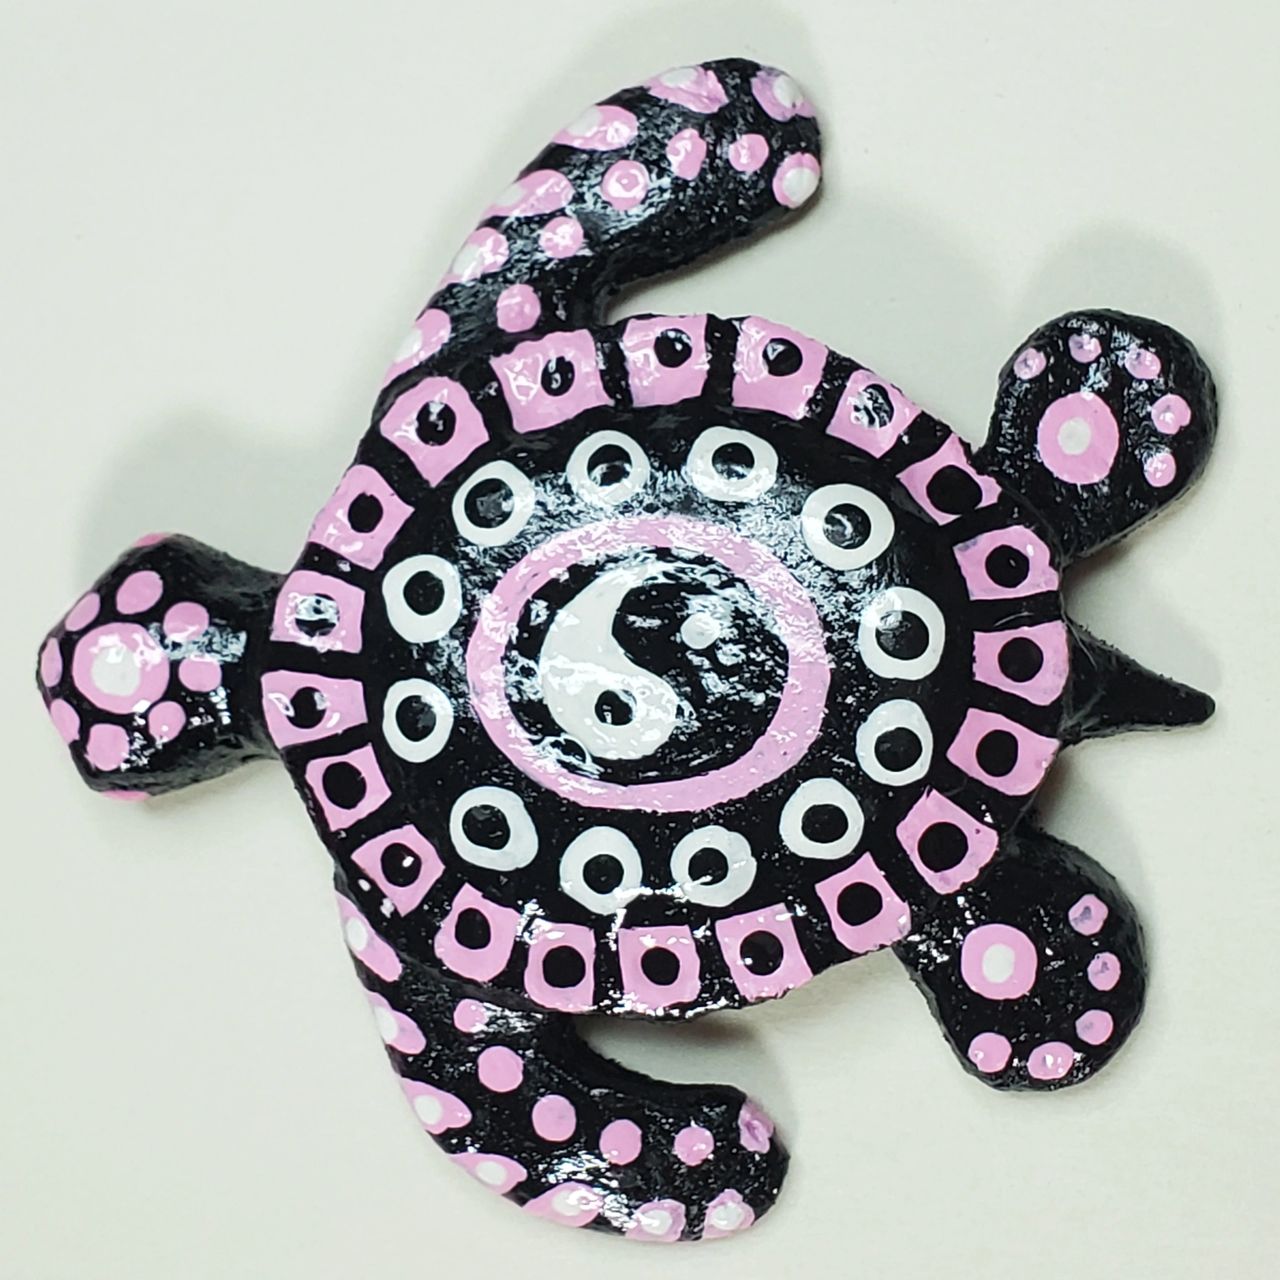
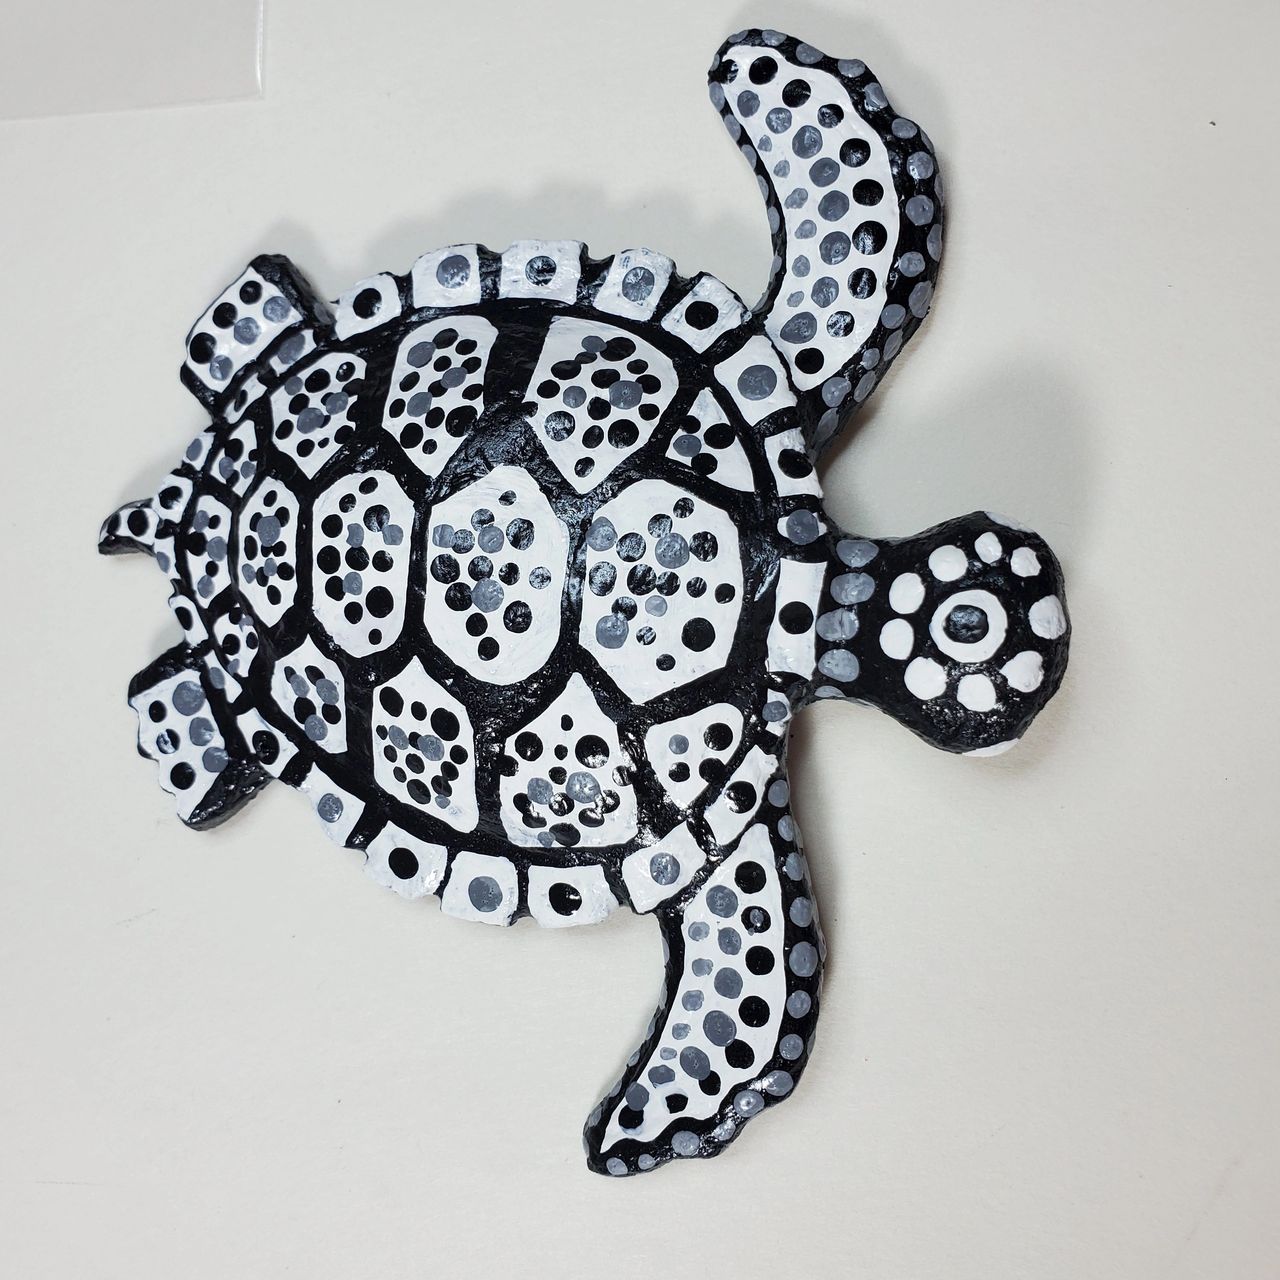
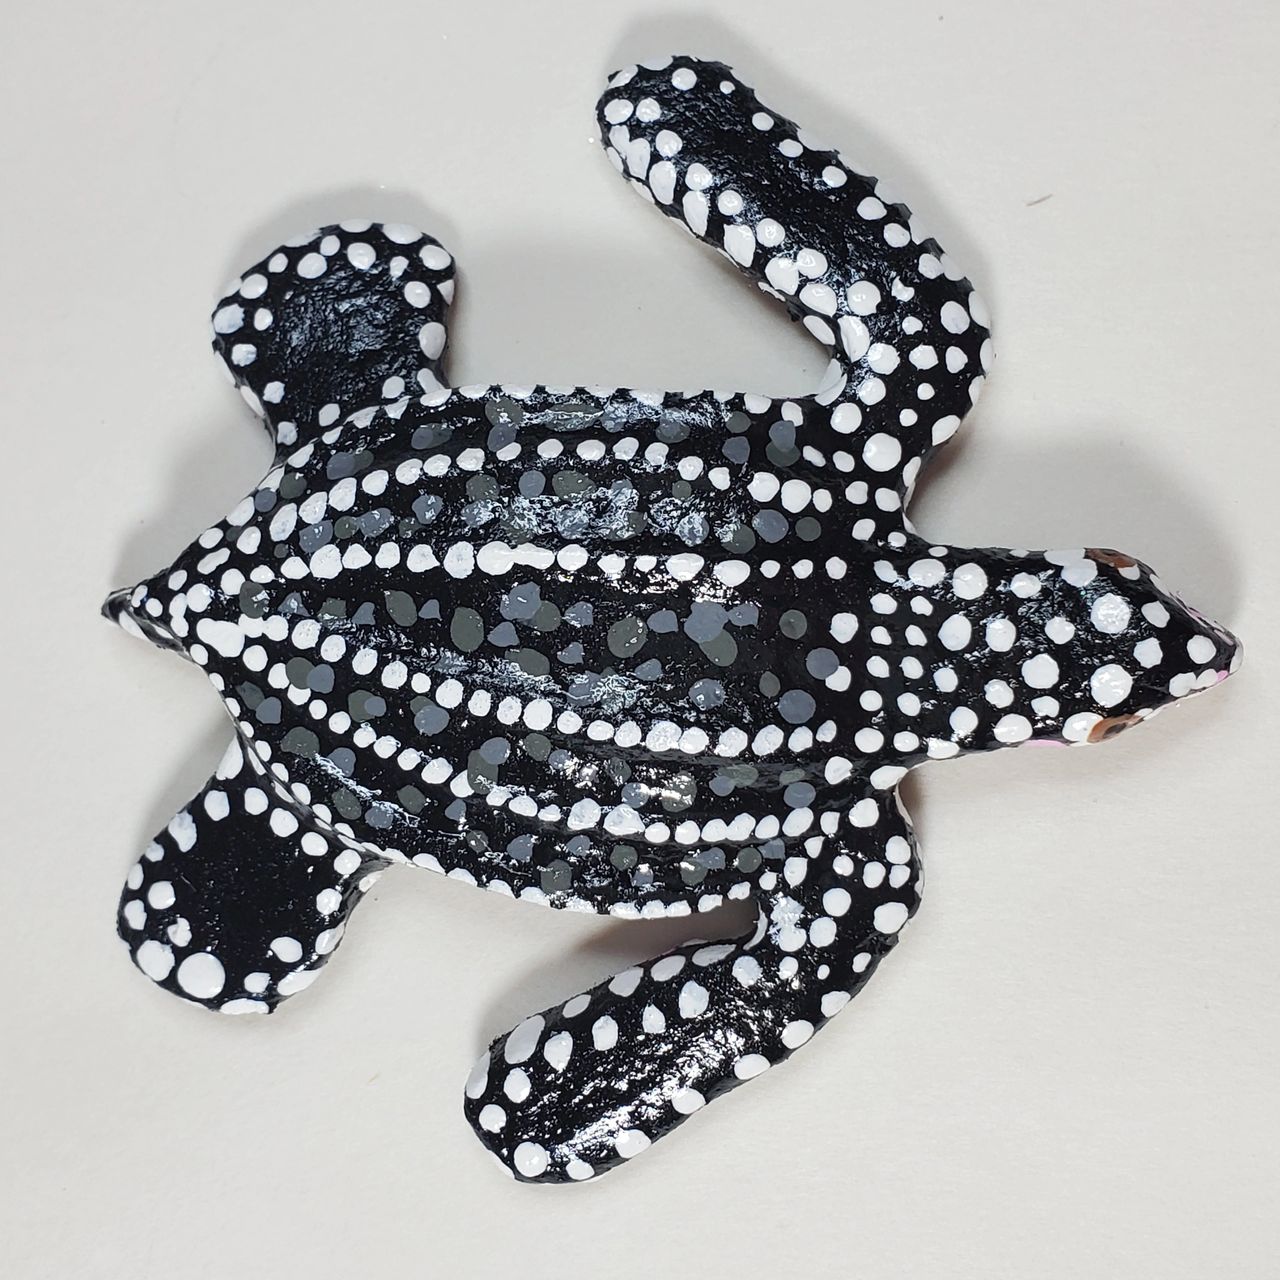
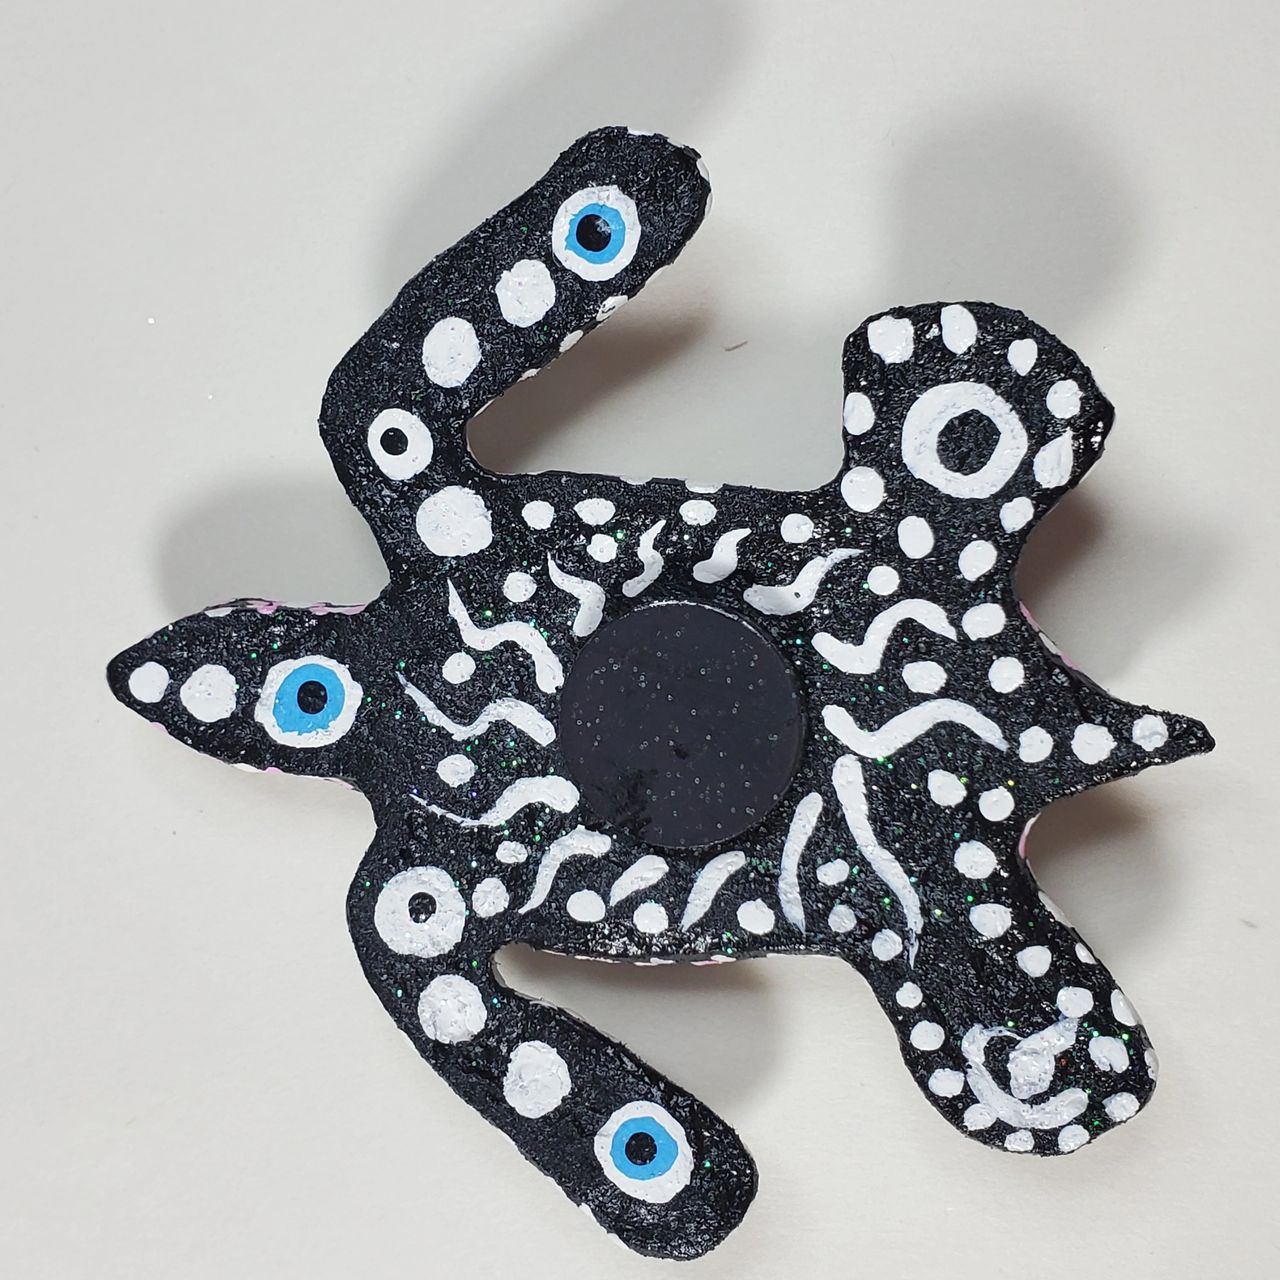
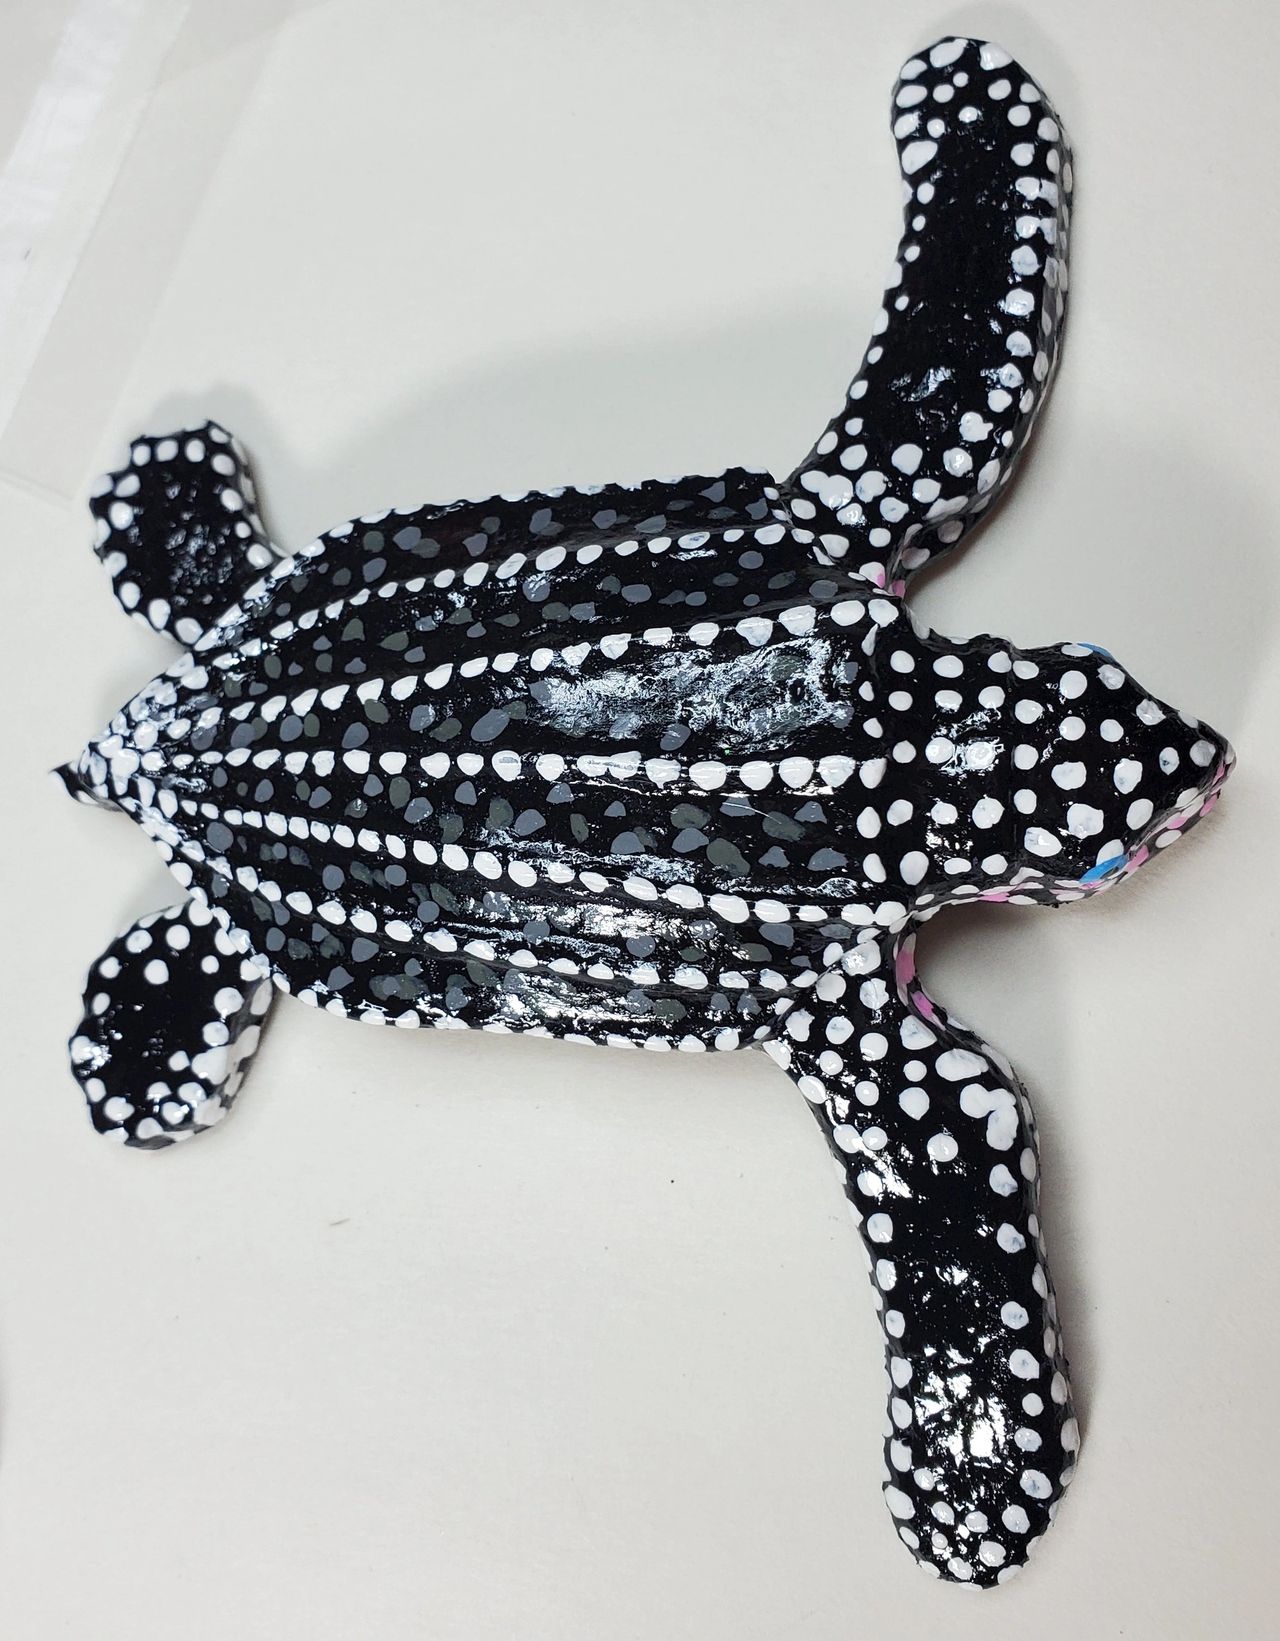
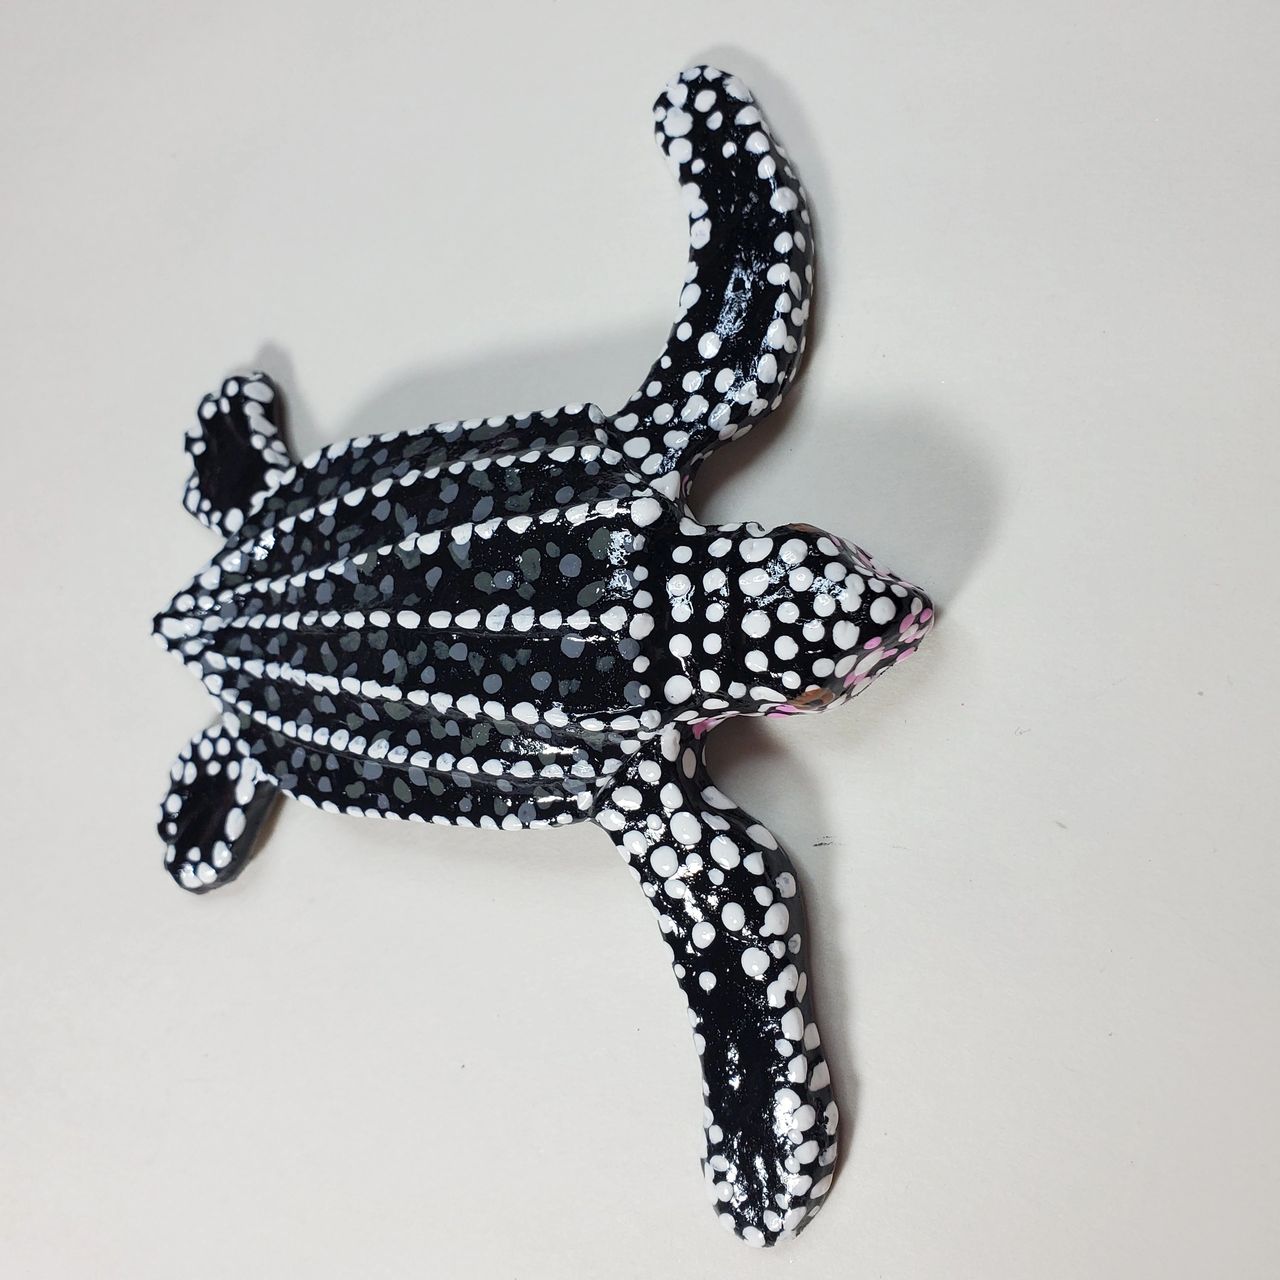
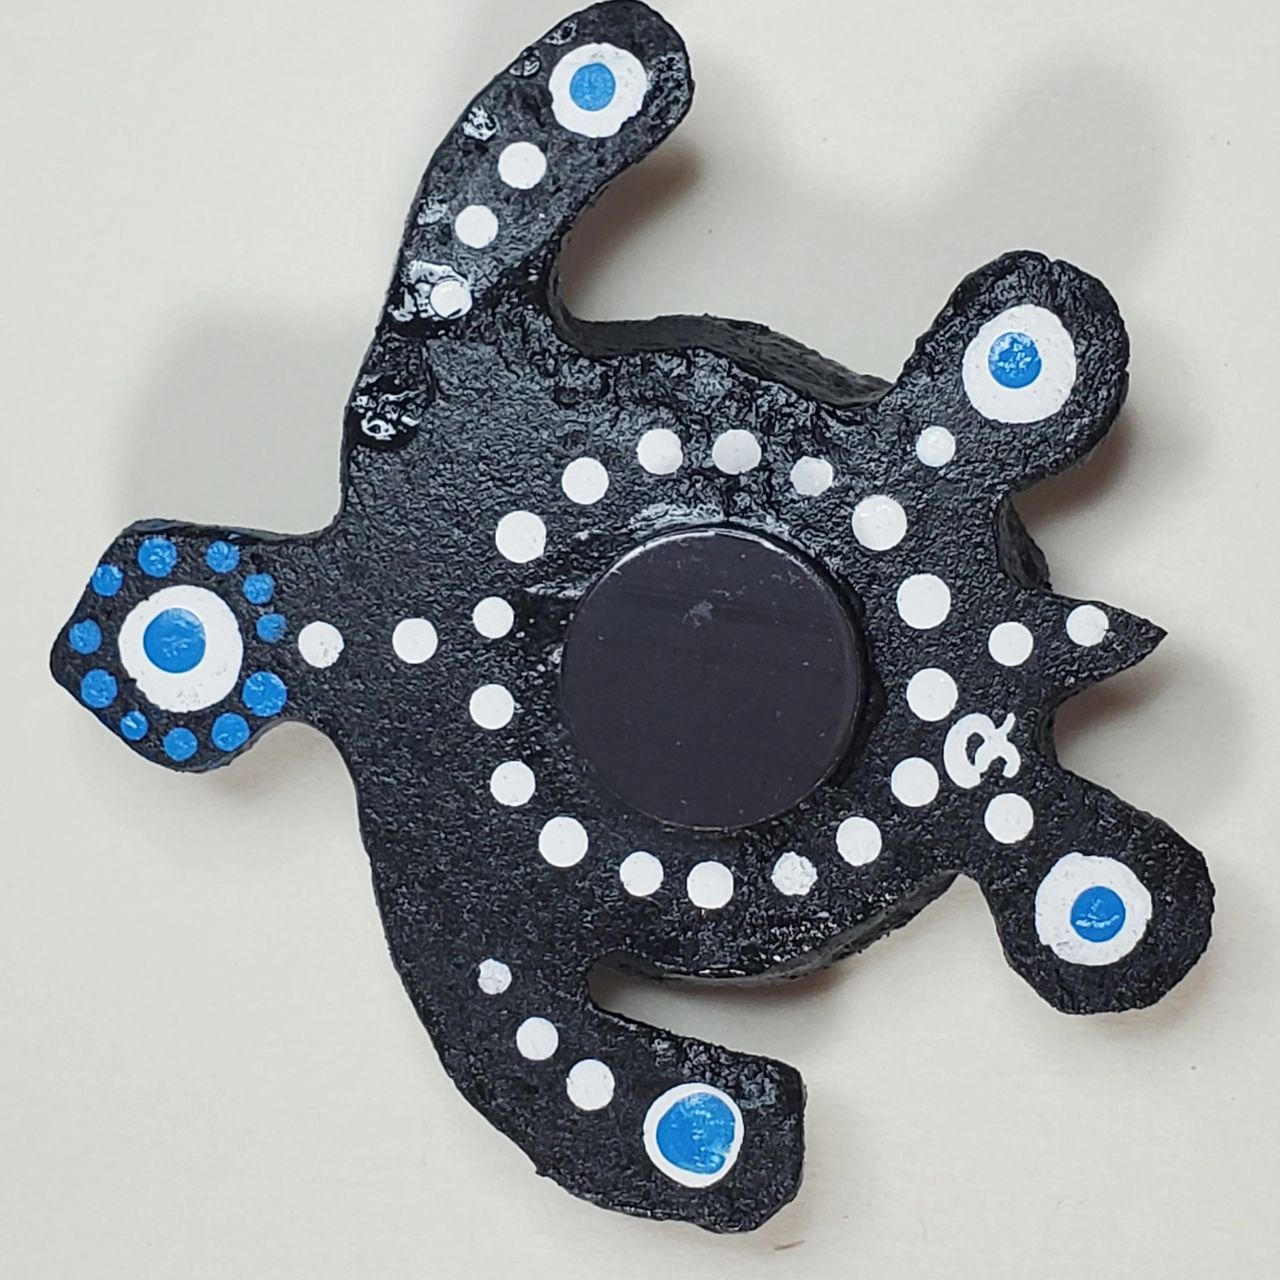
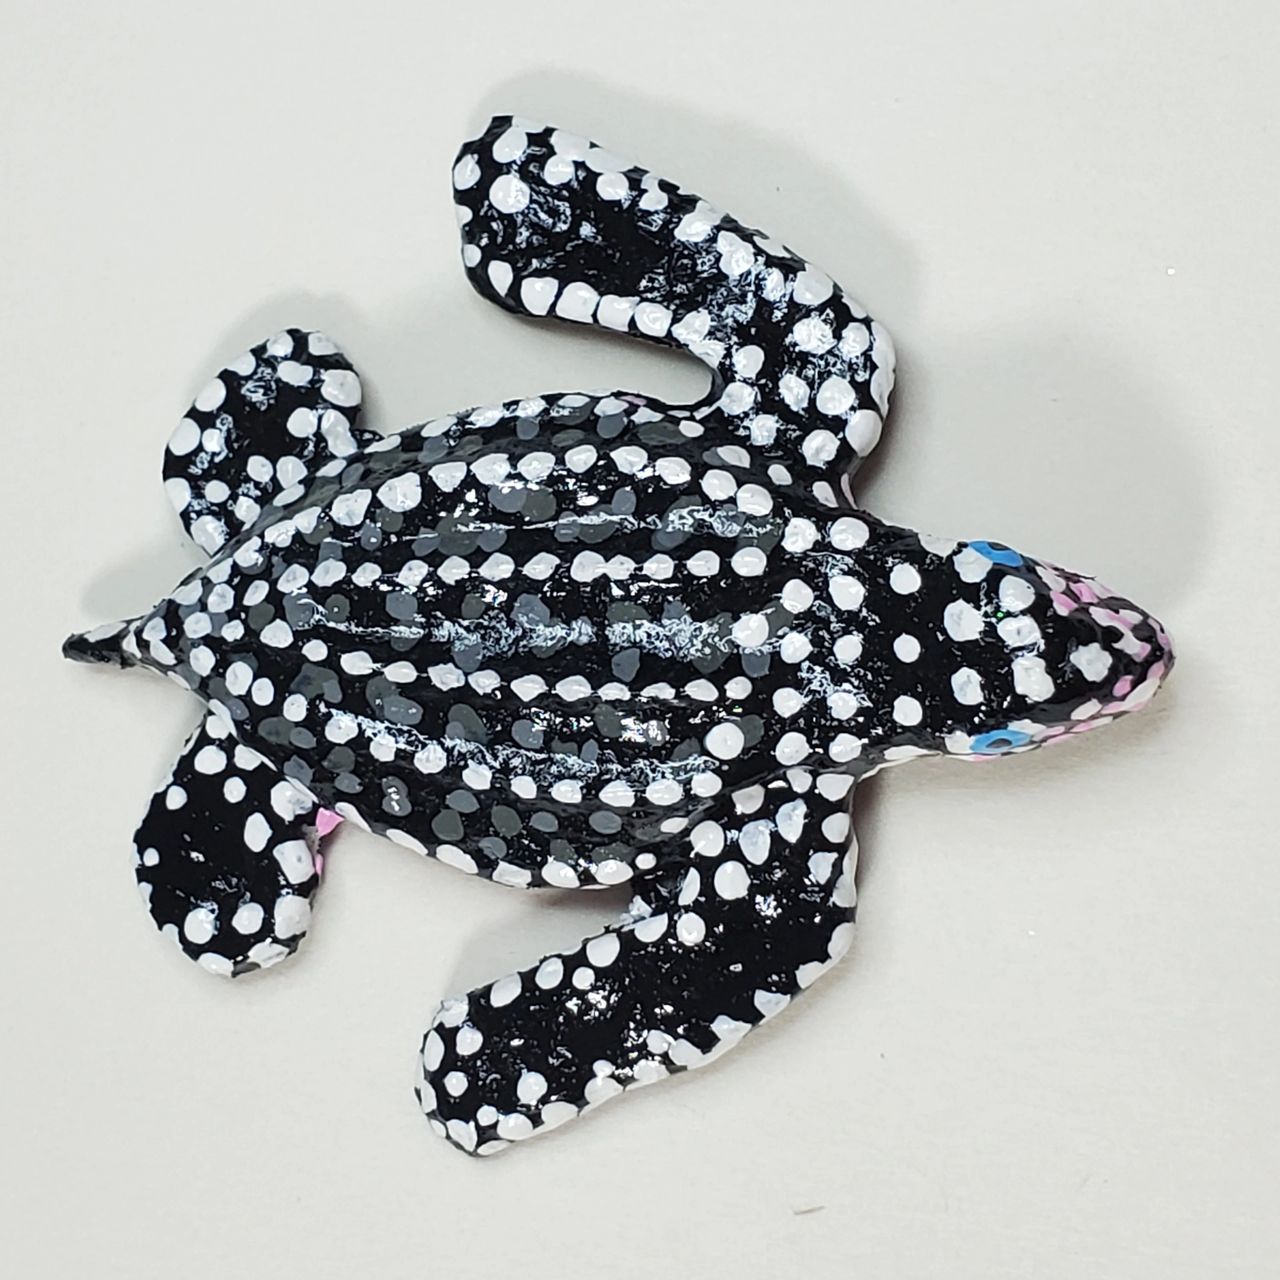
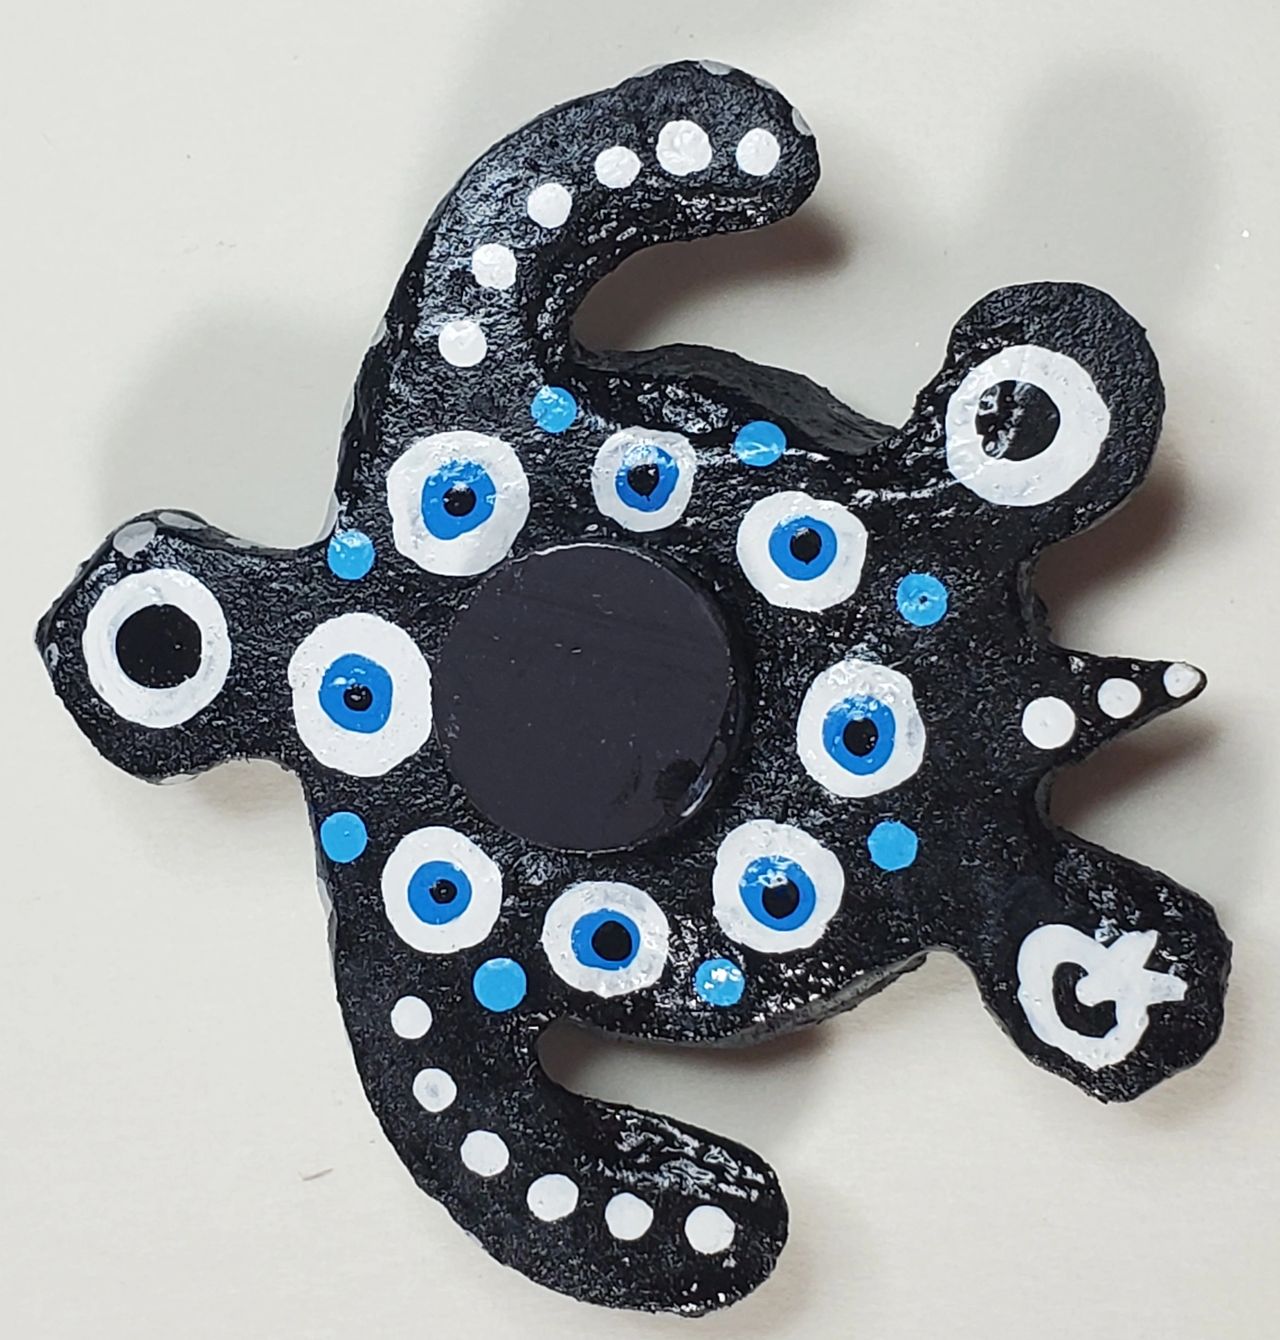
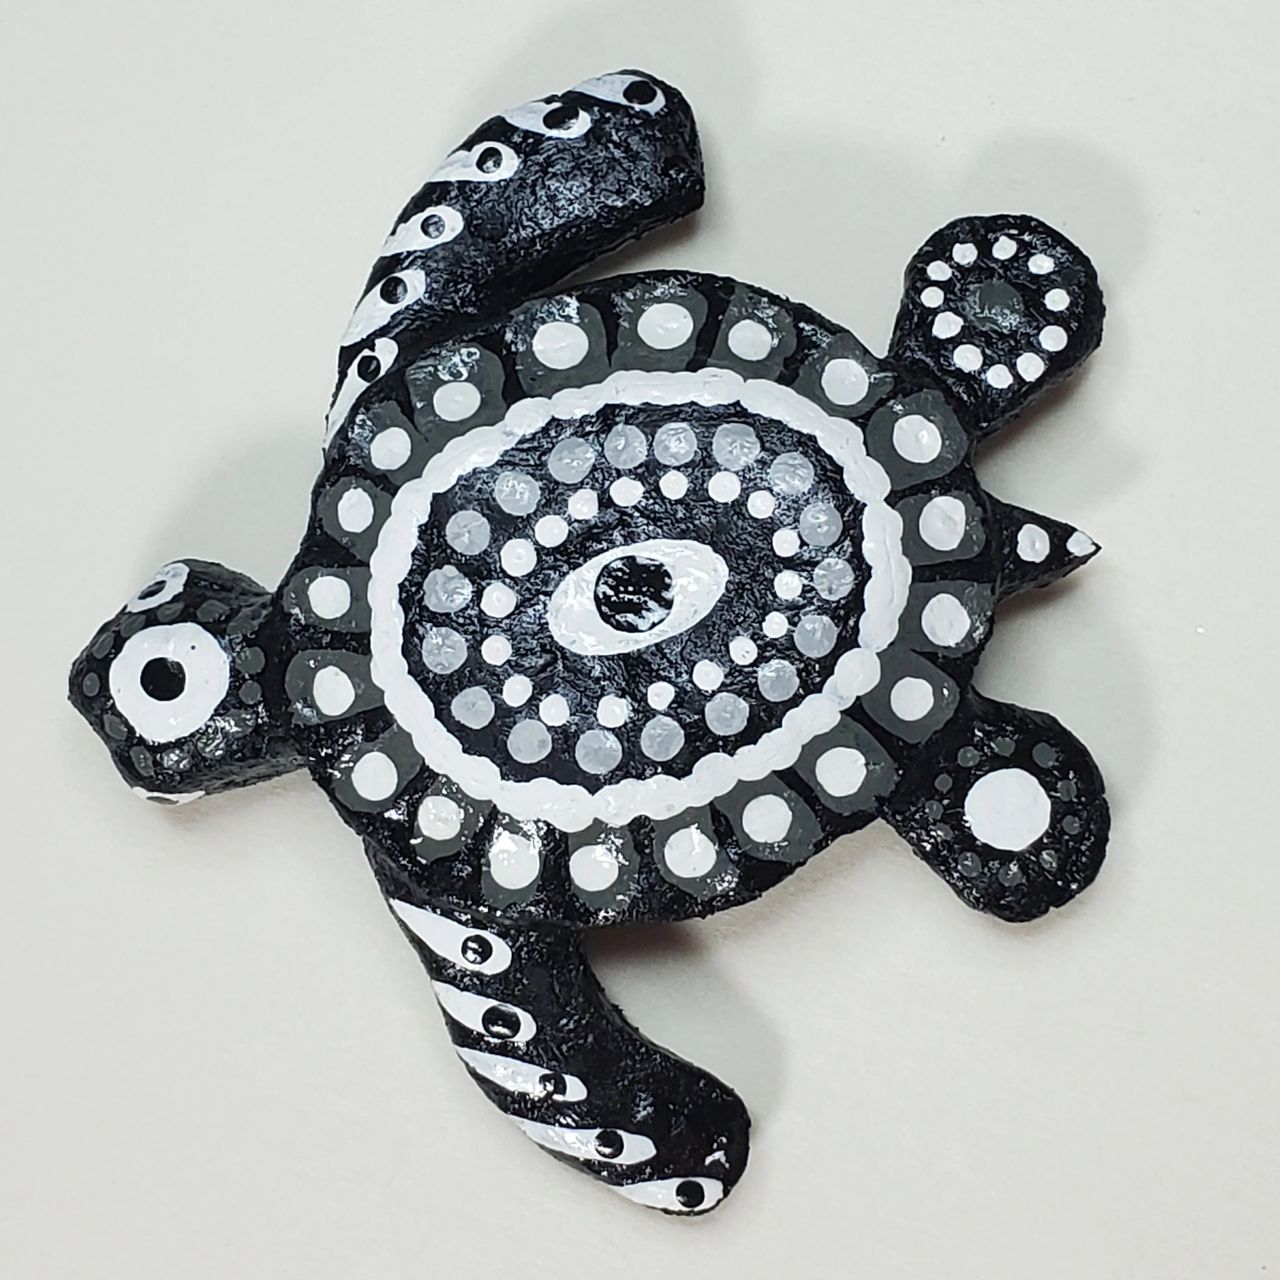
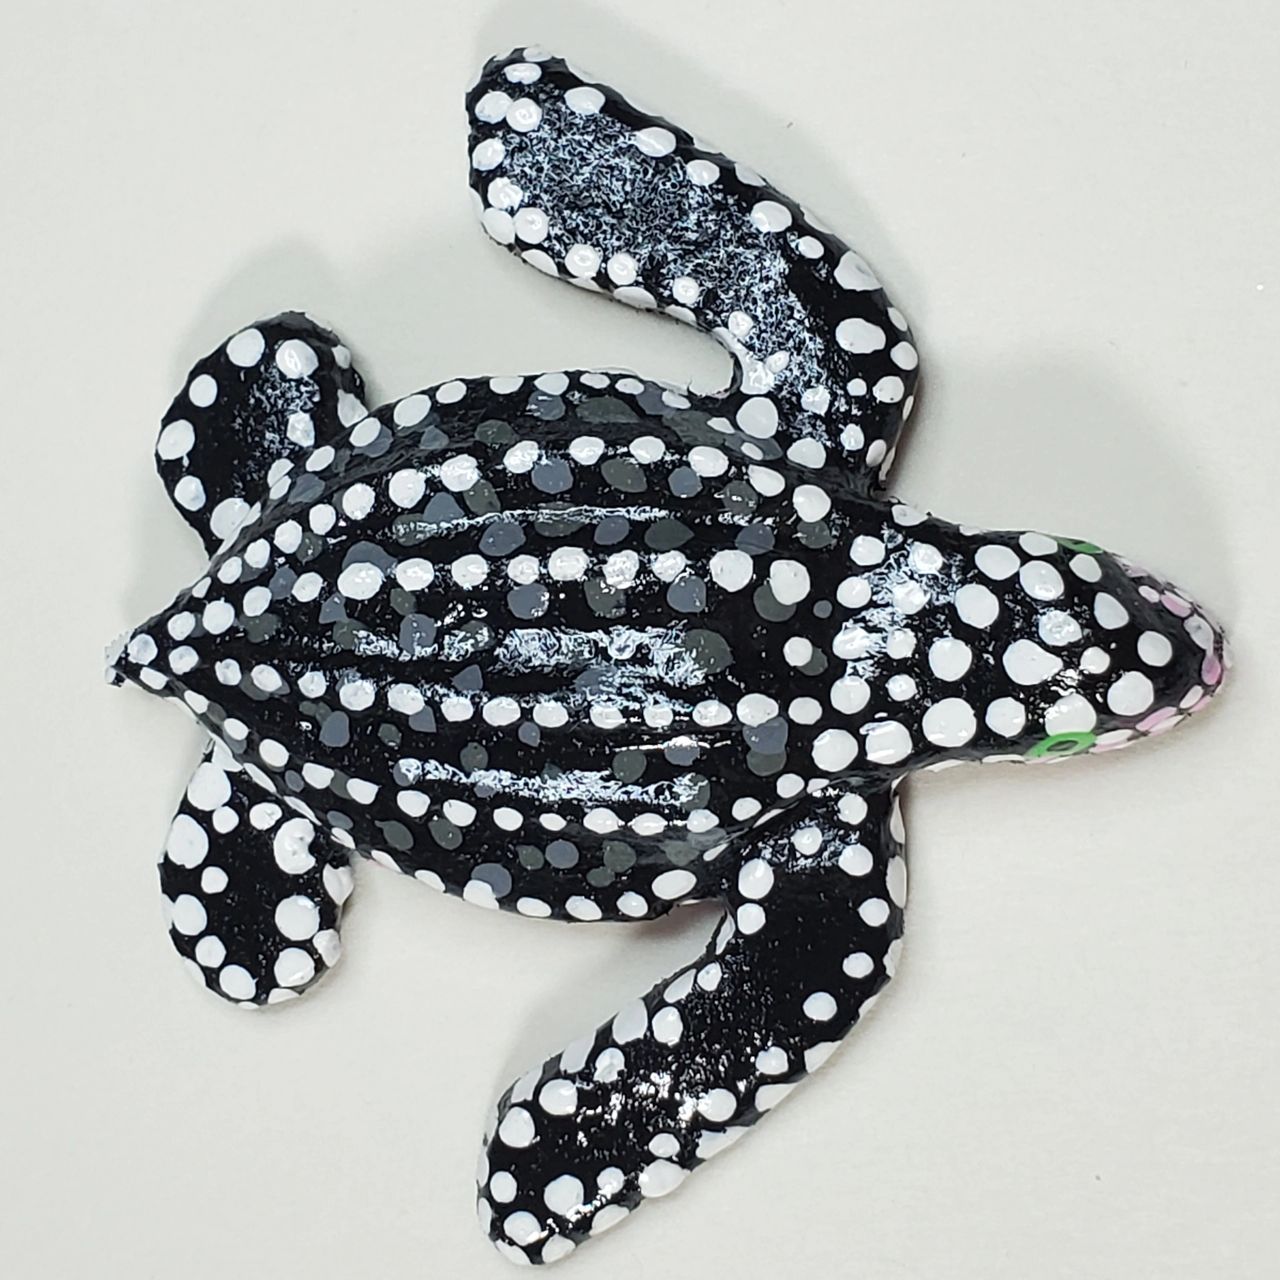
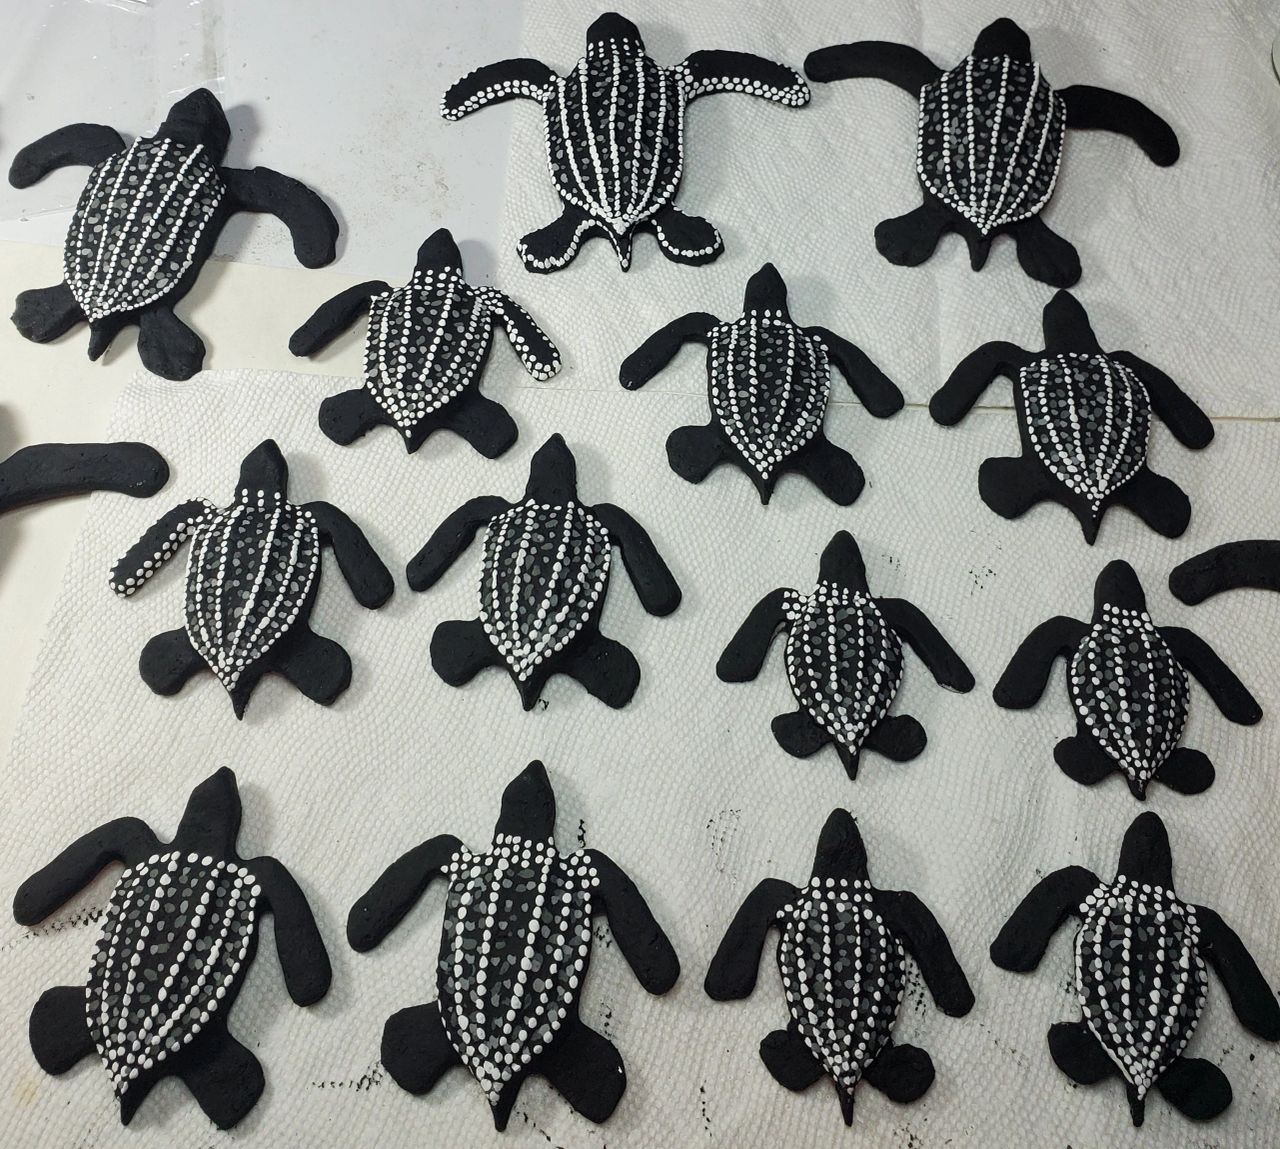
    One thing is for certain I am so glad I put out the effort to make so many premade turtles to choose from.  It was my first class so I was guessing what sort of turtle would be most popular so I molded, baked and sanded 24 baby Leatherback and 24 generic ’round’ shaped turtles for painting.  I glued magnets on over haff of them for refrigerator magnet displays. 

    To my surprise, and something I find interesting, the artists only chose the little round turtles to paint, but most artists molded at least one Leatherback to take home for later.  

    My guess is the Leatherback turtles aren’t as colorful…but I think they are cute.  ðŸ™‚

  • Project Baby Sea Turtles

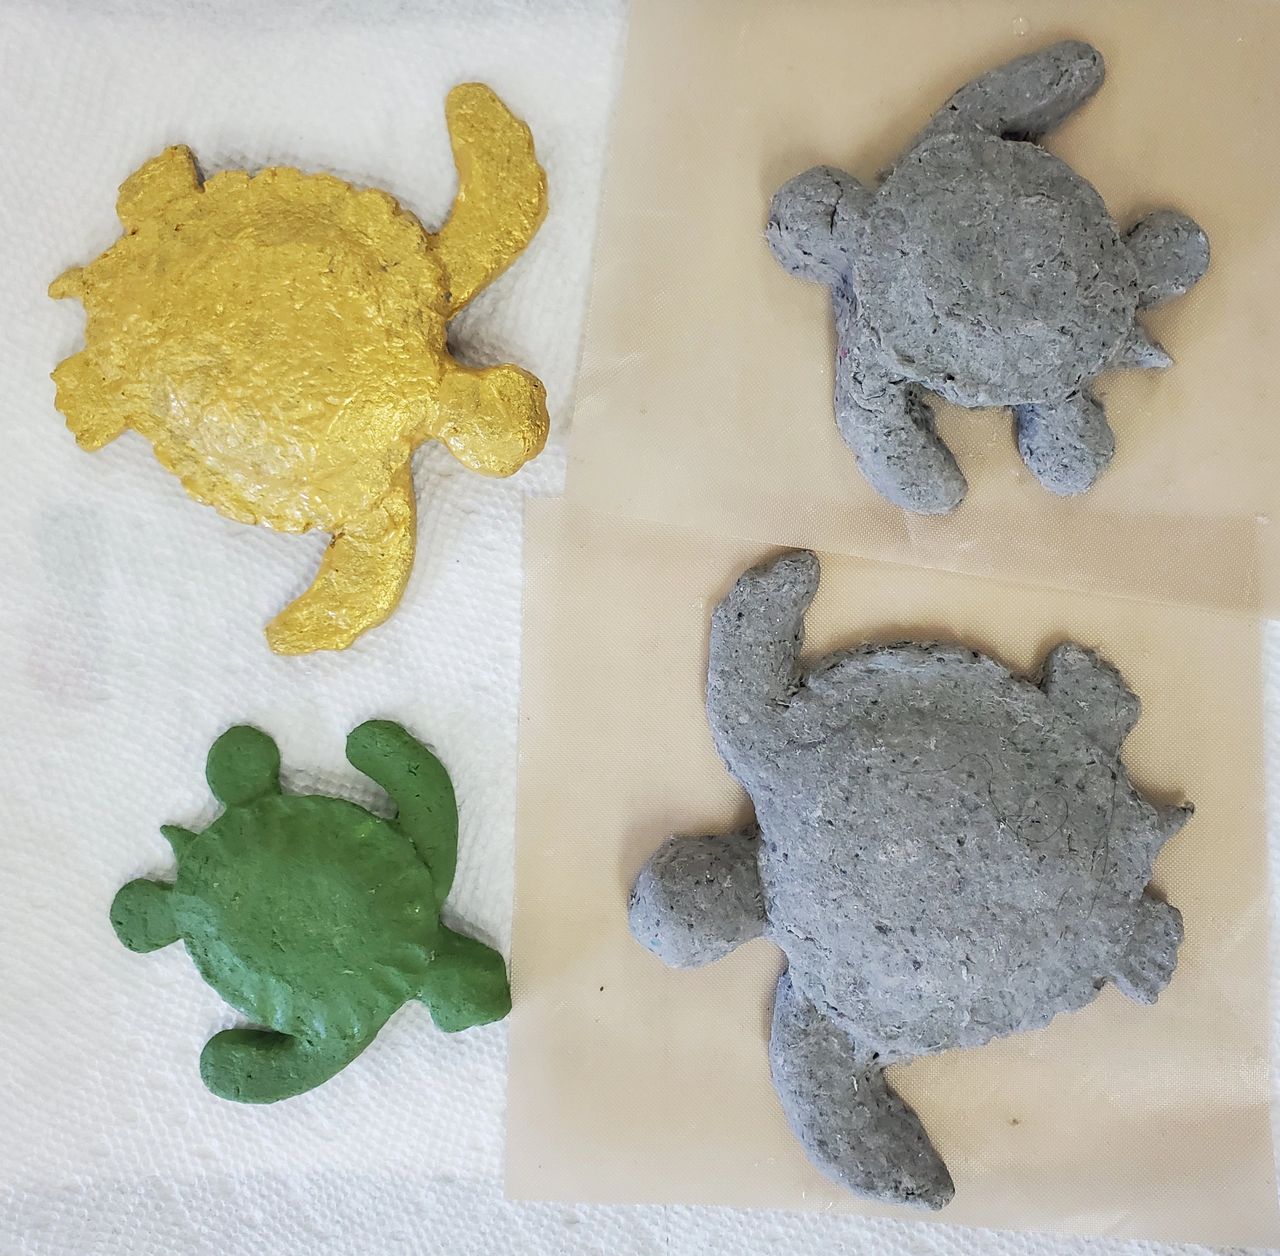
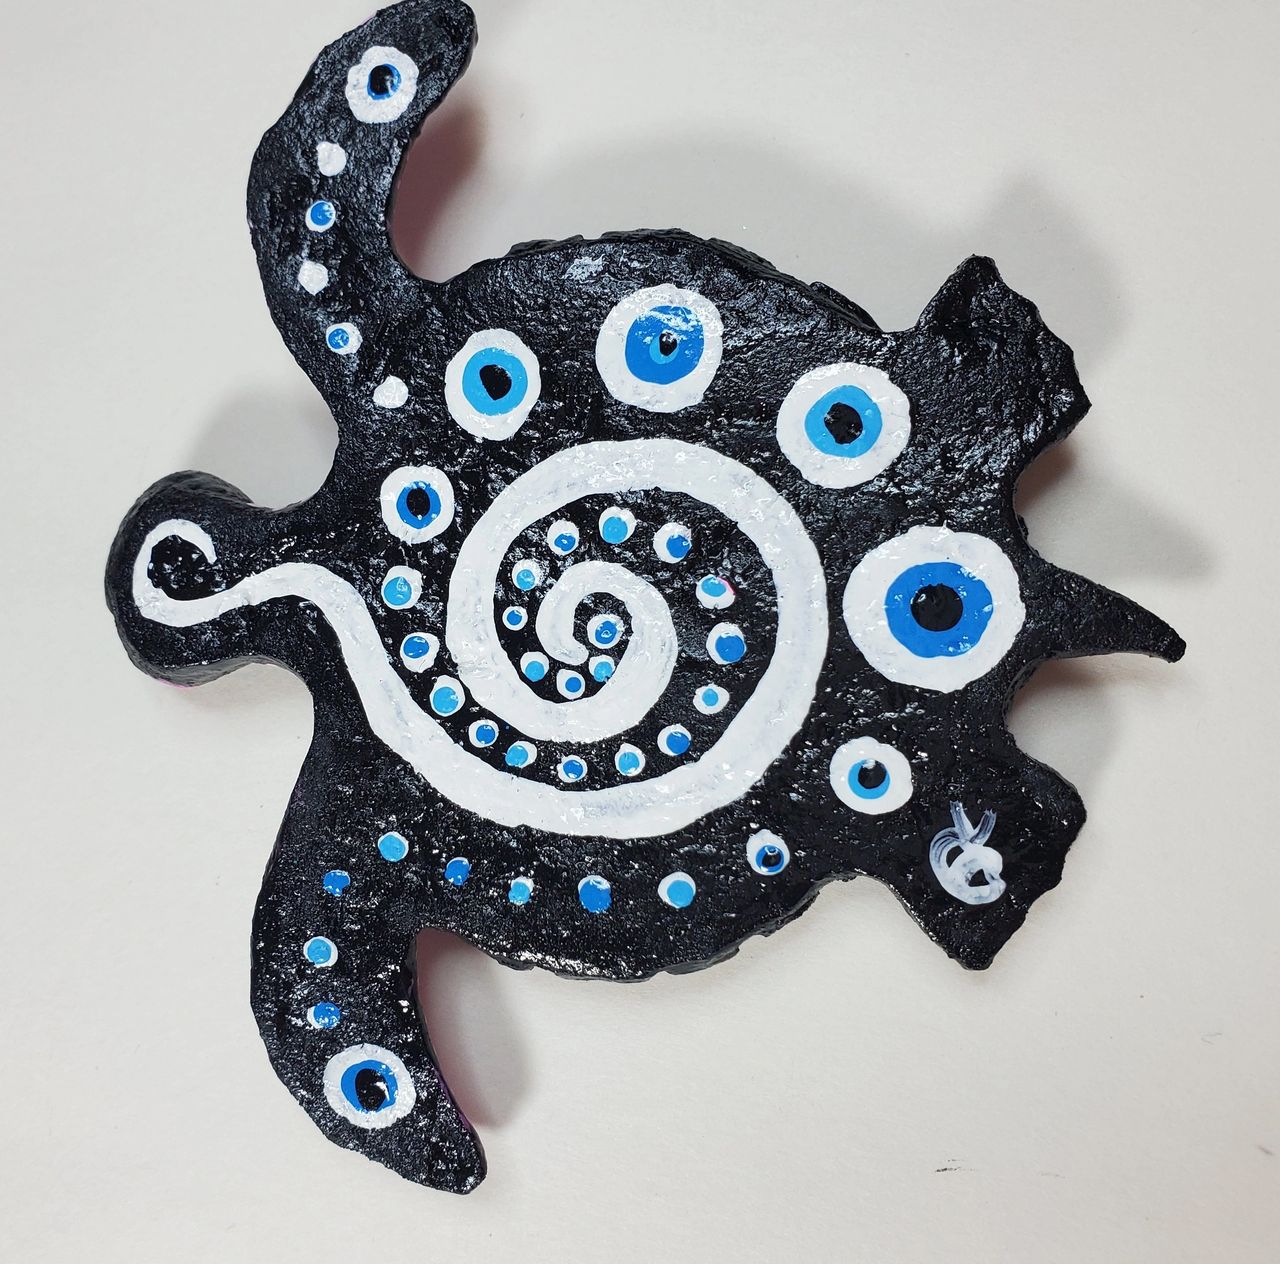
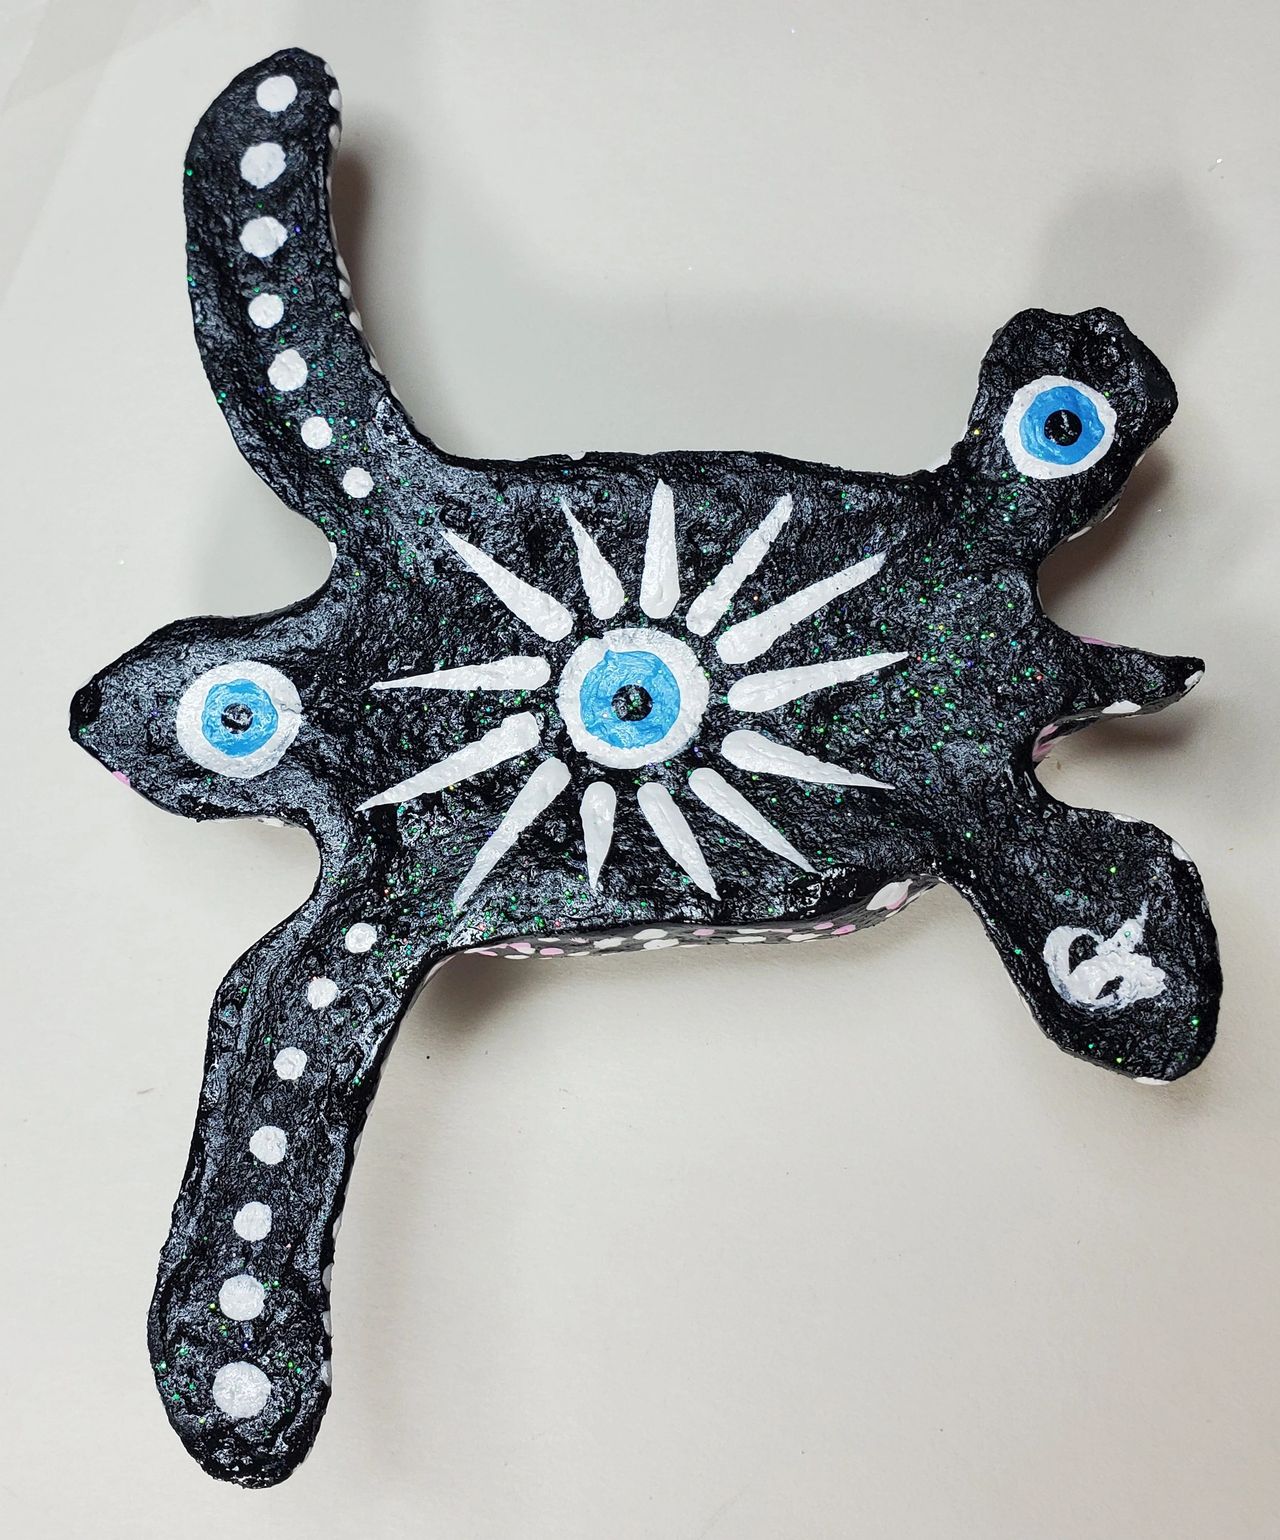
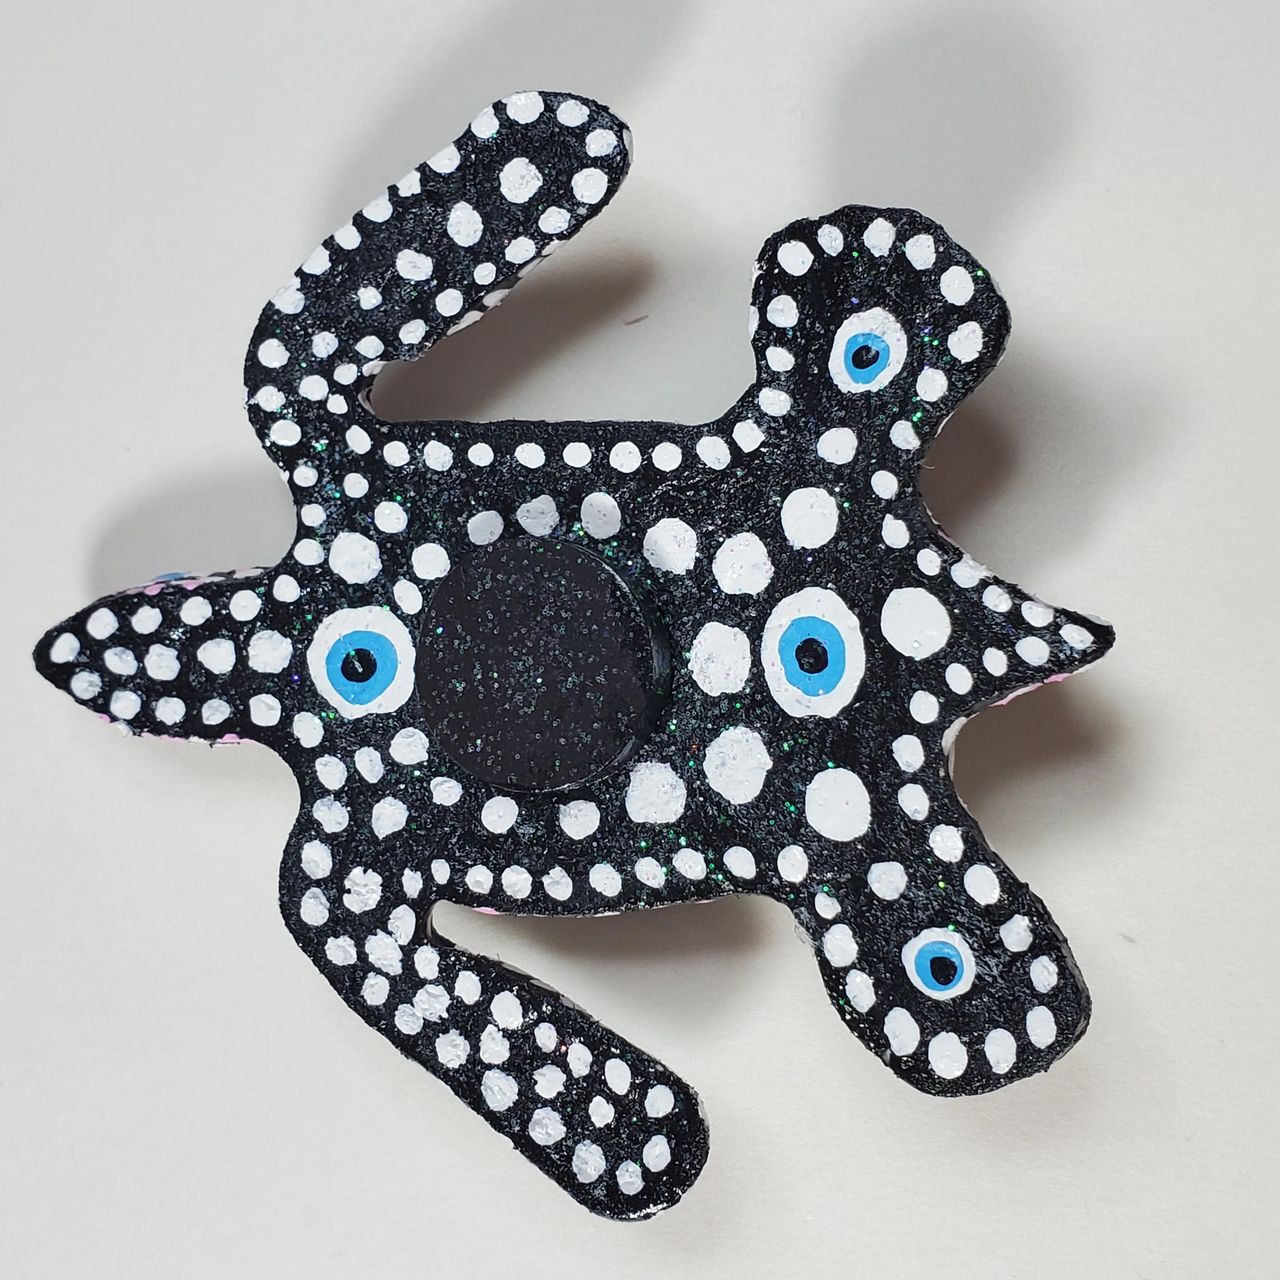
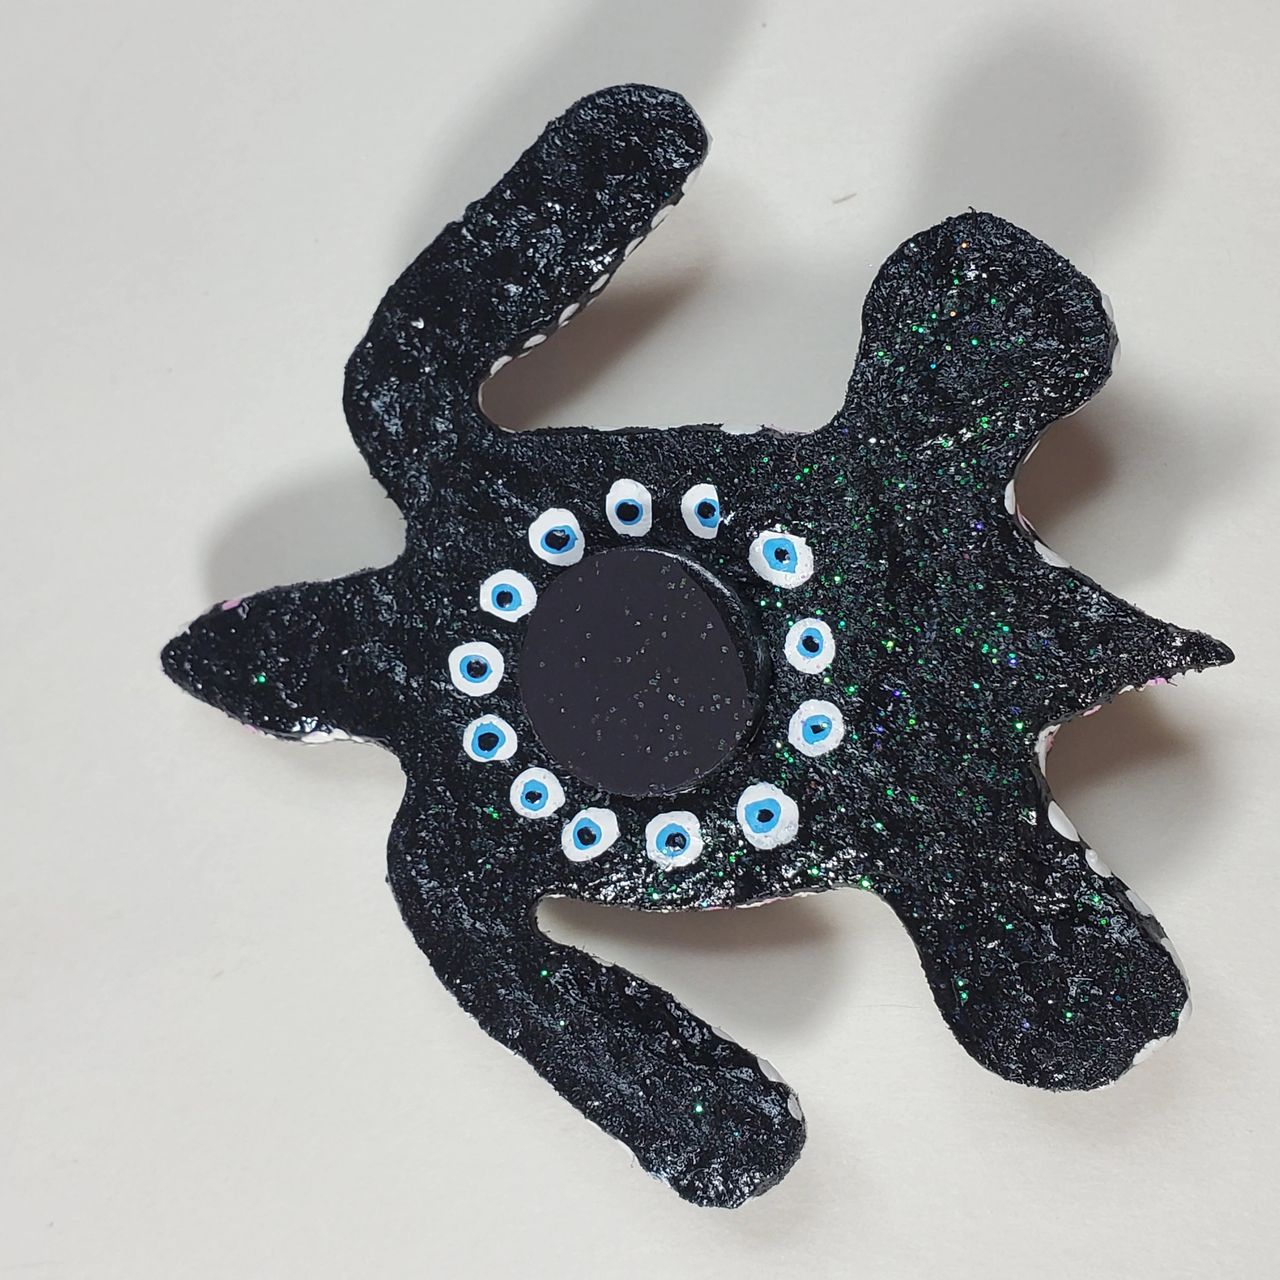
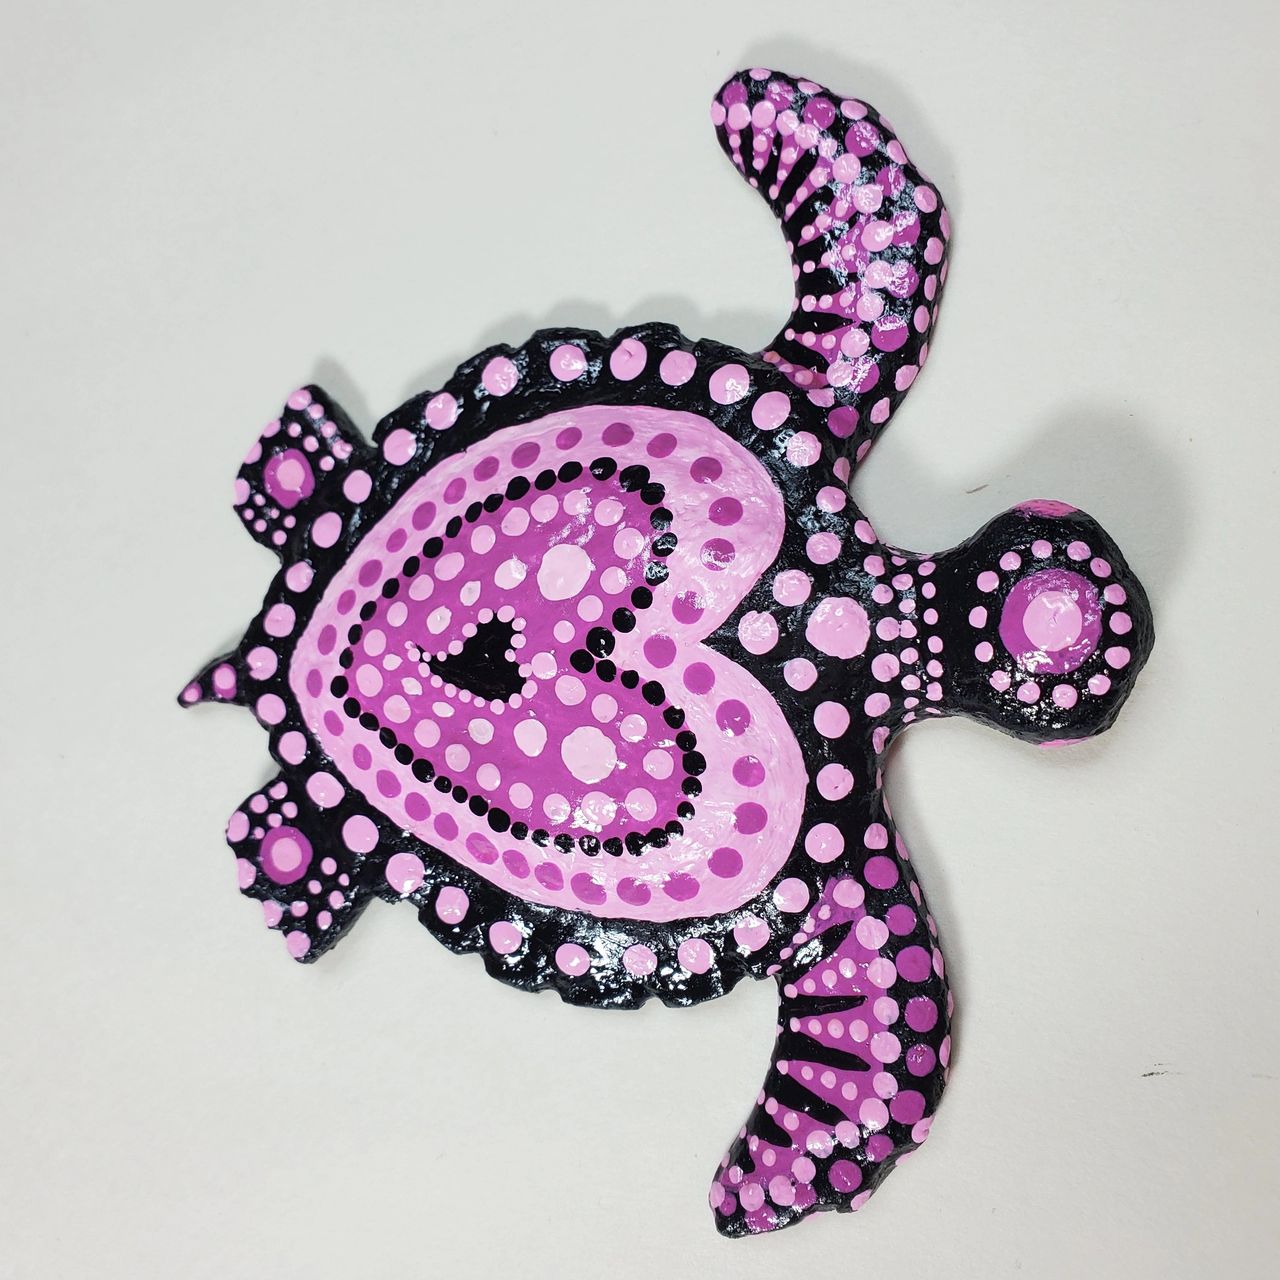
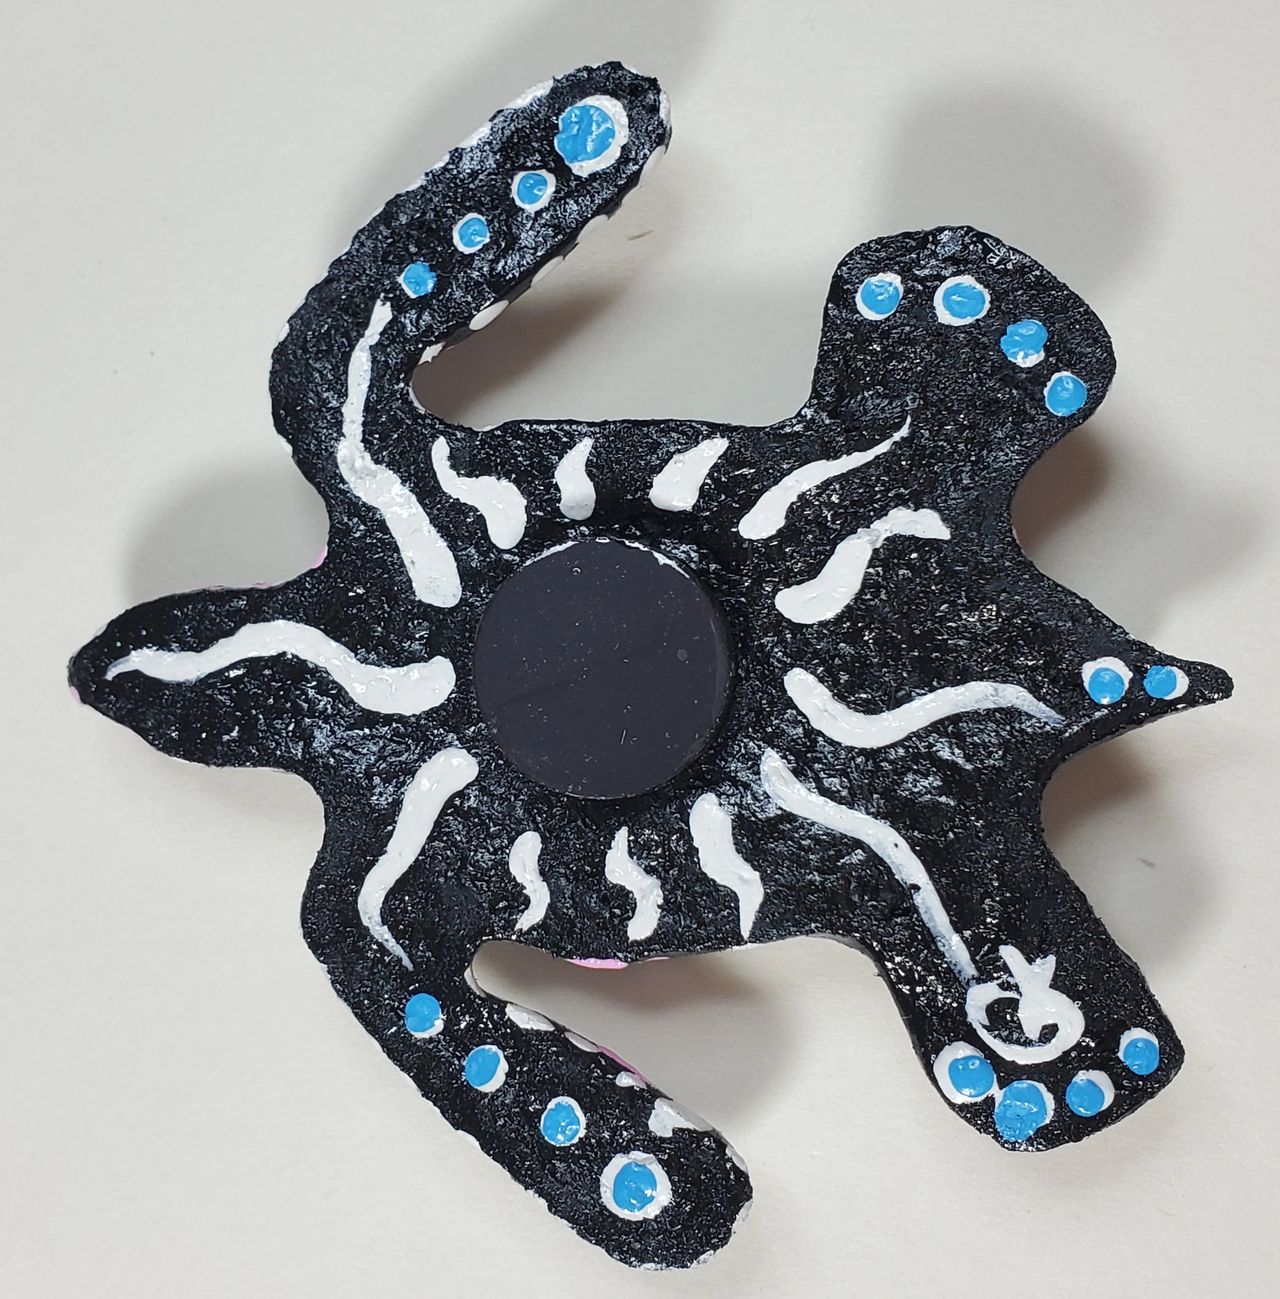
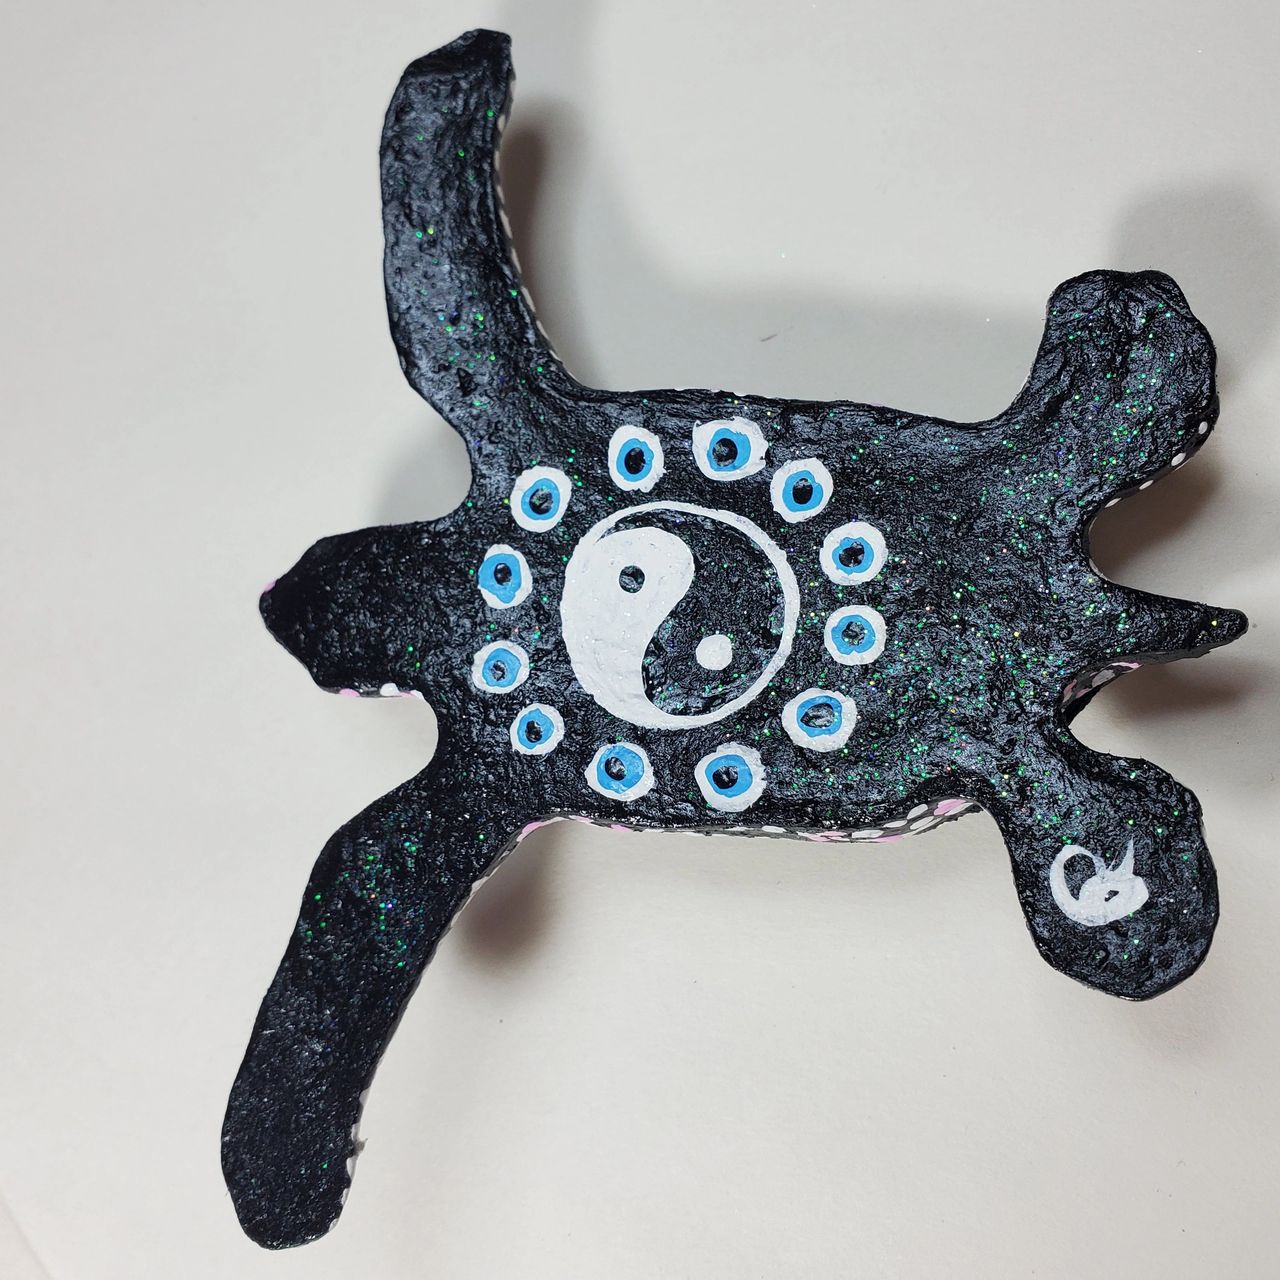
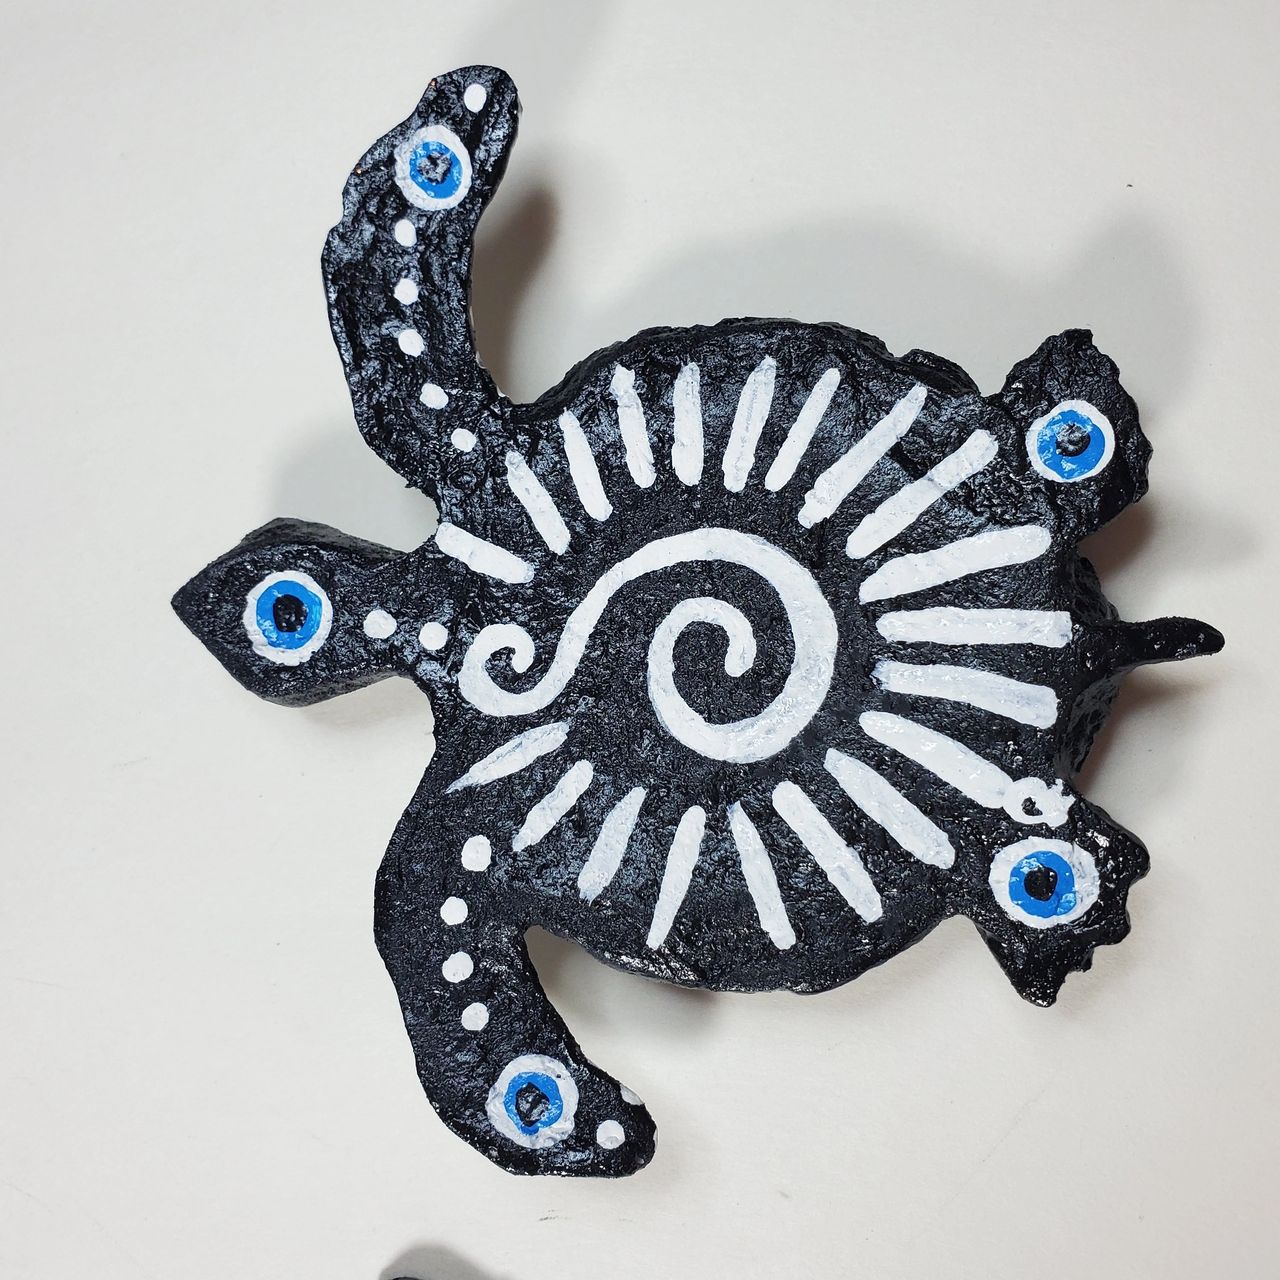
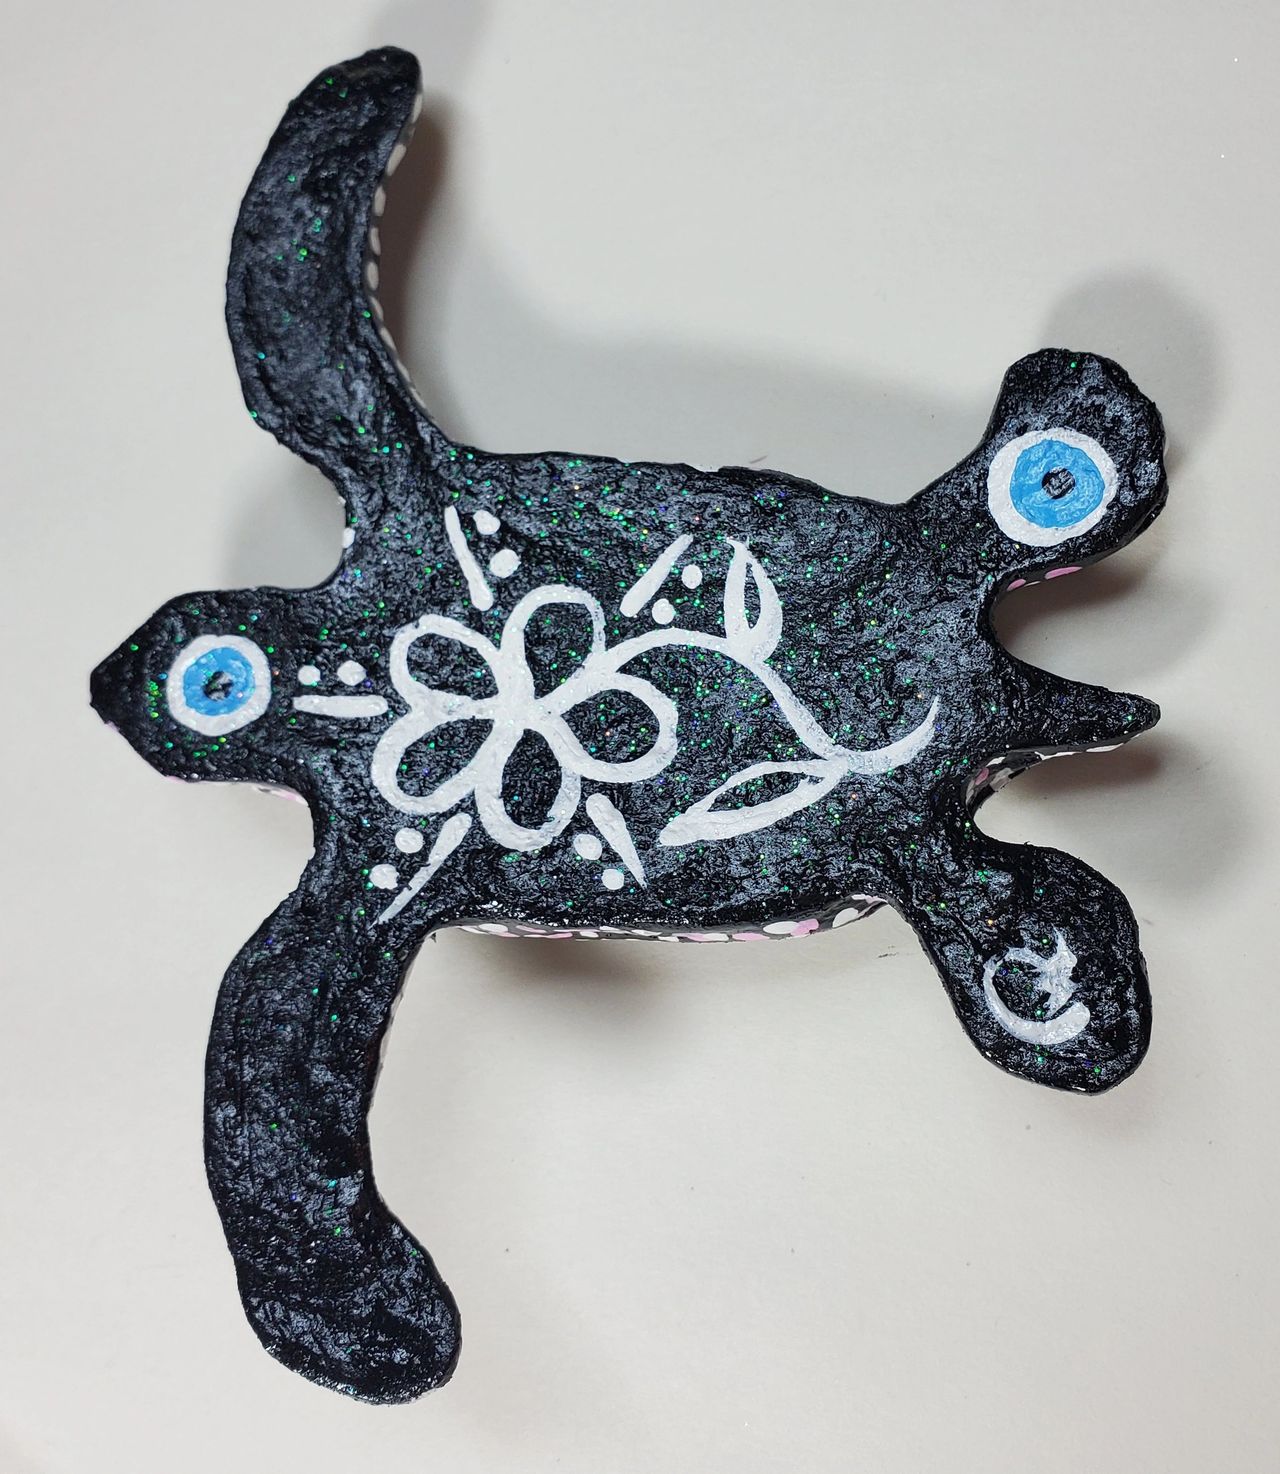
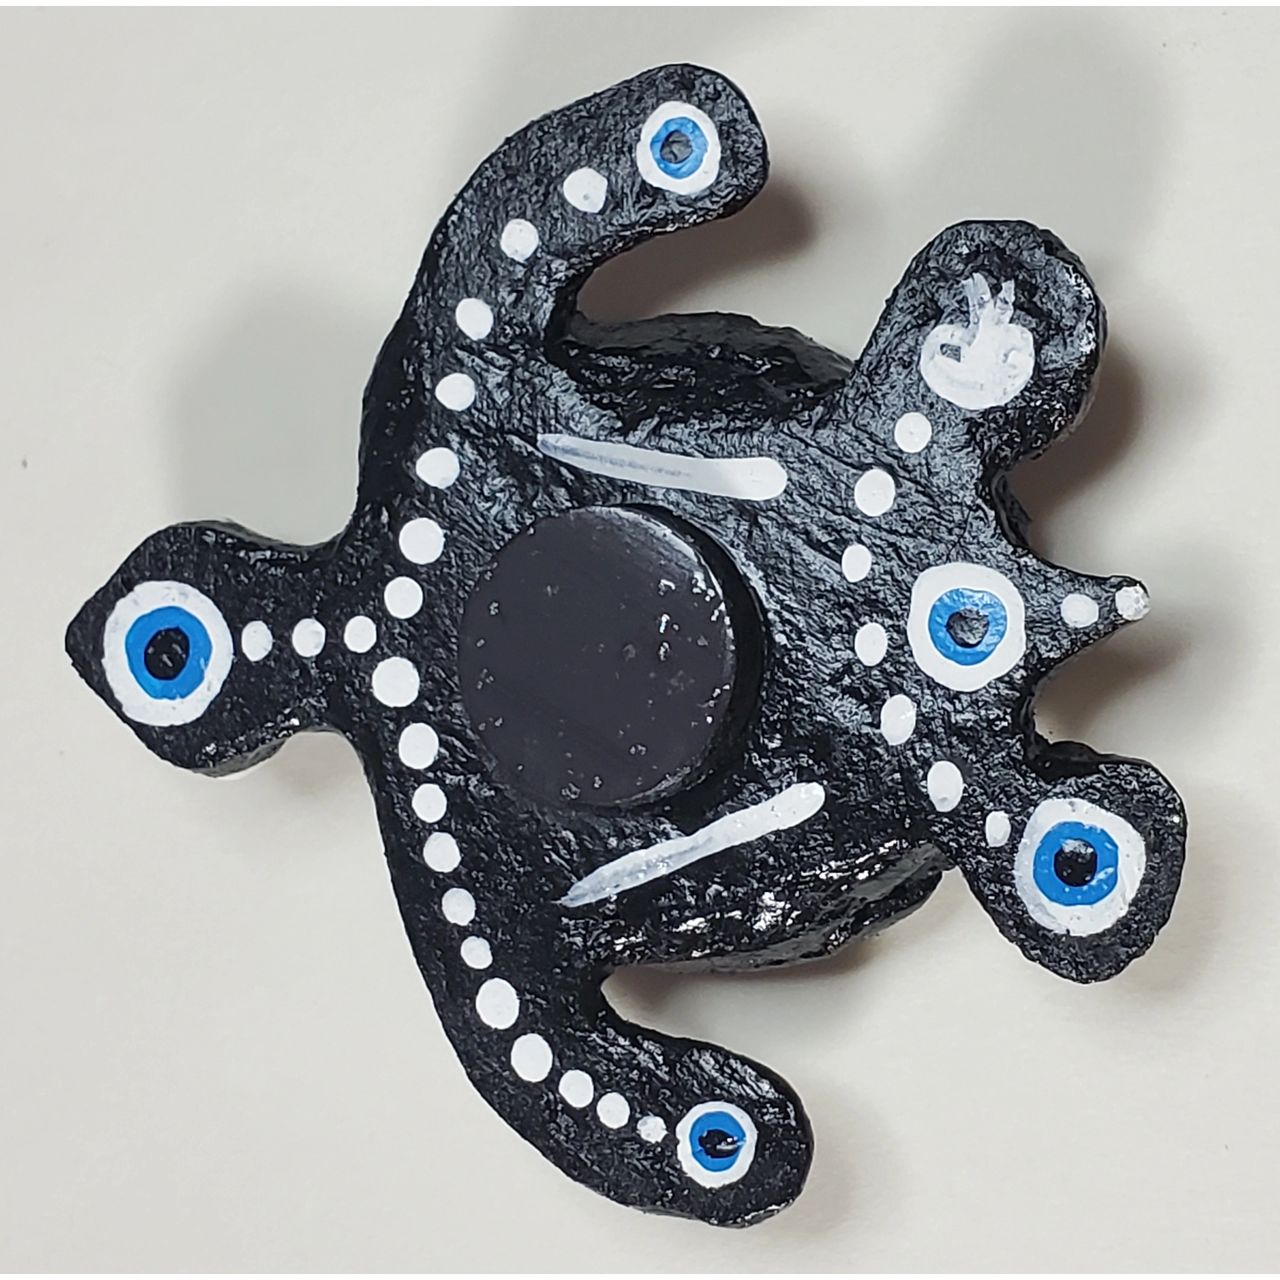
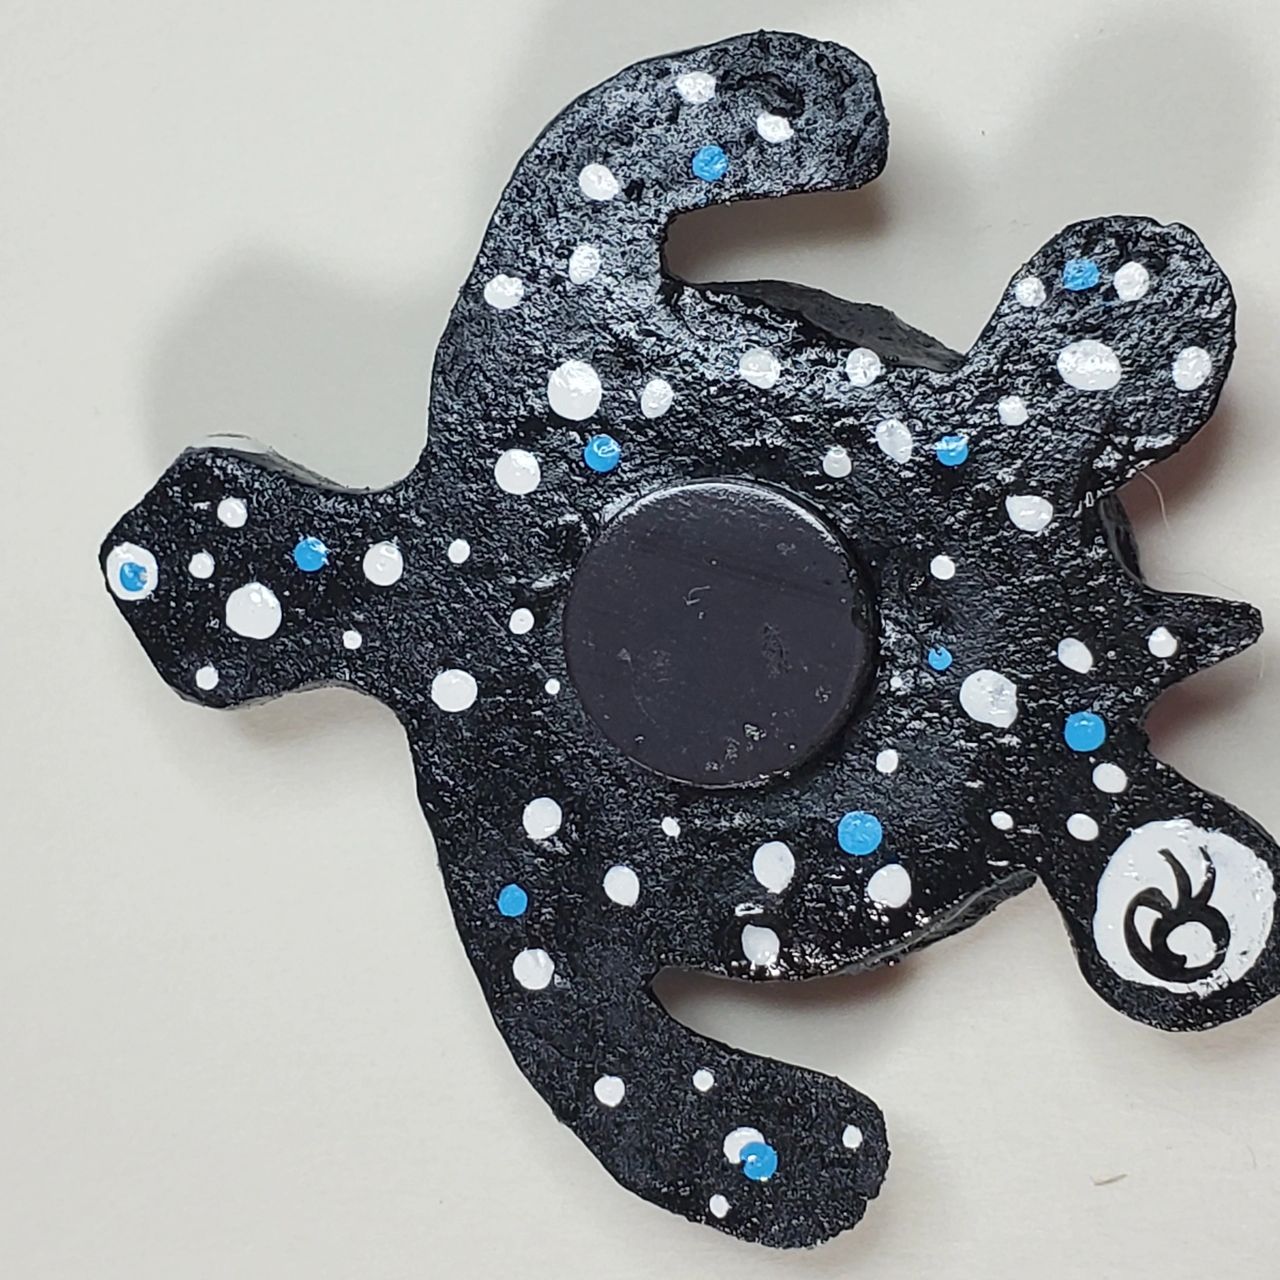
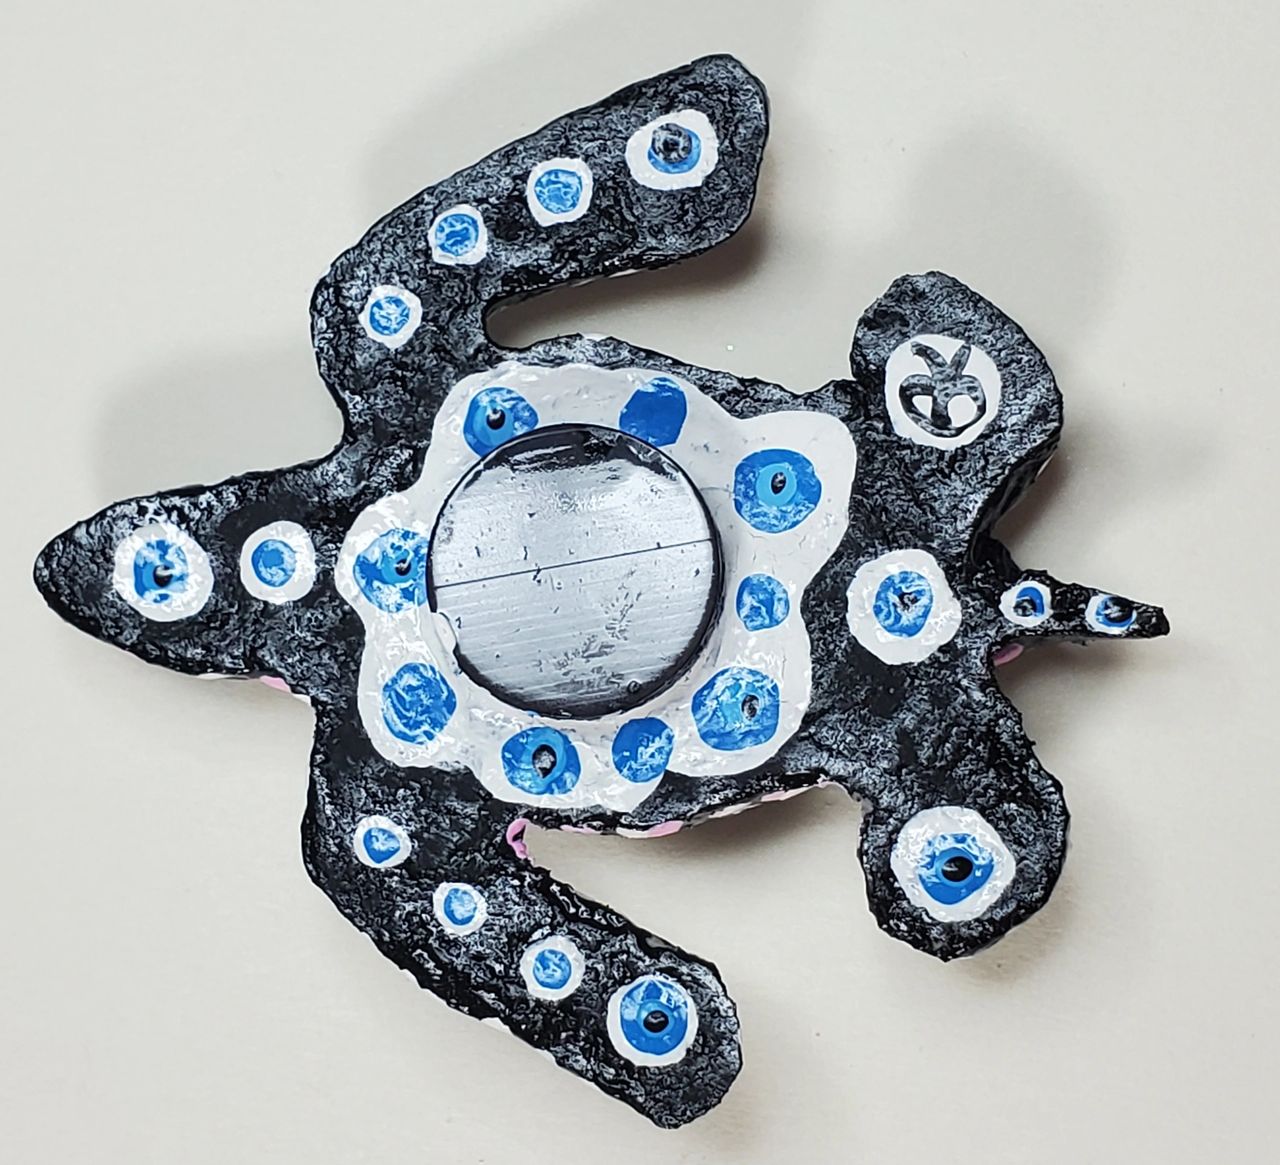
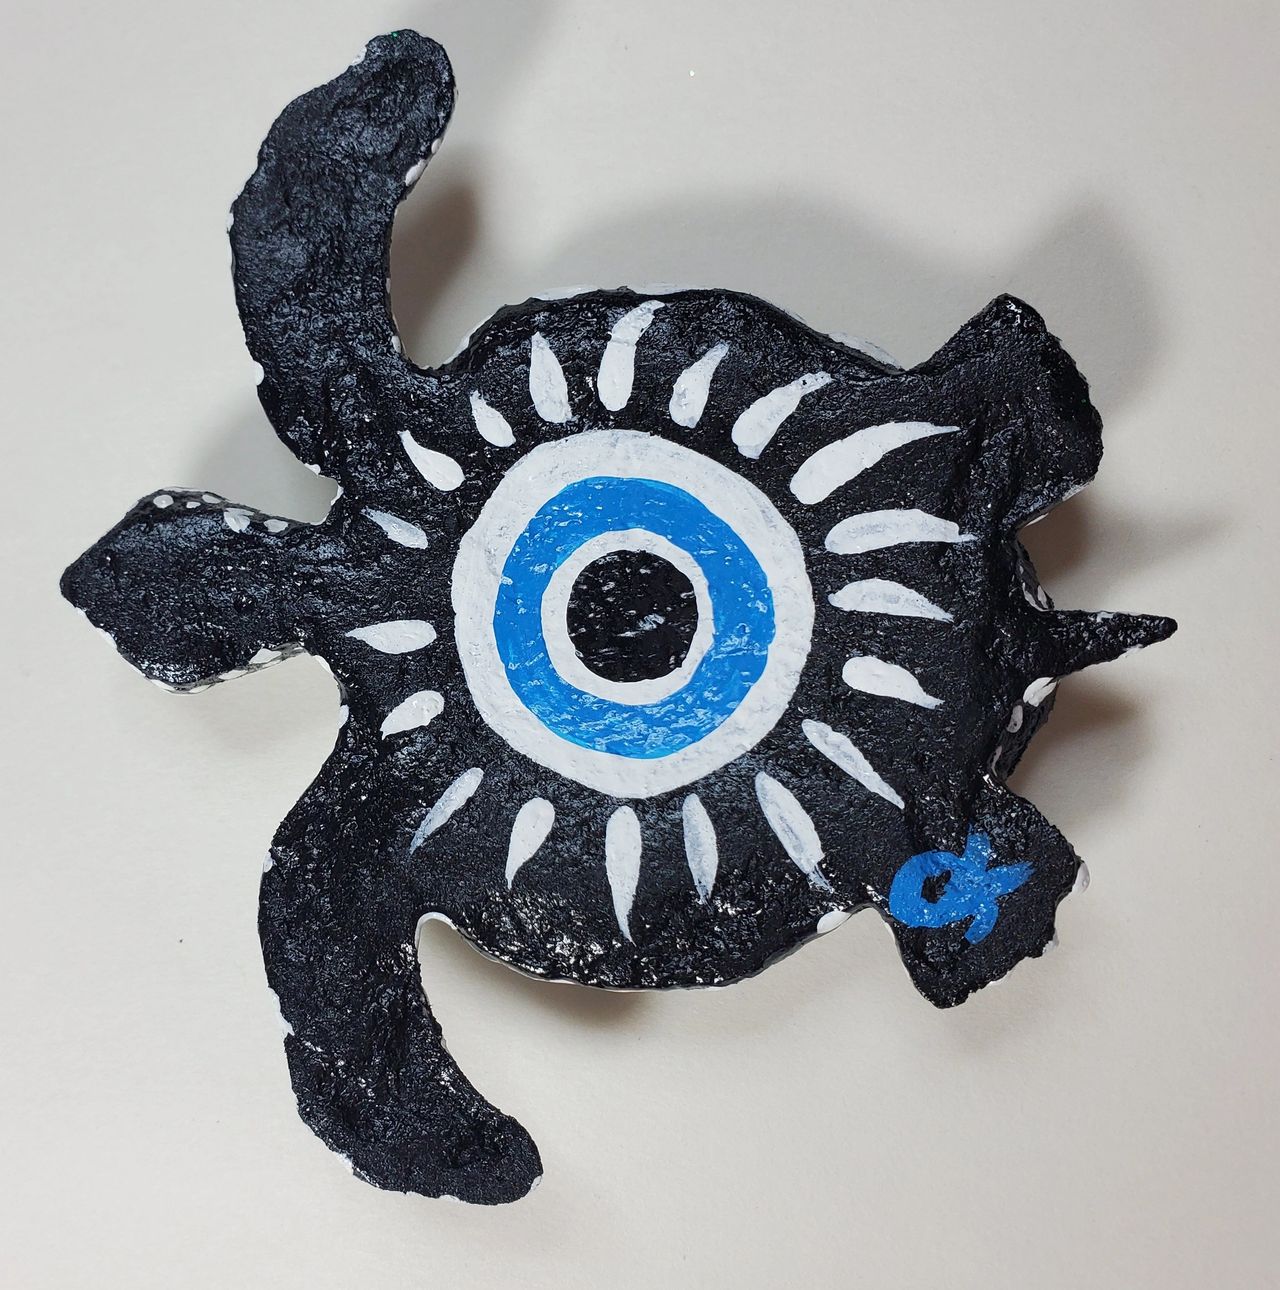
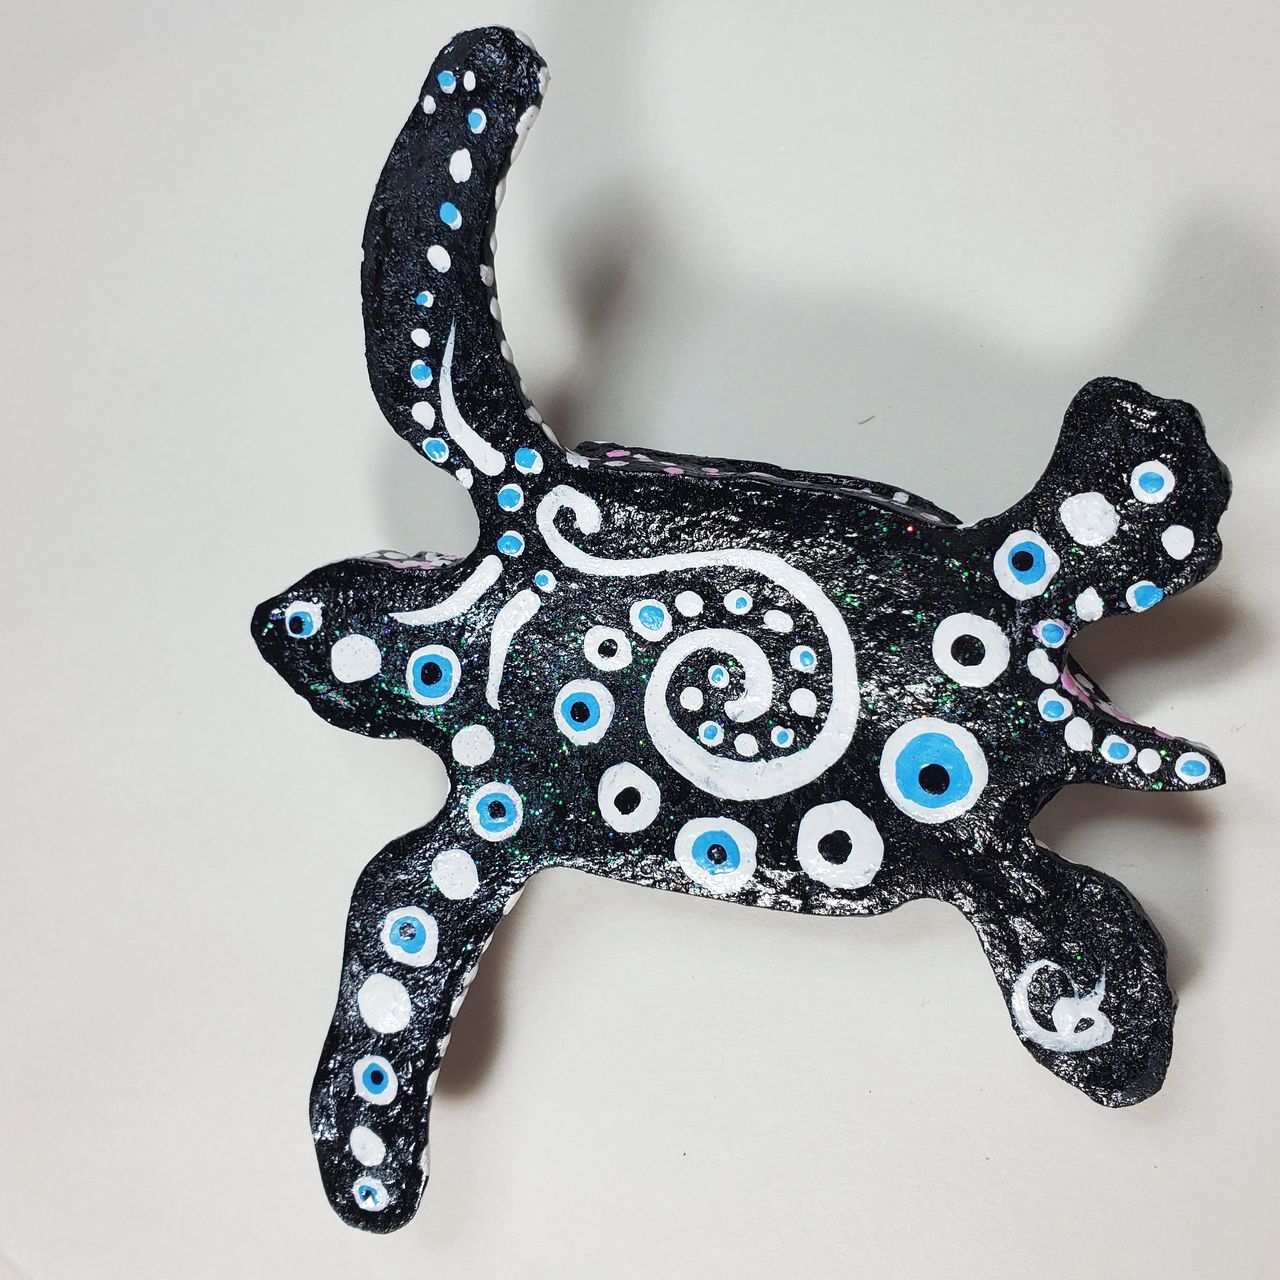
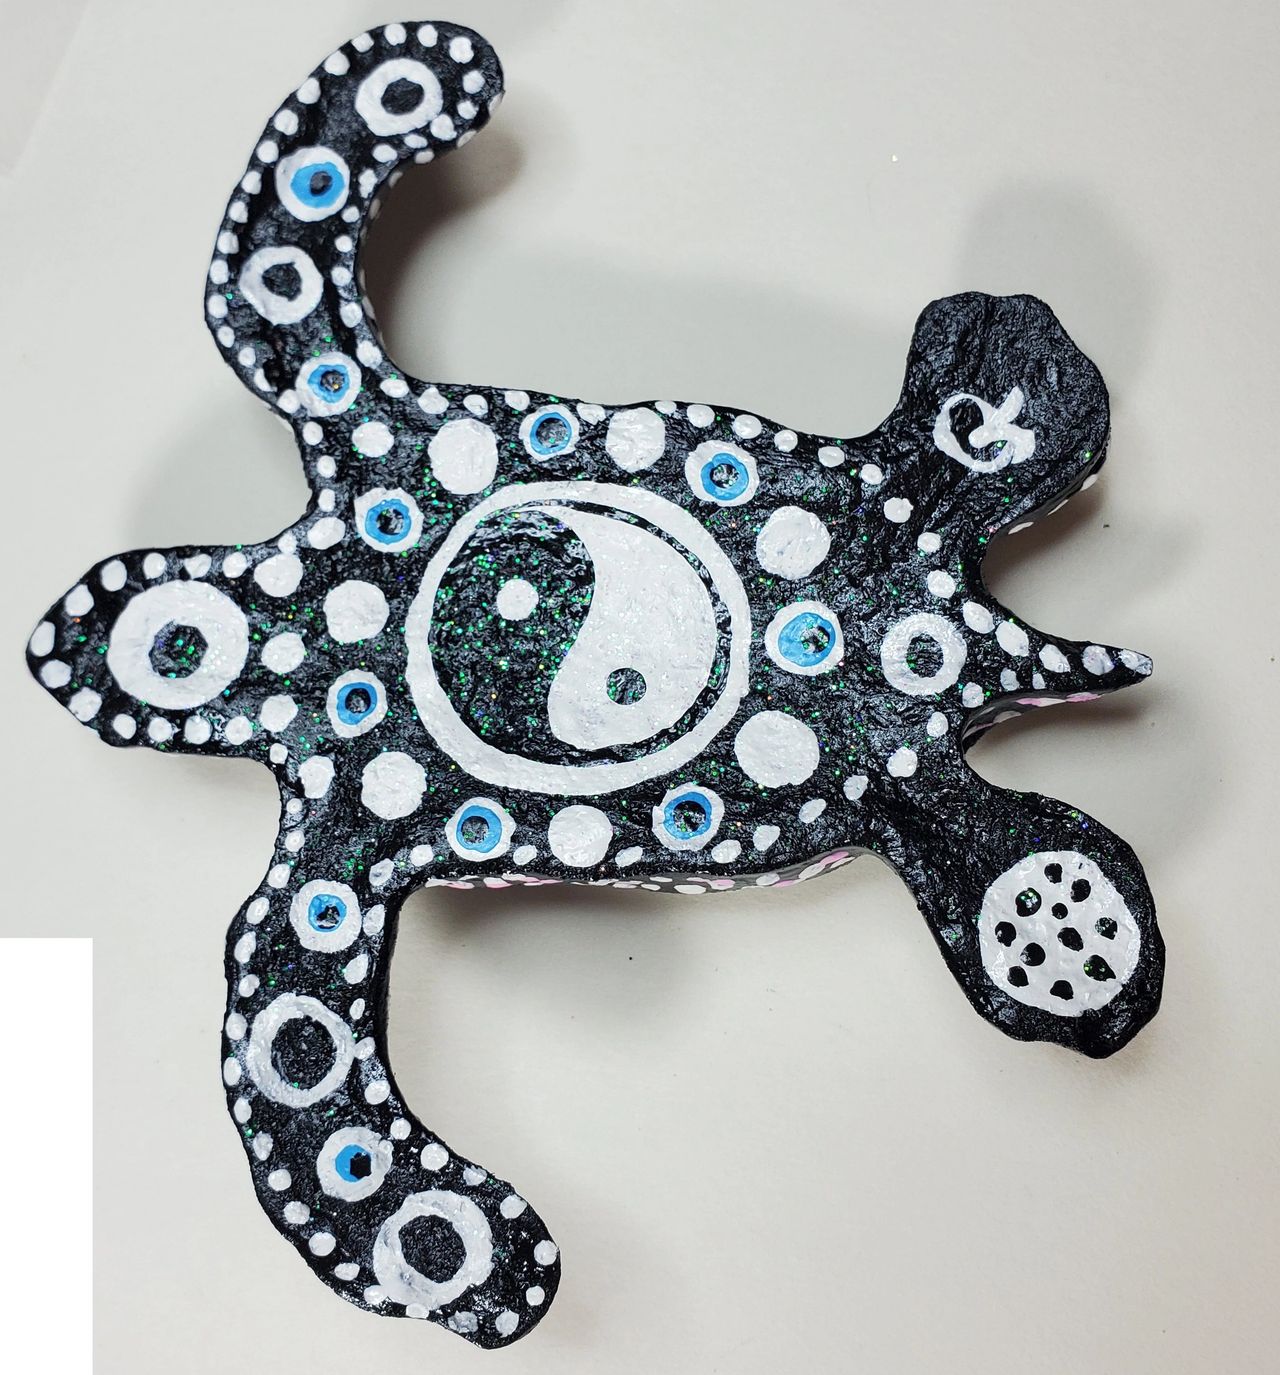
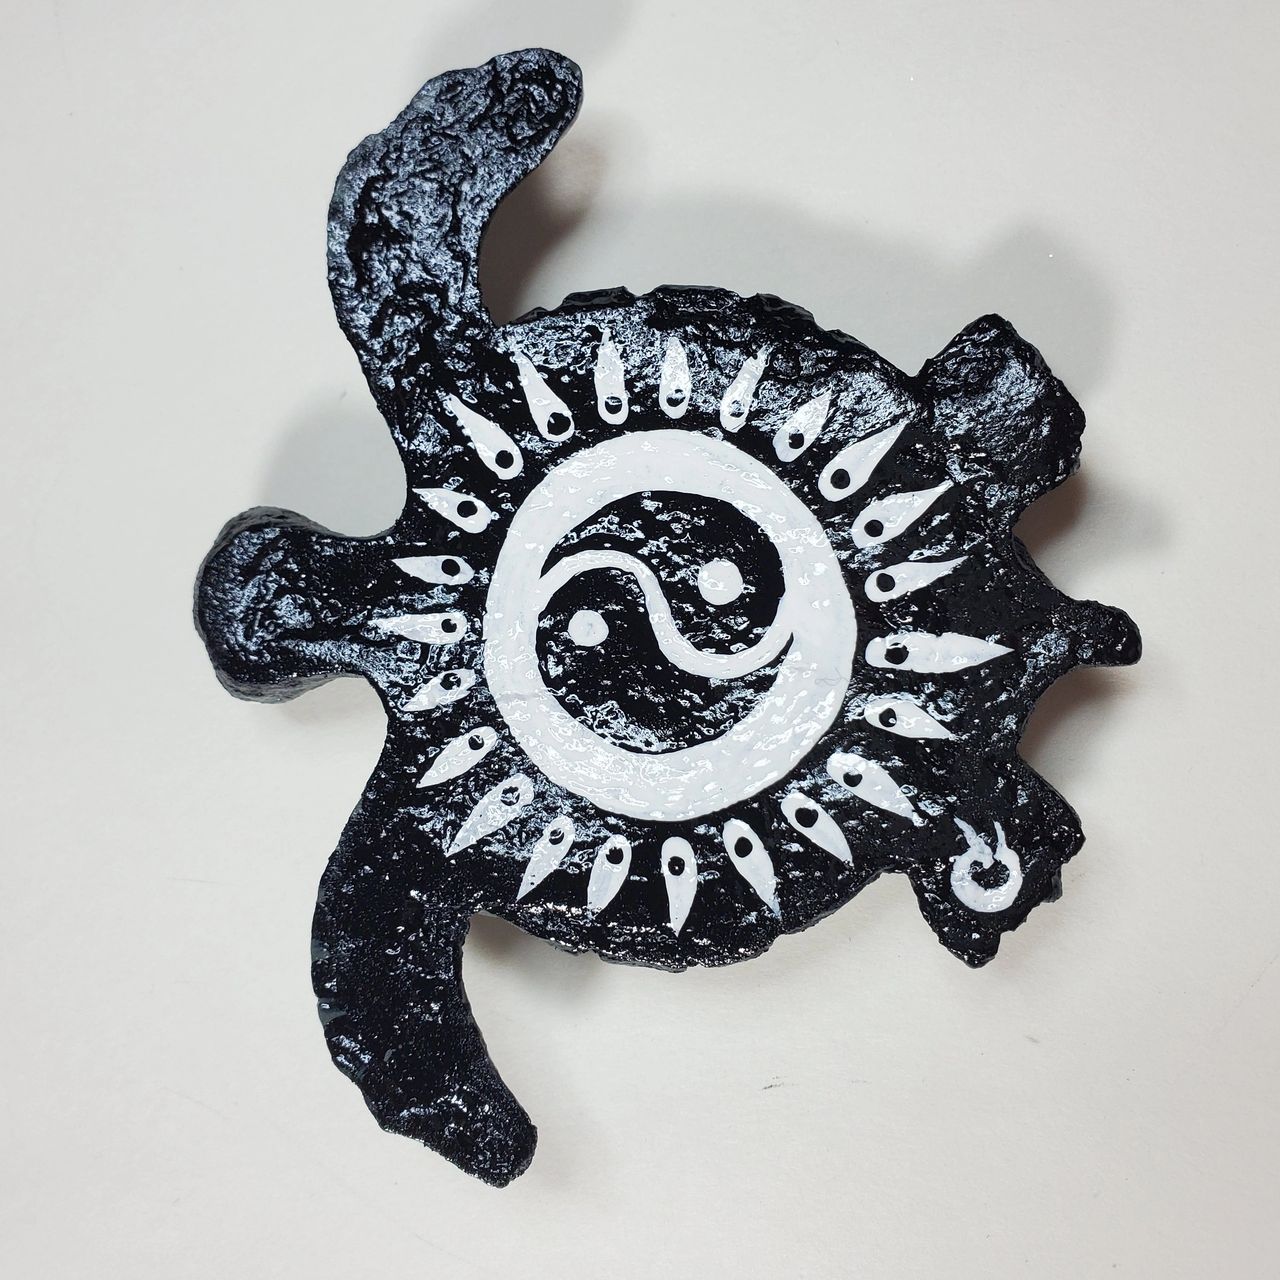
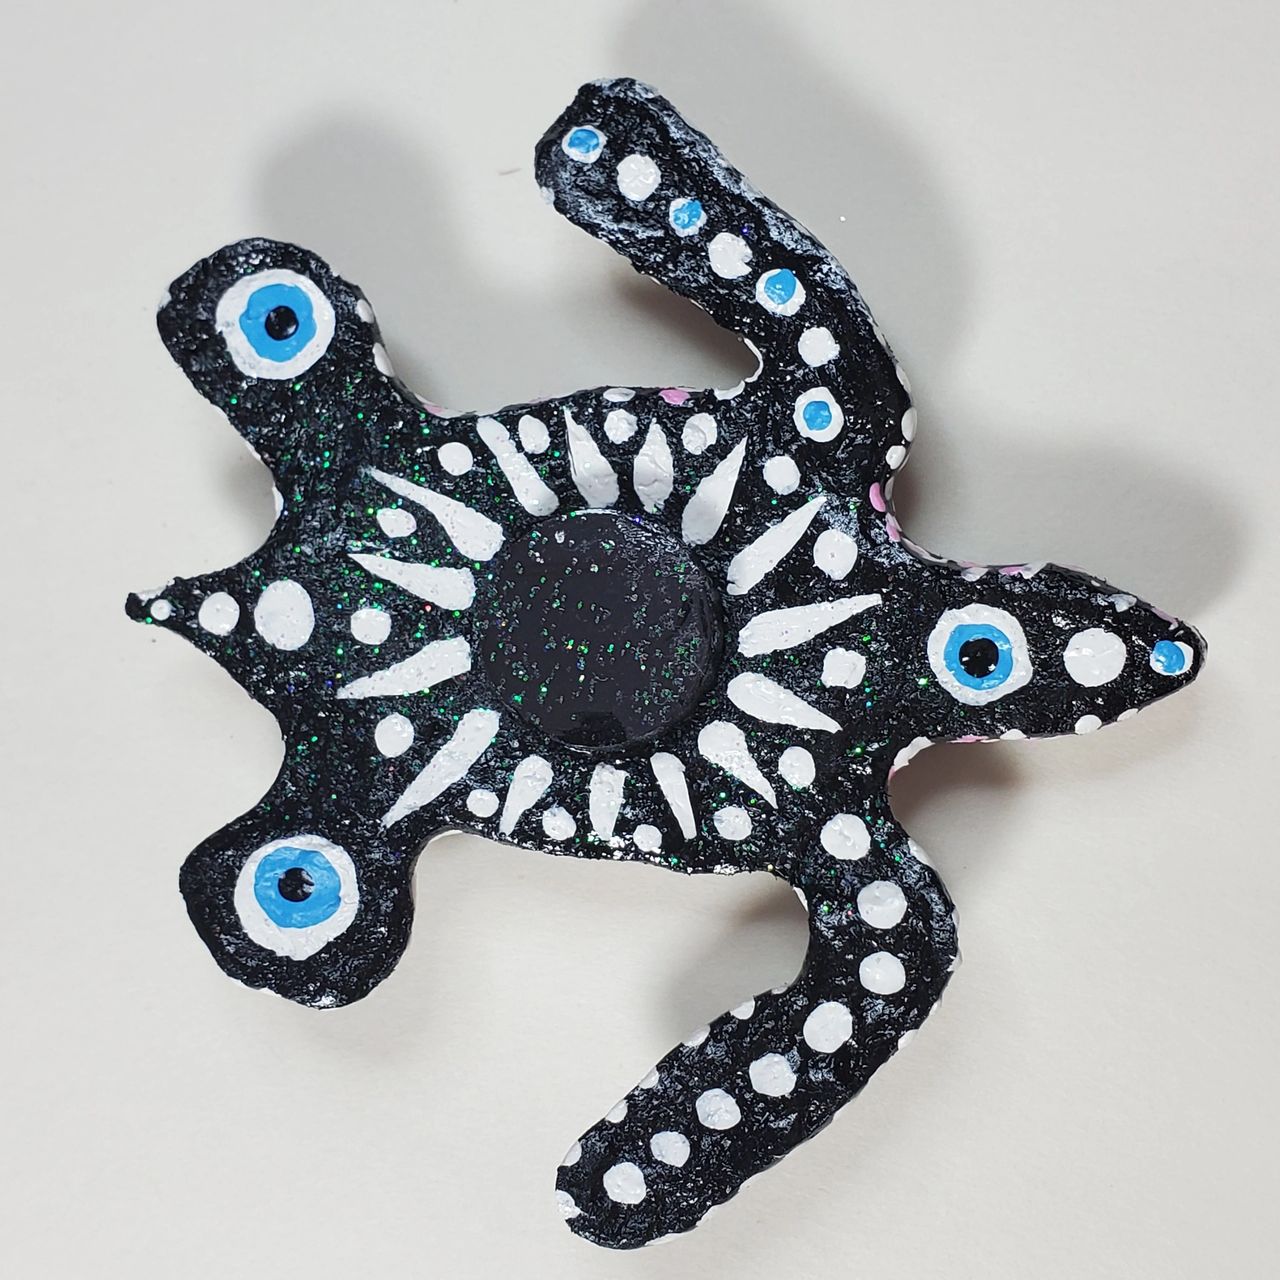
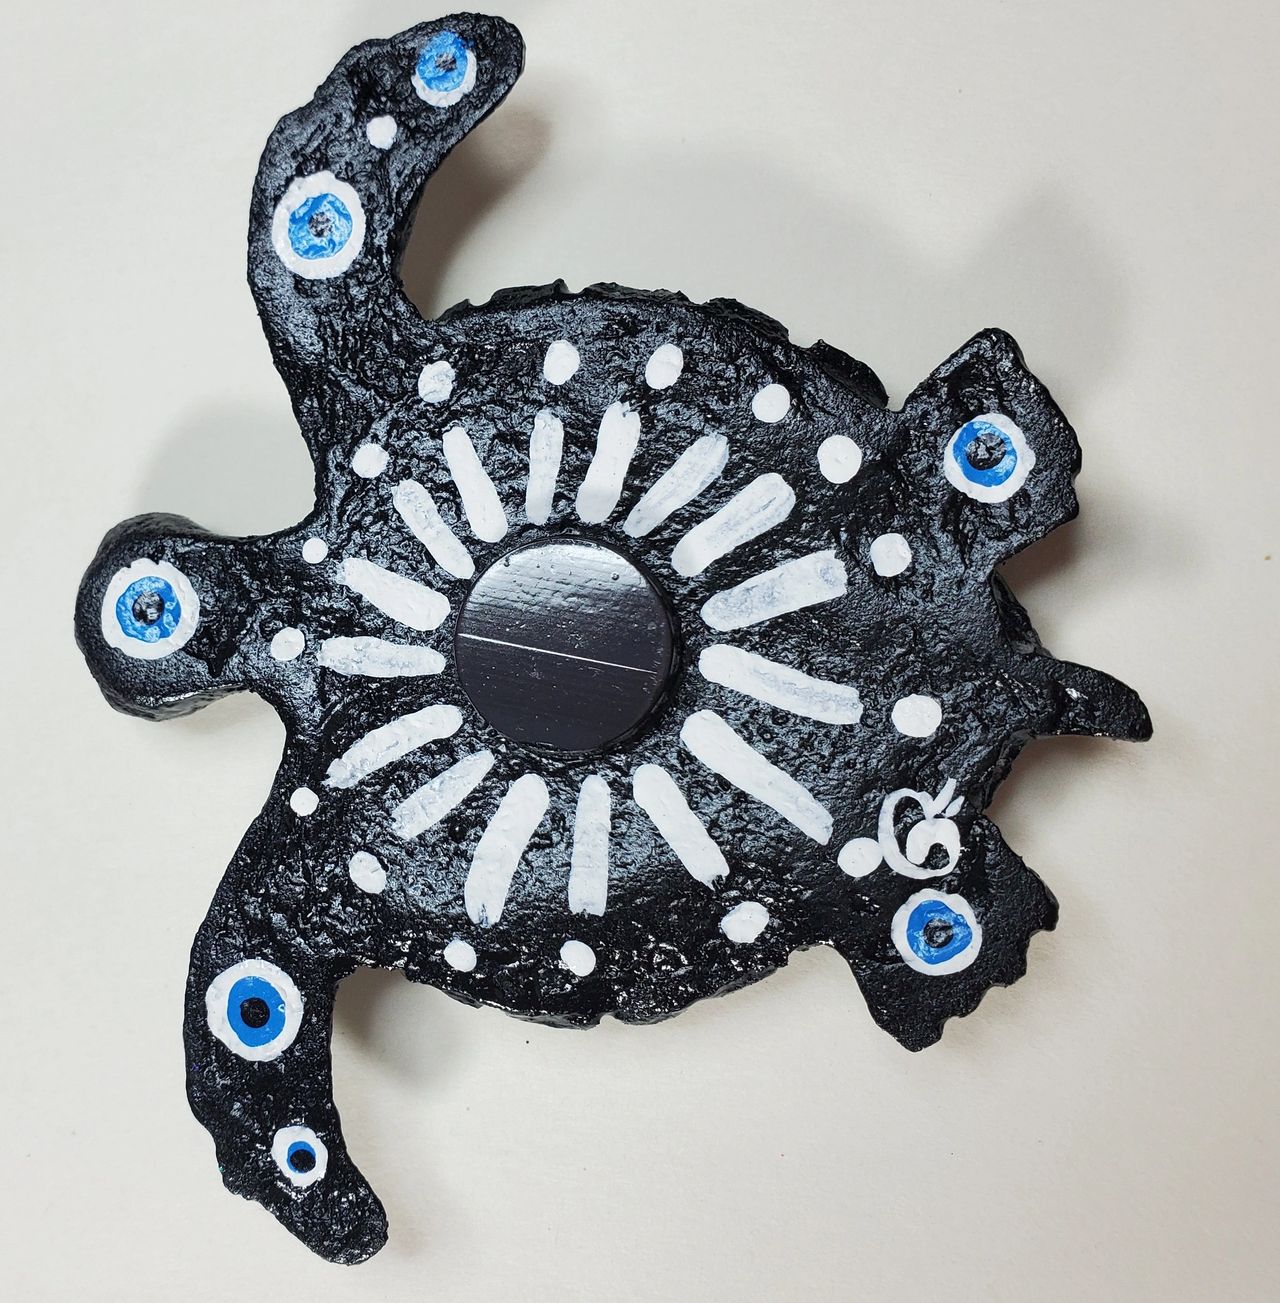
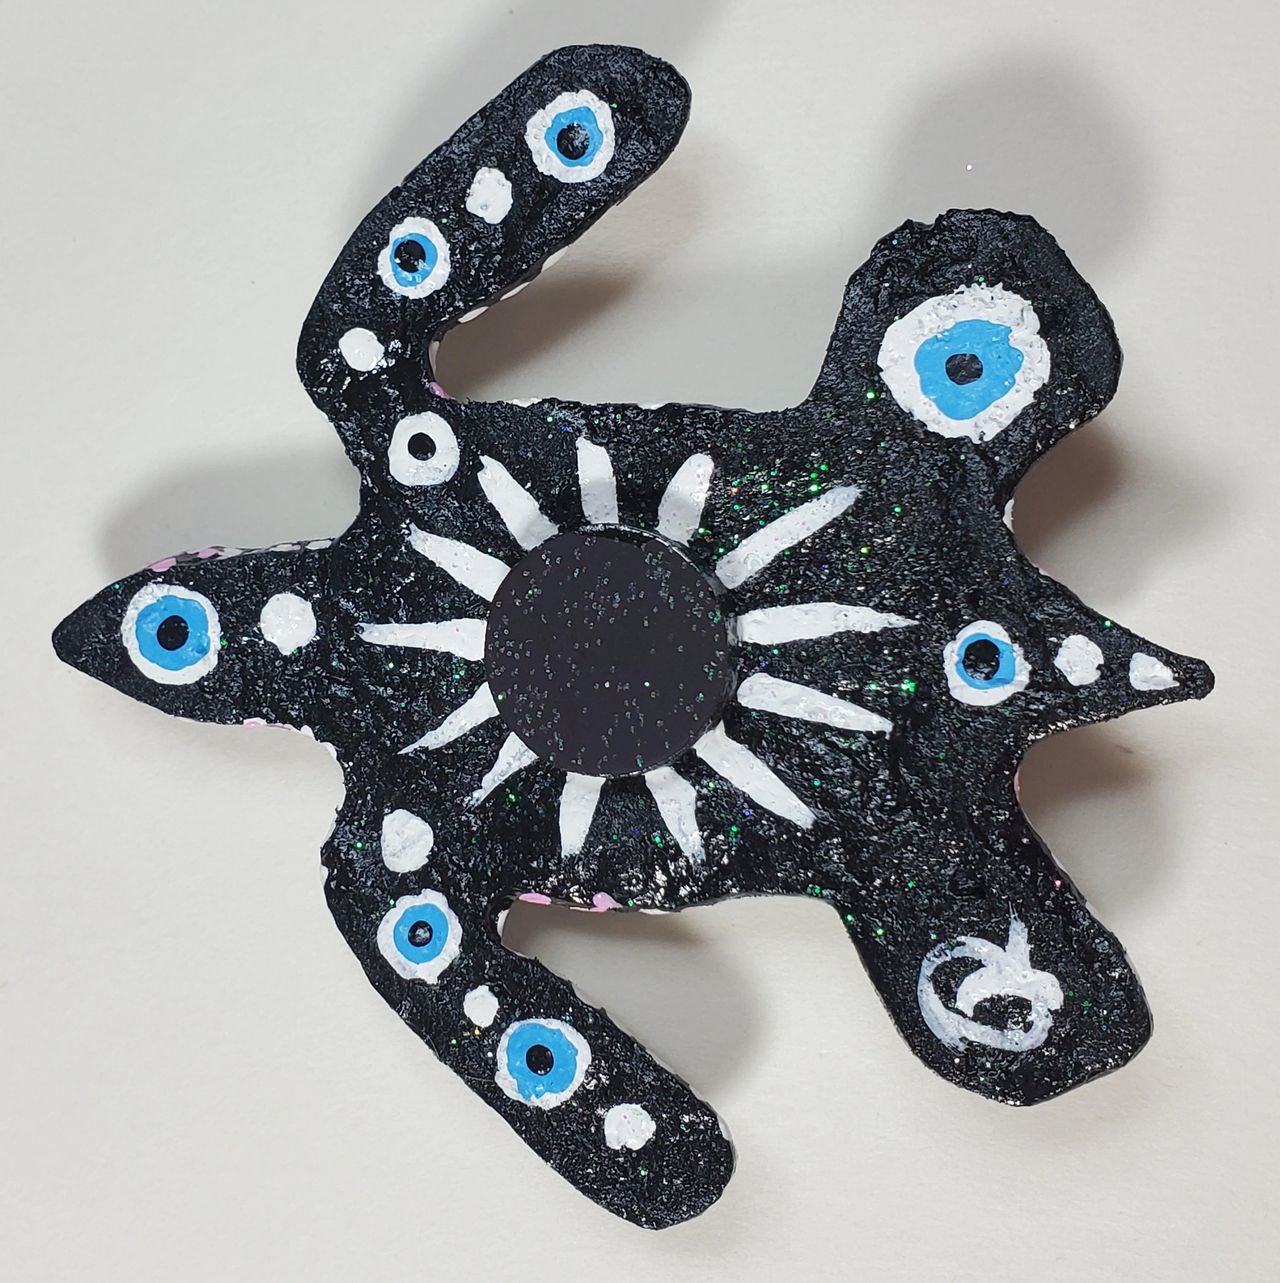
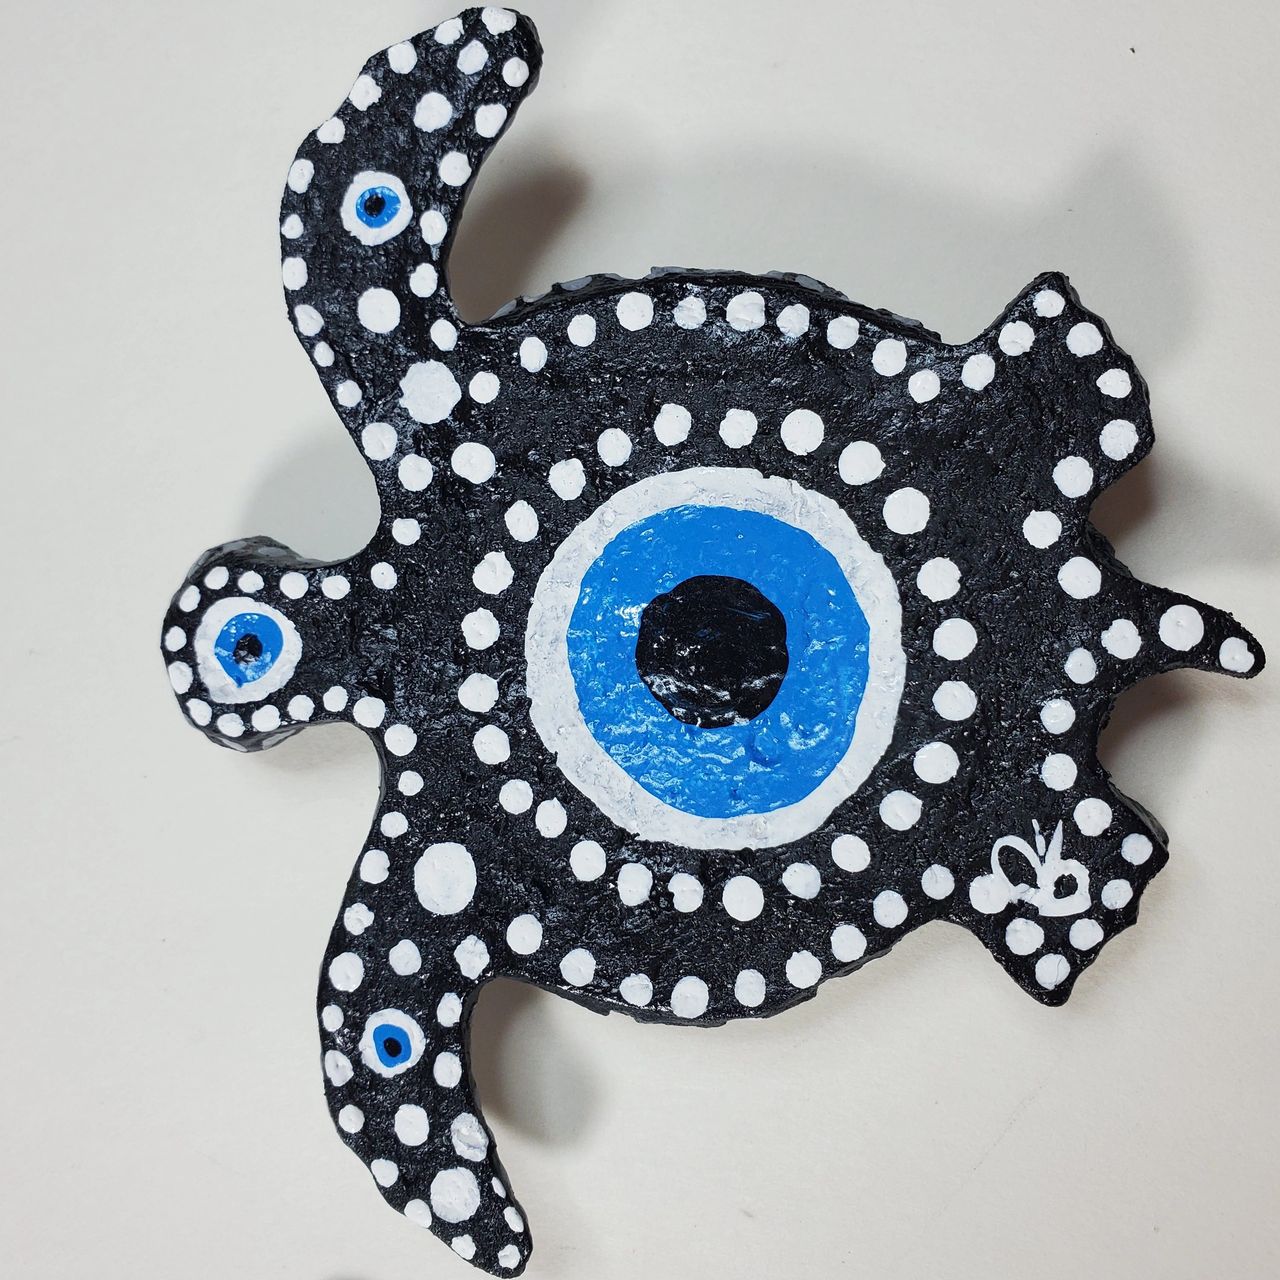
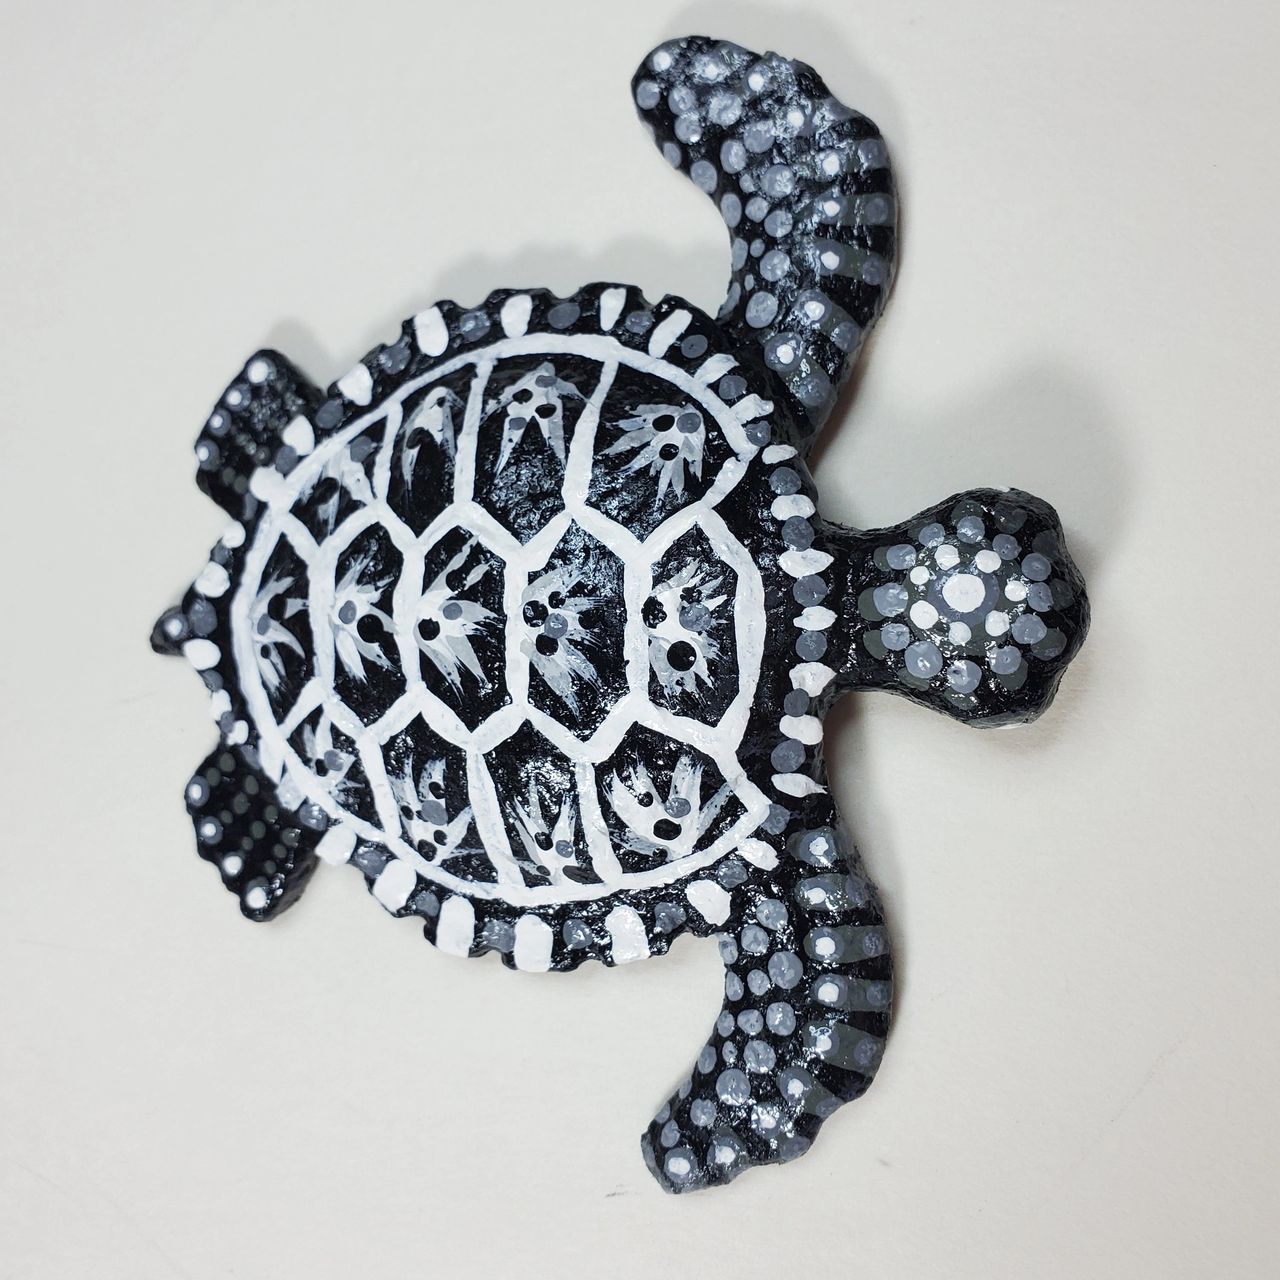
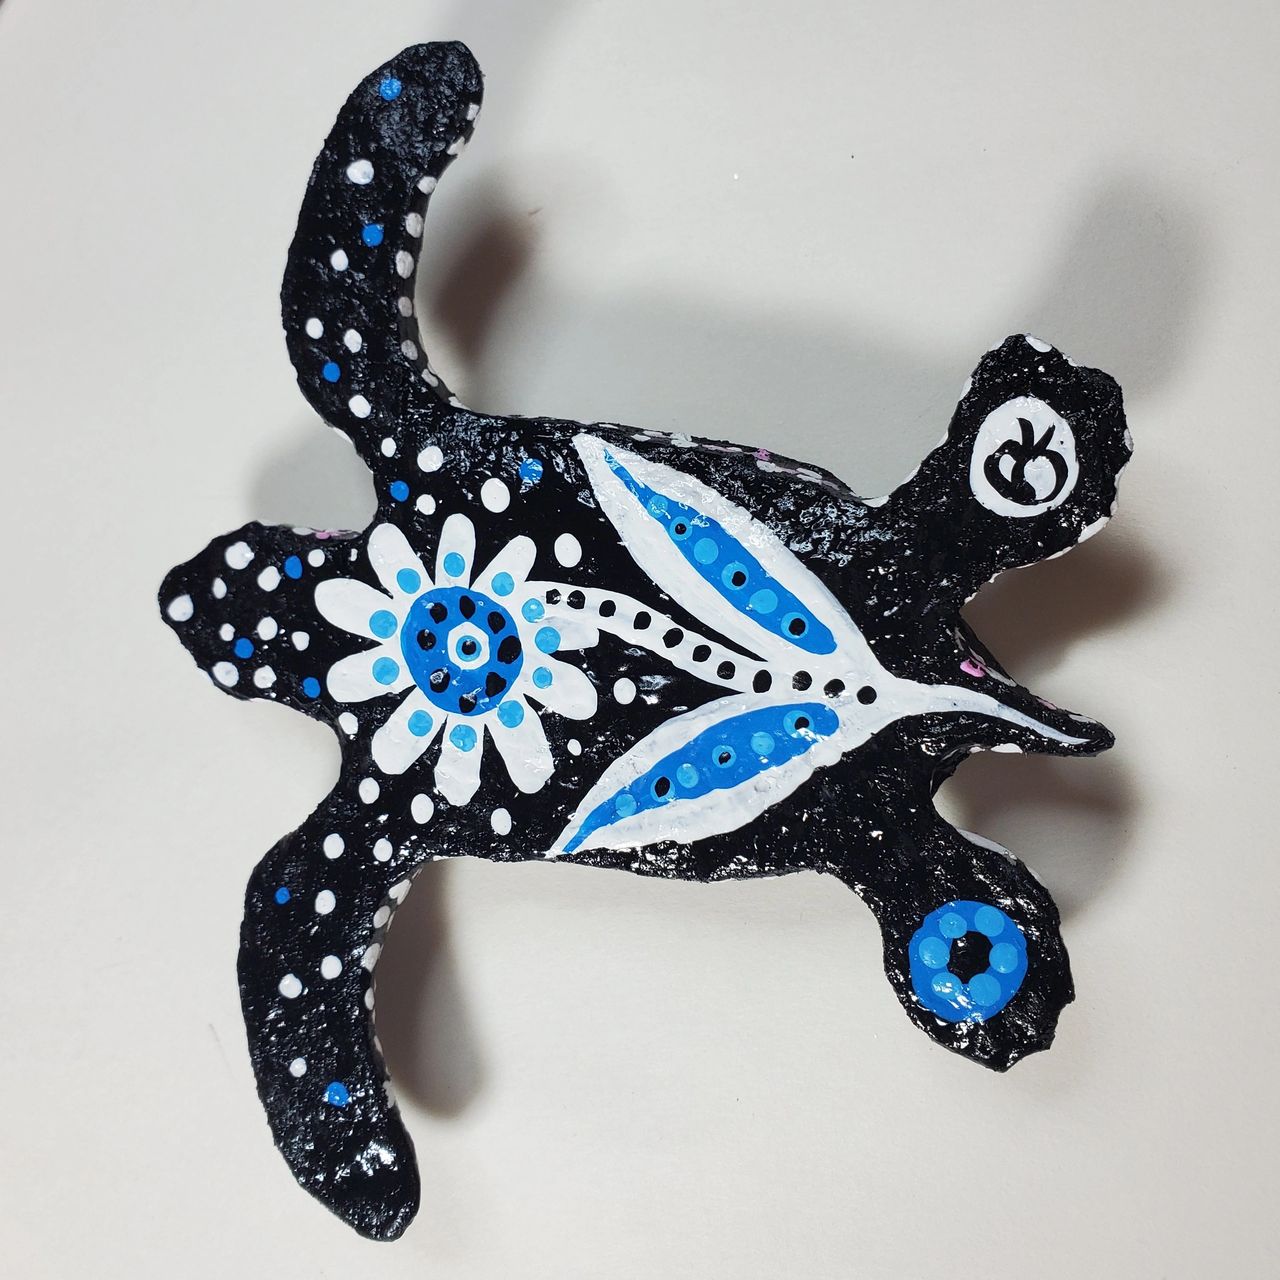
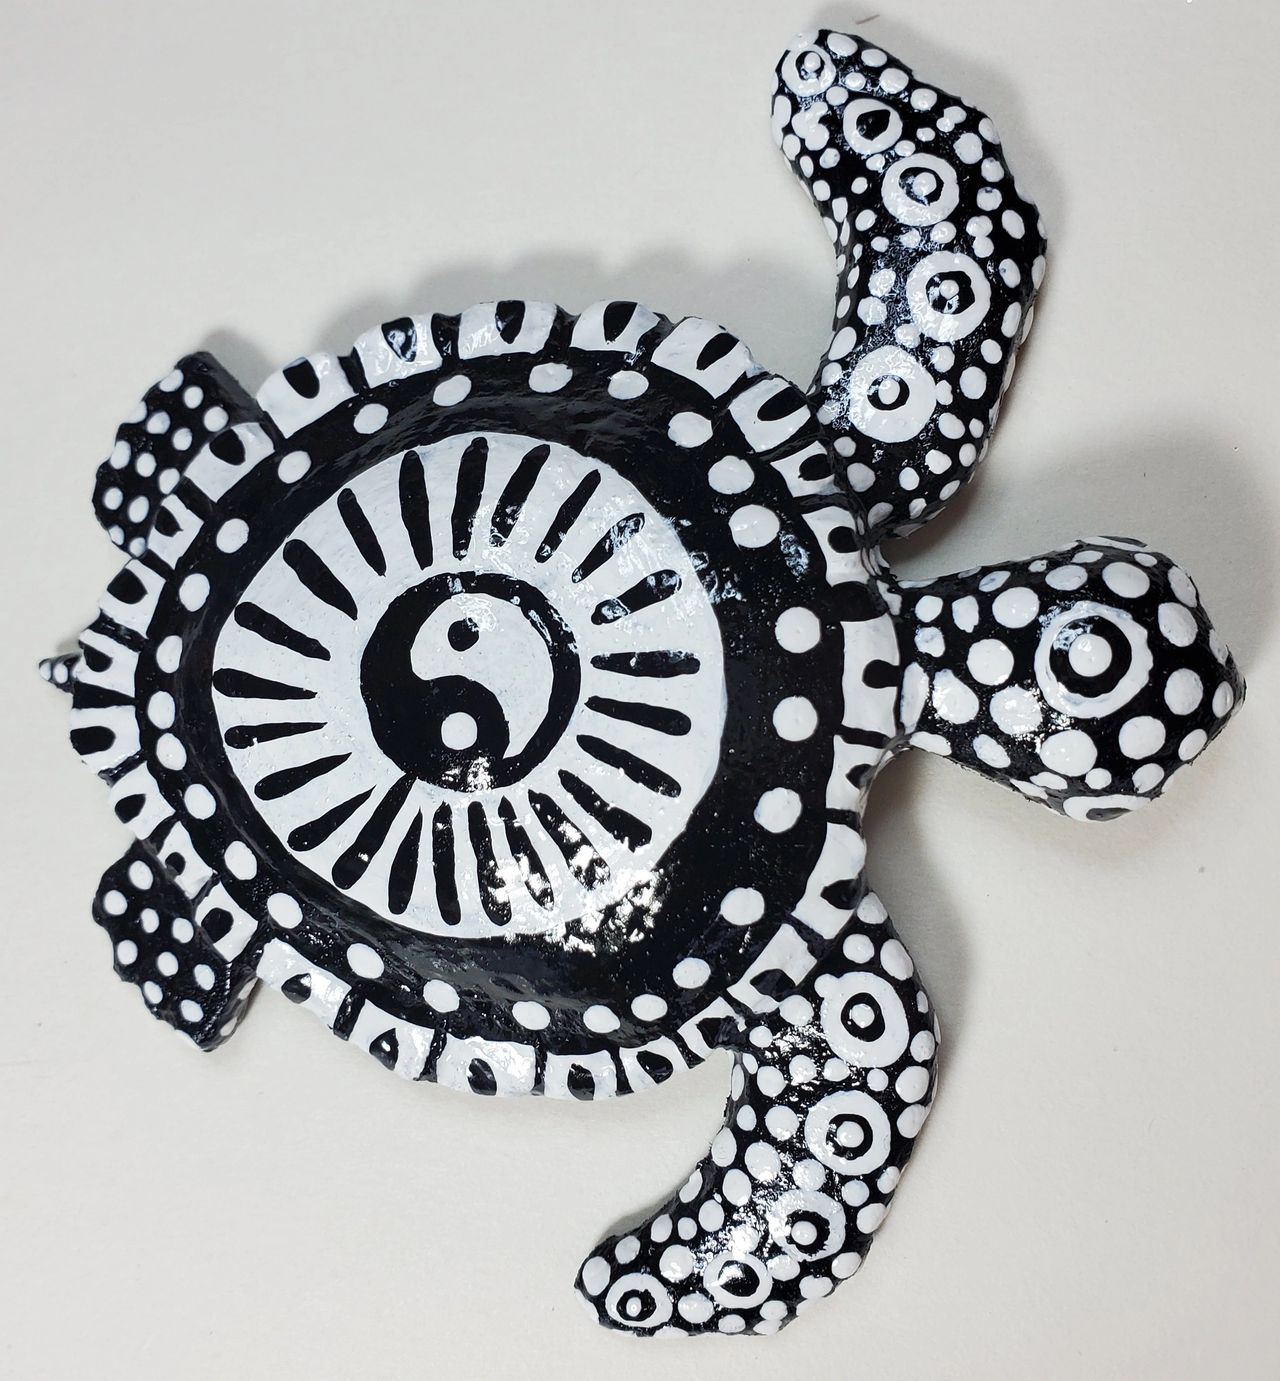
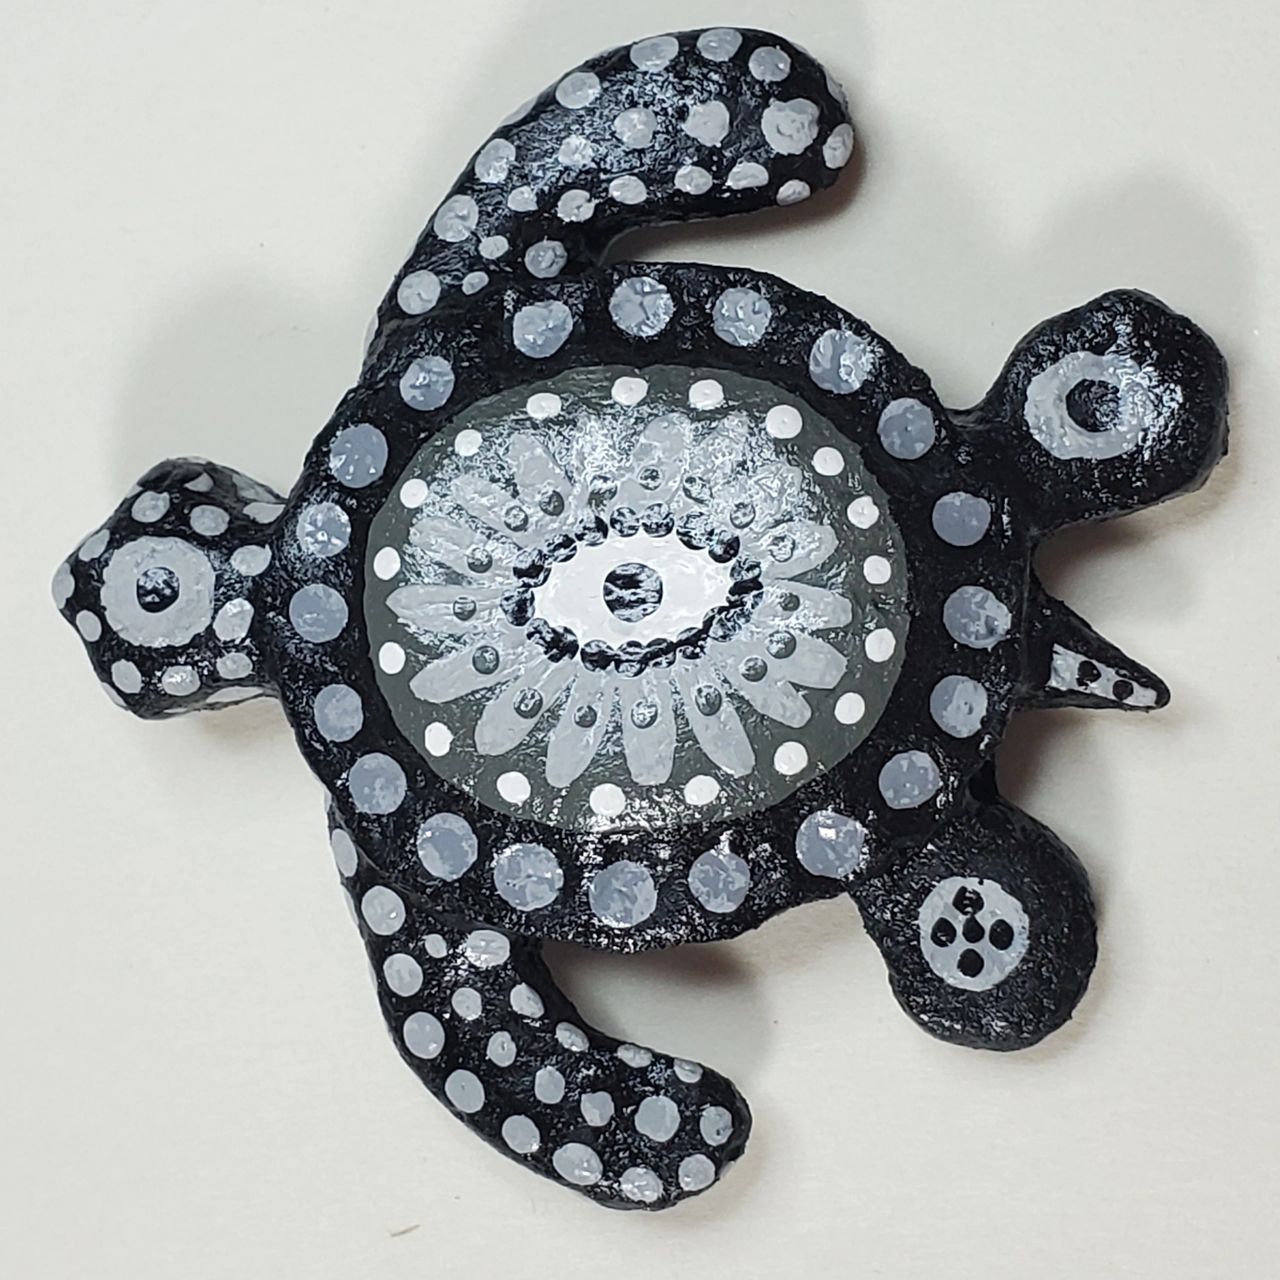
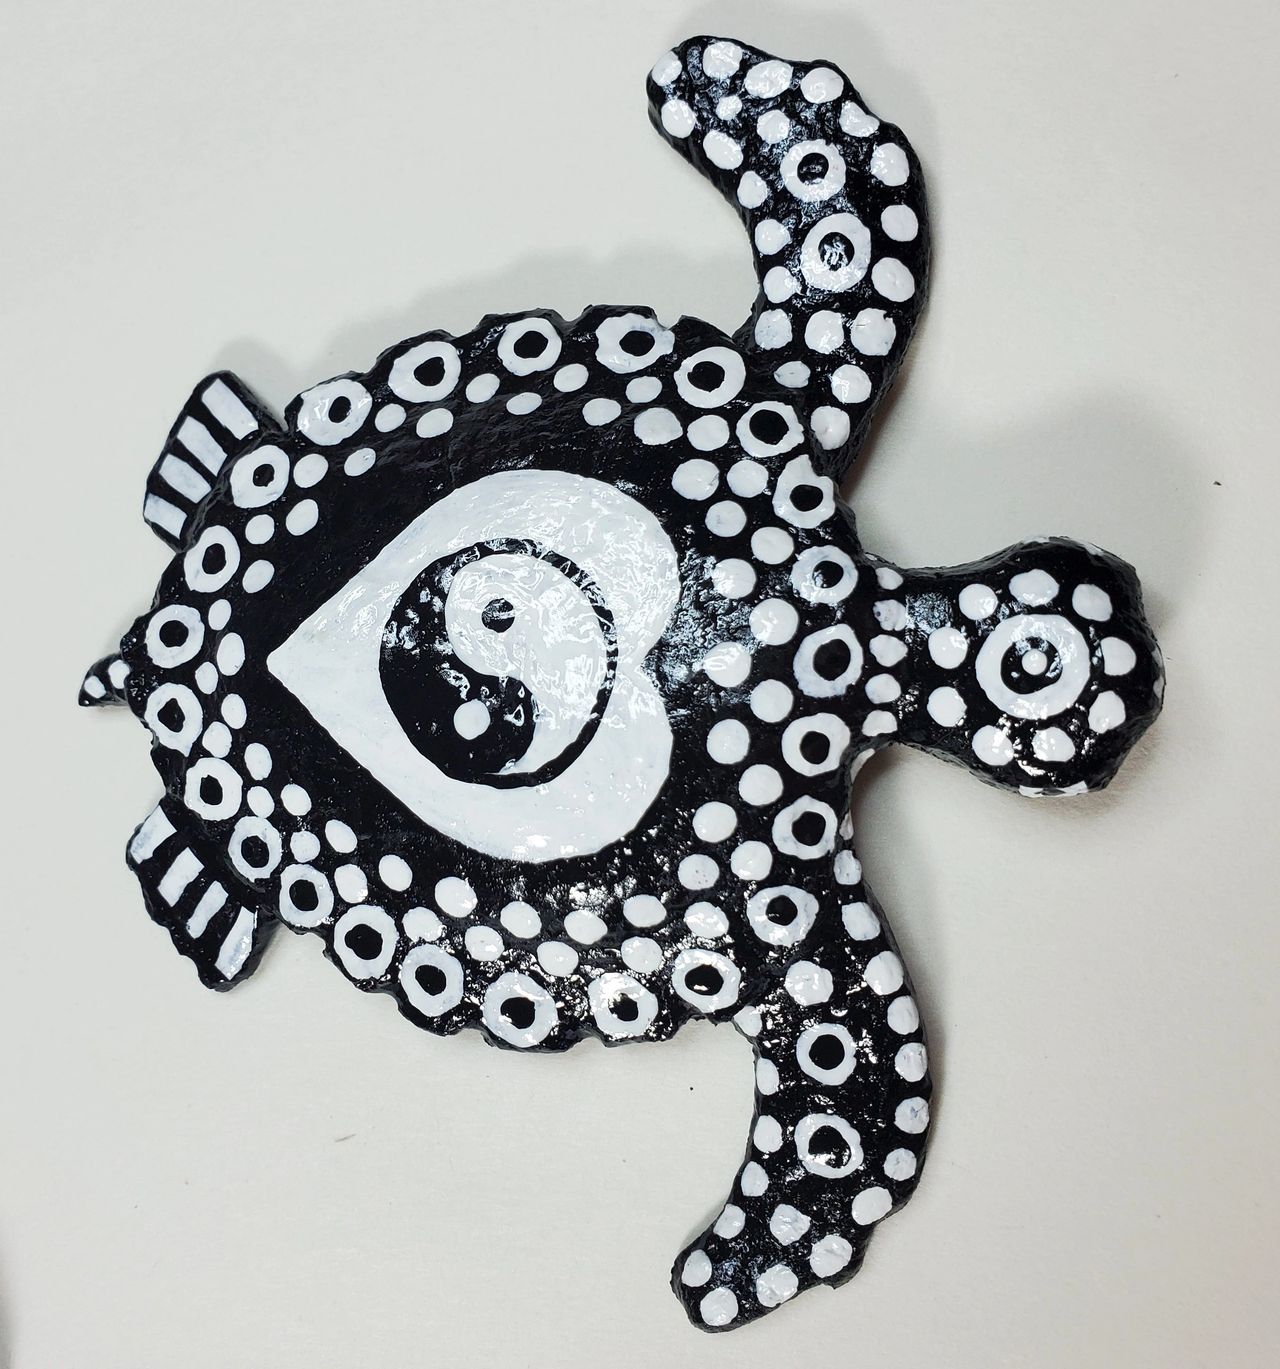
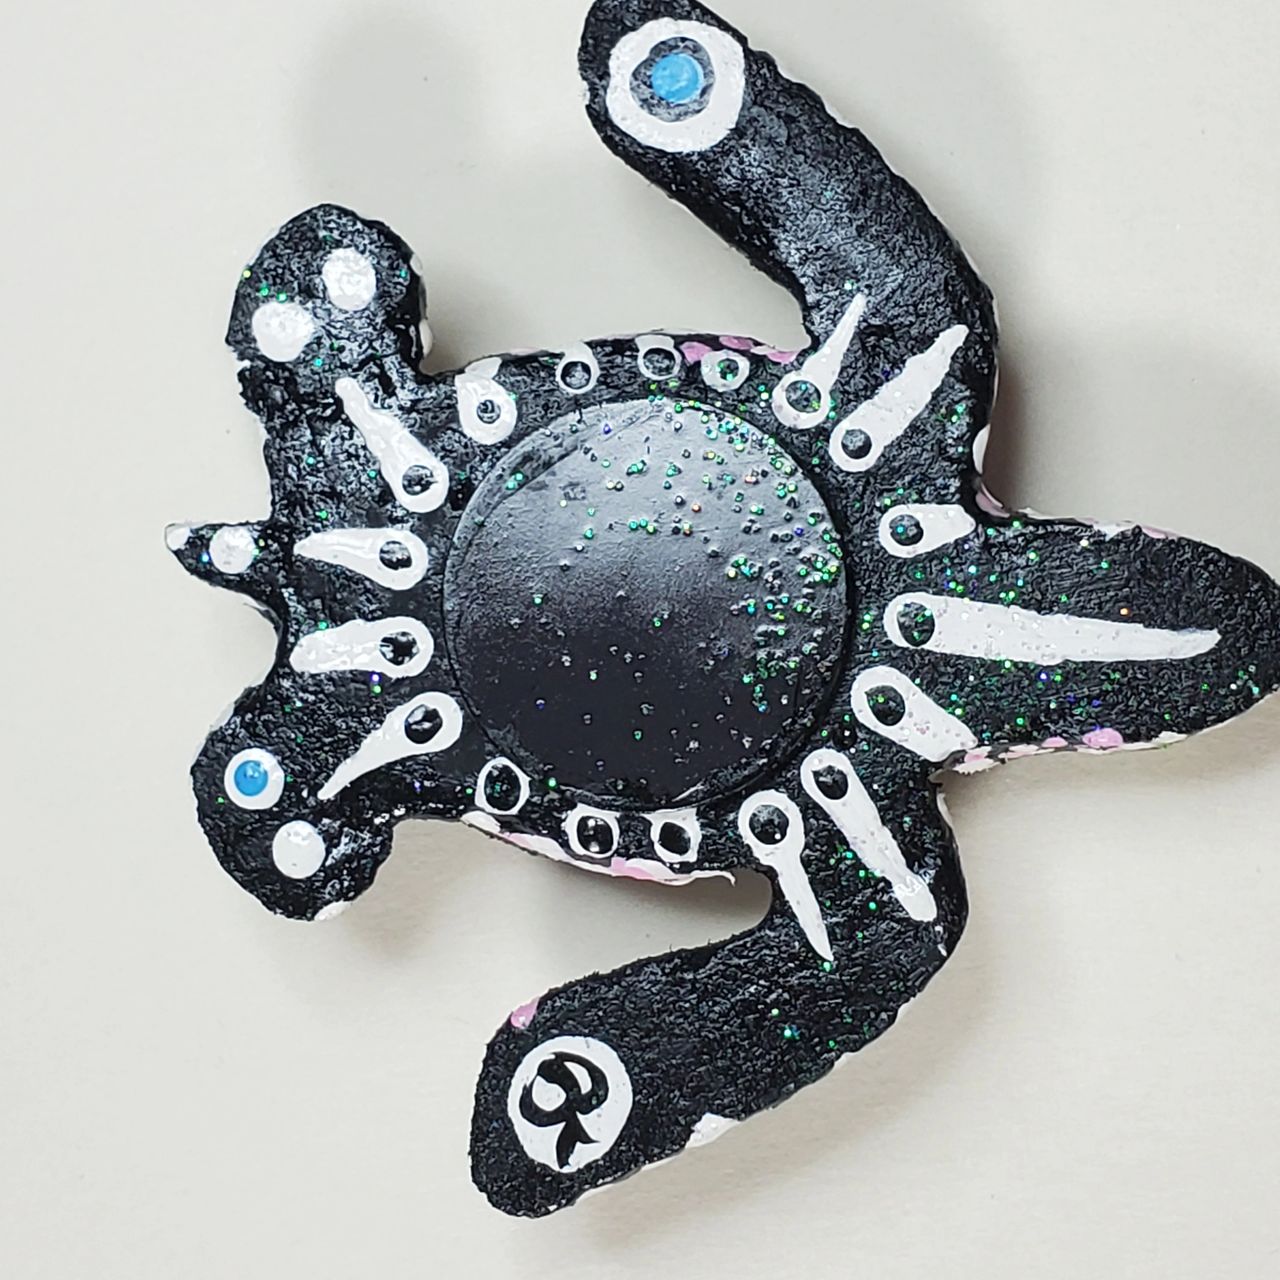
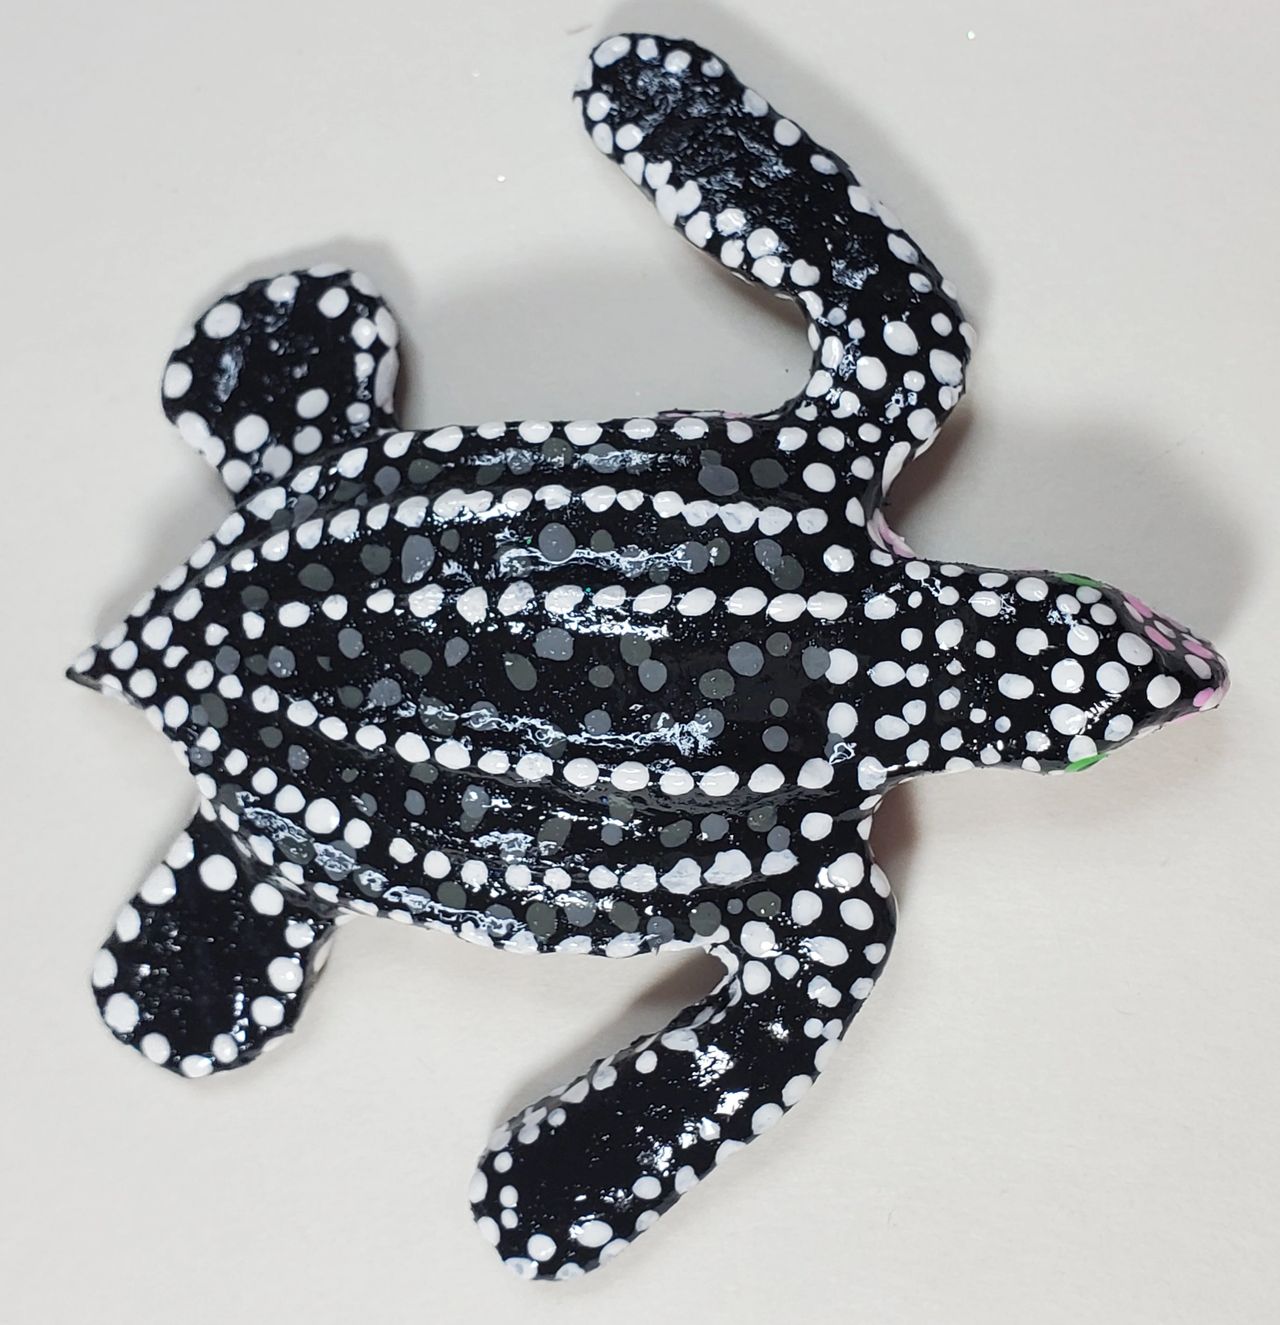
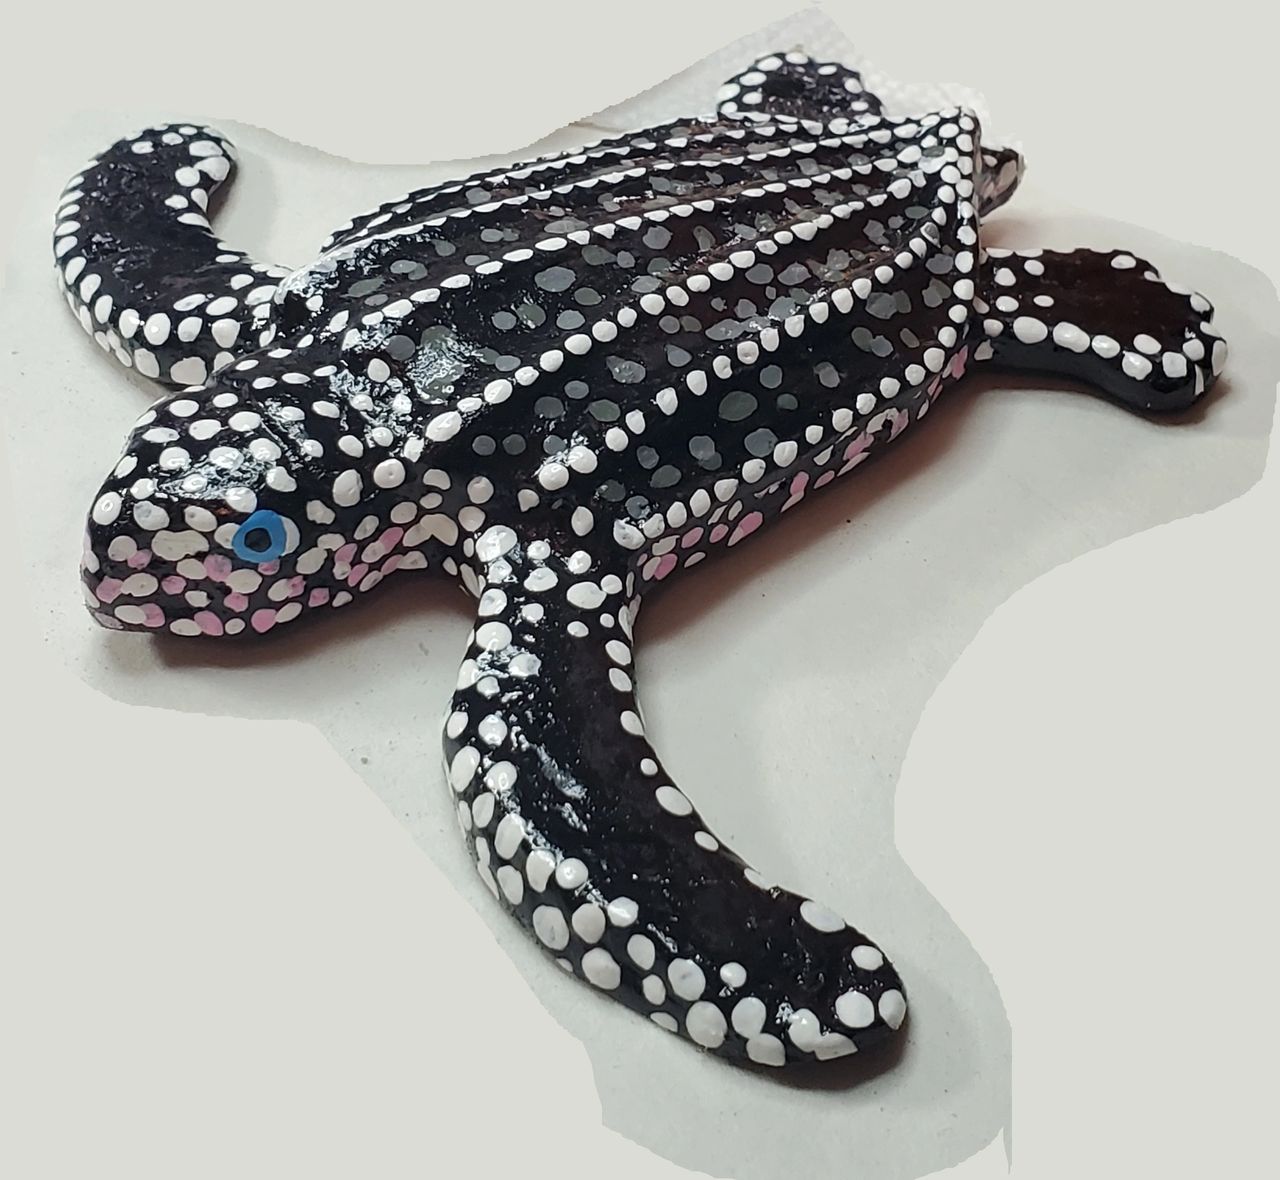
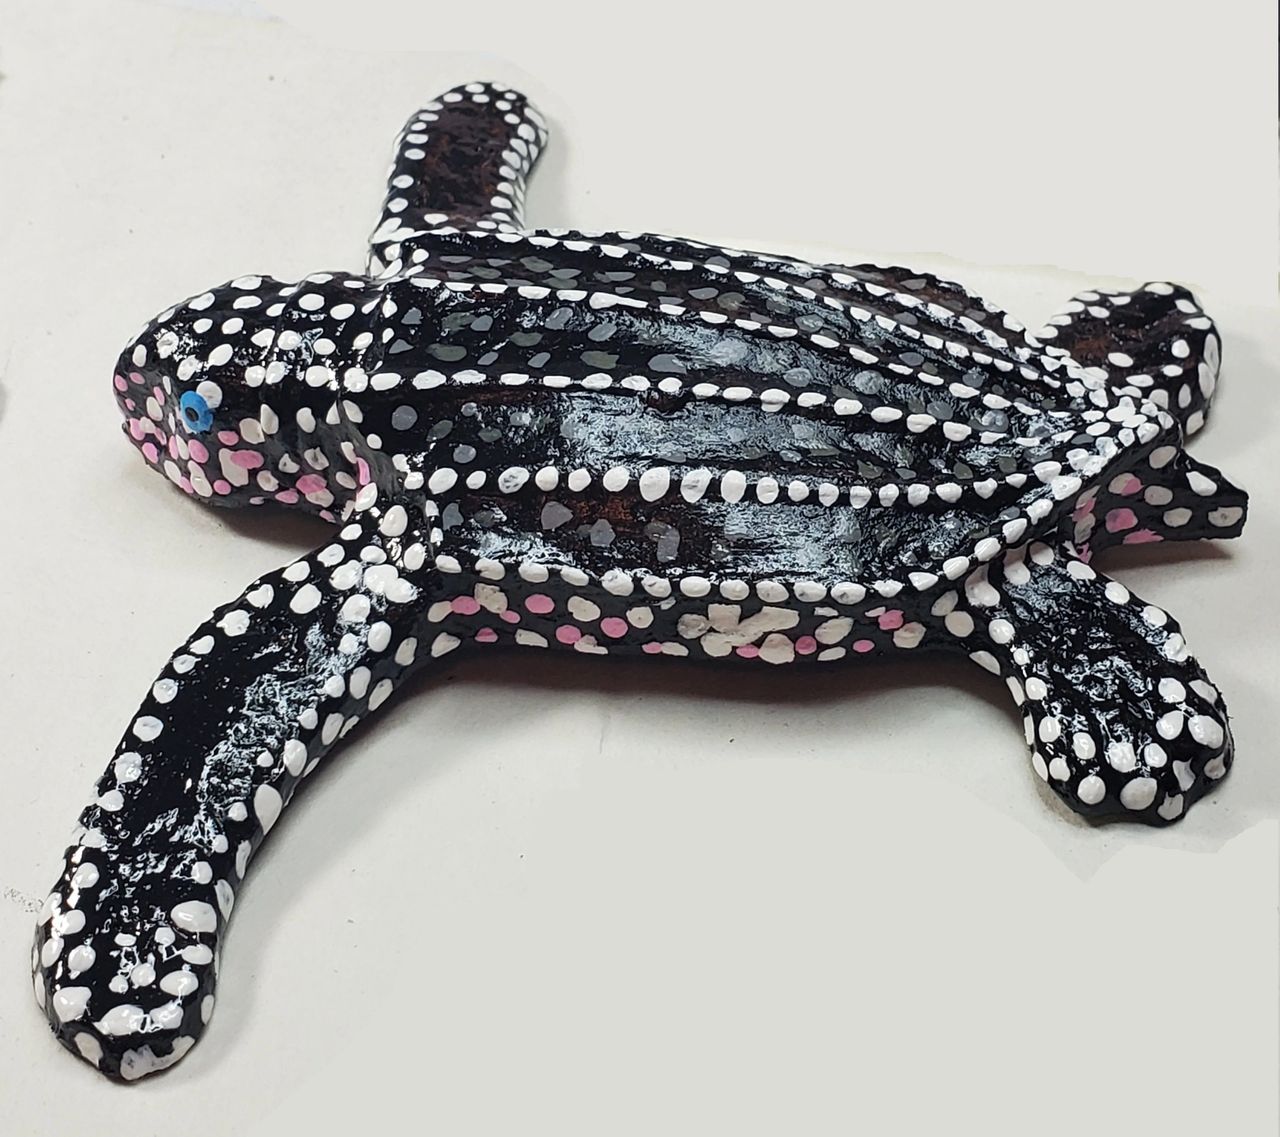
    These are a few of the sea turtle babies I dropped off at the Art Center last Thursday. 

    These little ones range in size from about 2 7/8″ to 3 1/2″.  About half are refrigerator magnets.

    I have a terrible camera and I nearly always forget to take photos of these little critters before applying the glossy finish which makes the photos look even worse, and of course these photos are double the actual size so all flaws are glaringly out there…sigh.  

    What did Salvidore Dali say?  “Don’t try for perfection, you’ll never achieve it?” or something like that.  I believe in living the intention and almost quoting my favorite sages correctly.   

    The next phase of this turtle journey is to try to perfect some really good molds and try to ignore what I just wrote in that last paragraph above. 

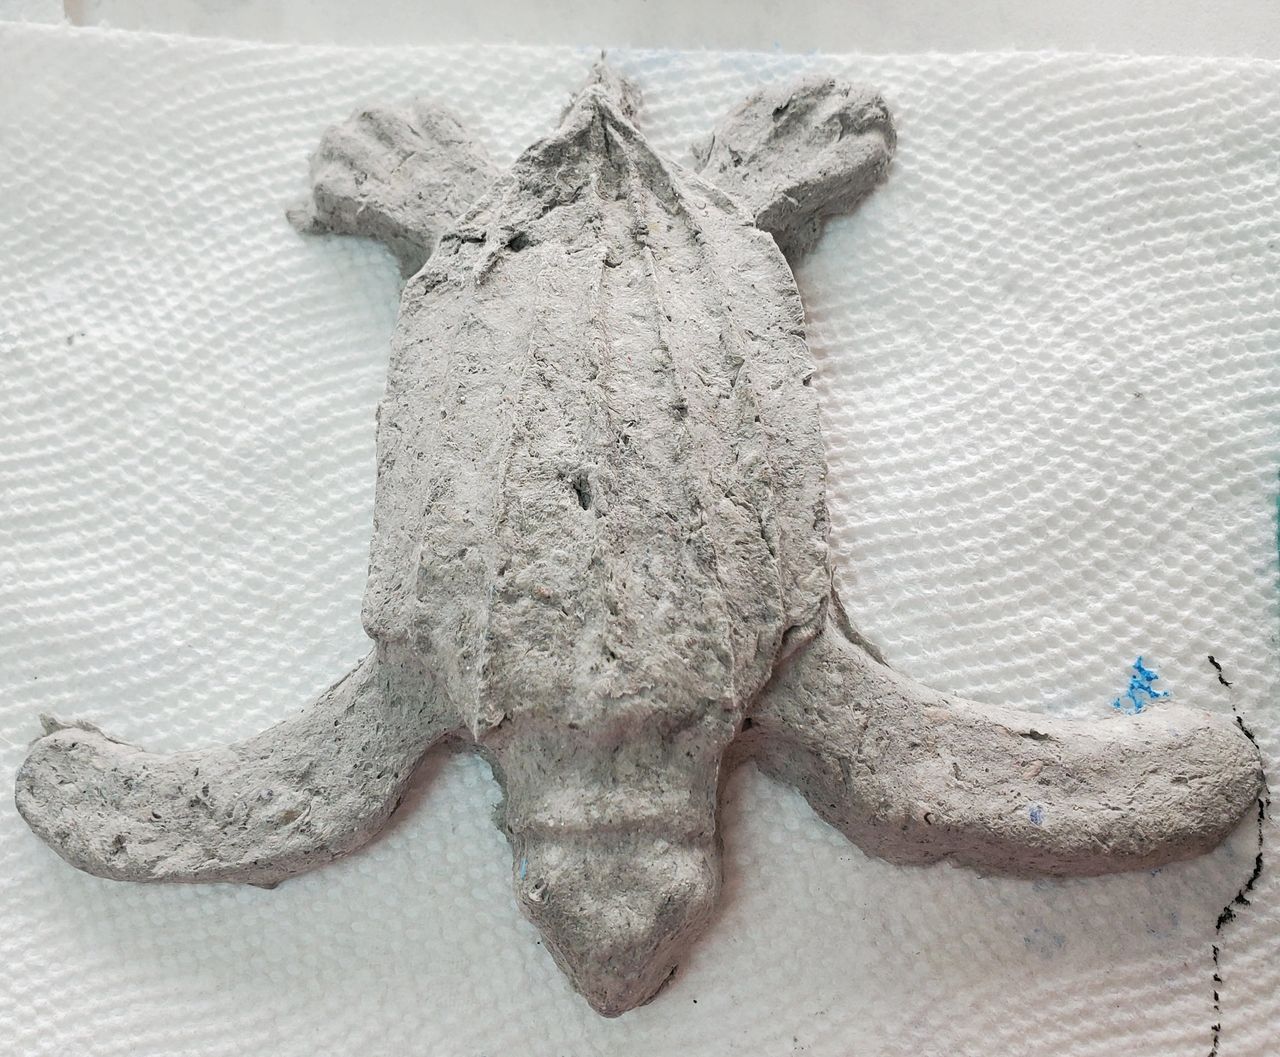
    When I started this project the smallest turtle I thought I could make was about 5″ long but after much practice achieved a tiny baby Leatherback at just 2 7/8″.  I think I can go smaller…

  • Art Class – Make Baby Sea Turtles

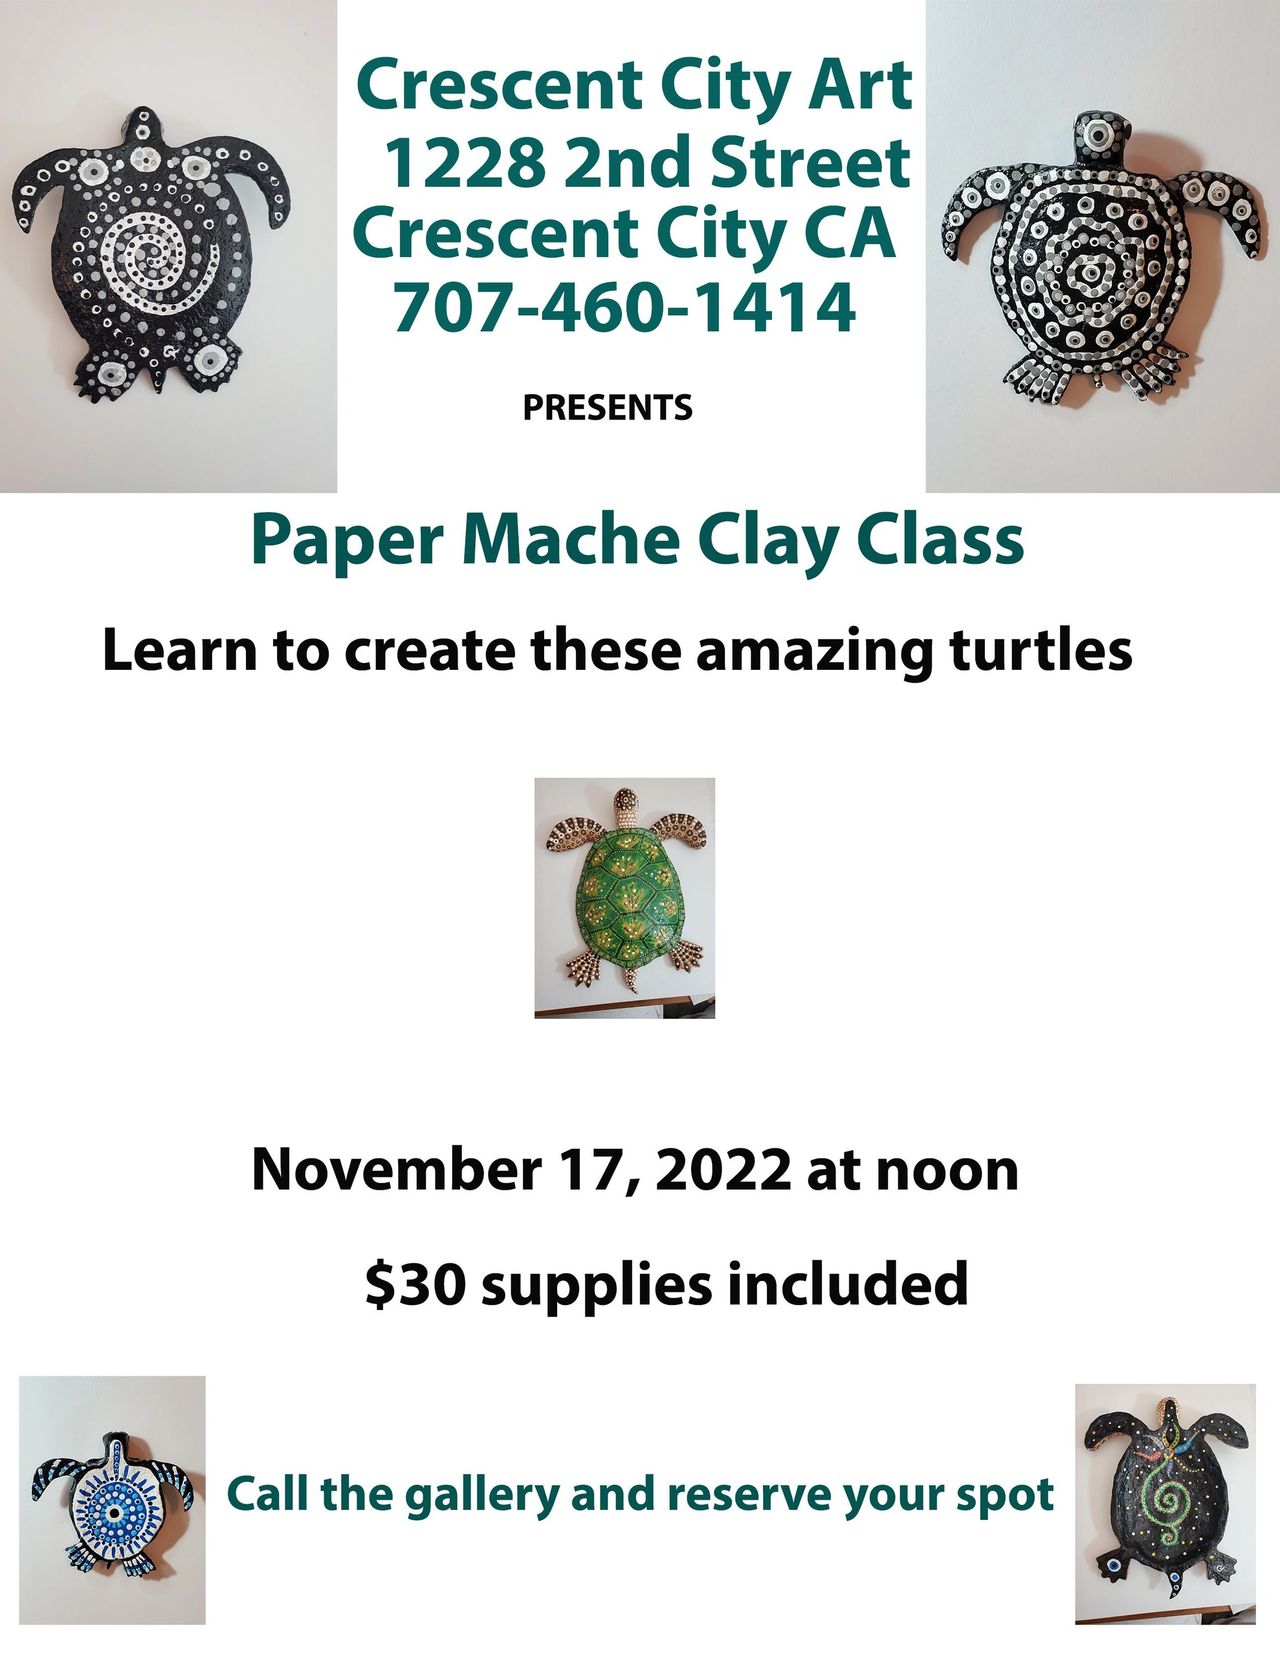
    Held November 17, 2022

    Art Class Make Baby Sea Turtles

    For this class I prepared a decent selection of baby turtle figurine silicone molds in various sizes from which to choose. 

    The largest mold for the class was around 4 1/2″ and the smallest was around 3″ nose to tail.

    The plan: 

    1. provide more than enough celluclay to make one medium or two small turtles.

    2. Provide ready made turtle figurines for sanding and painting.

    Step 1.

    Take the students through the process of making the turtles.

    • Mixing Celluclay,
    • Pressing the clay into pre-made silicone molds,
    • De-mold and touch up
    • Baking the figurines

    Step 2.

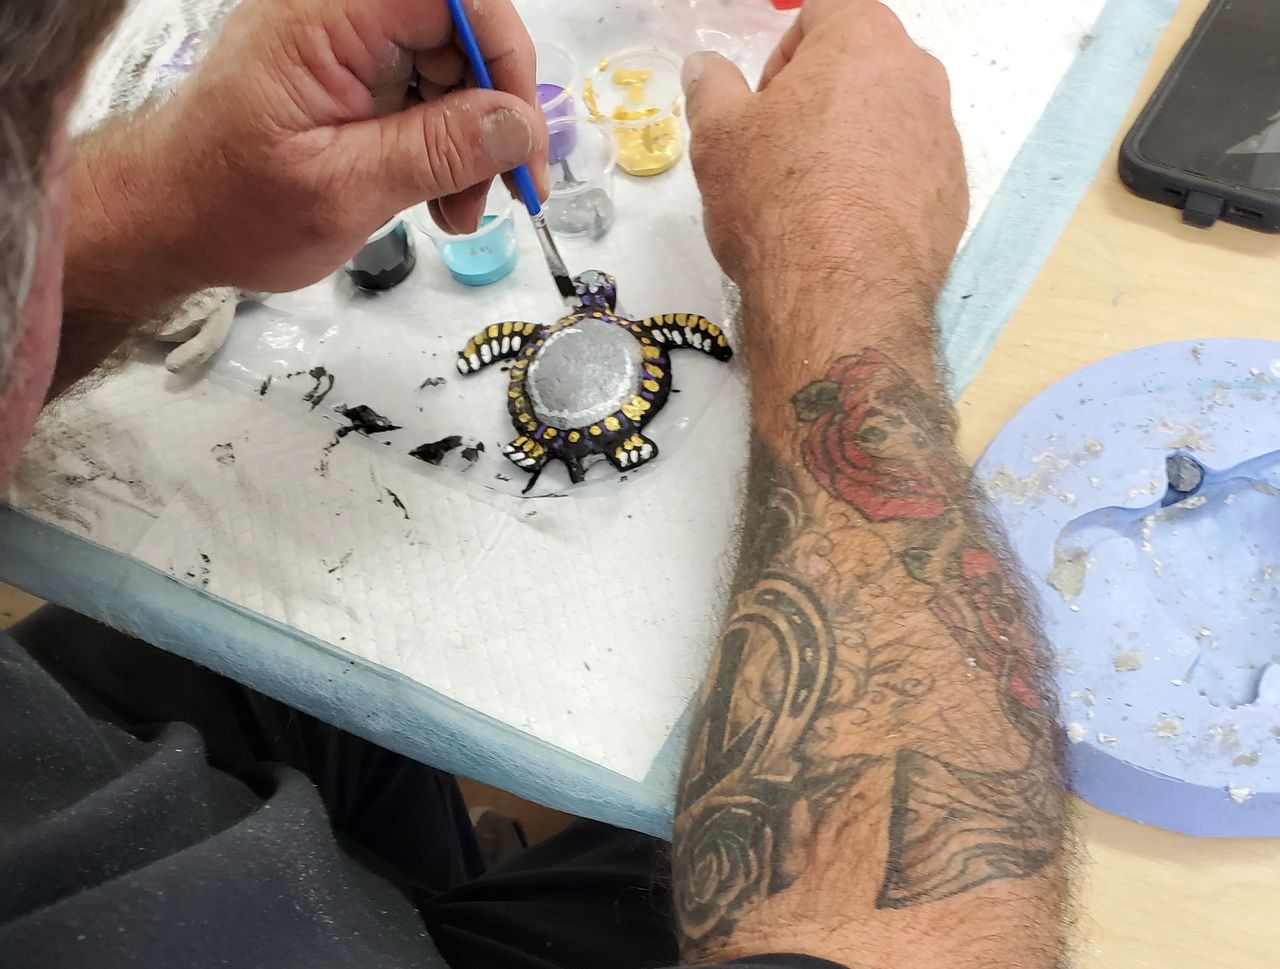
    Break out premade turtles, acrylic paints and brushes and let students pick their favorites to decorate.

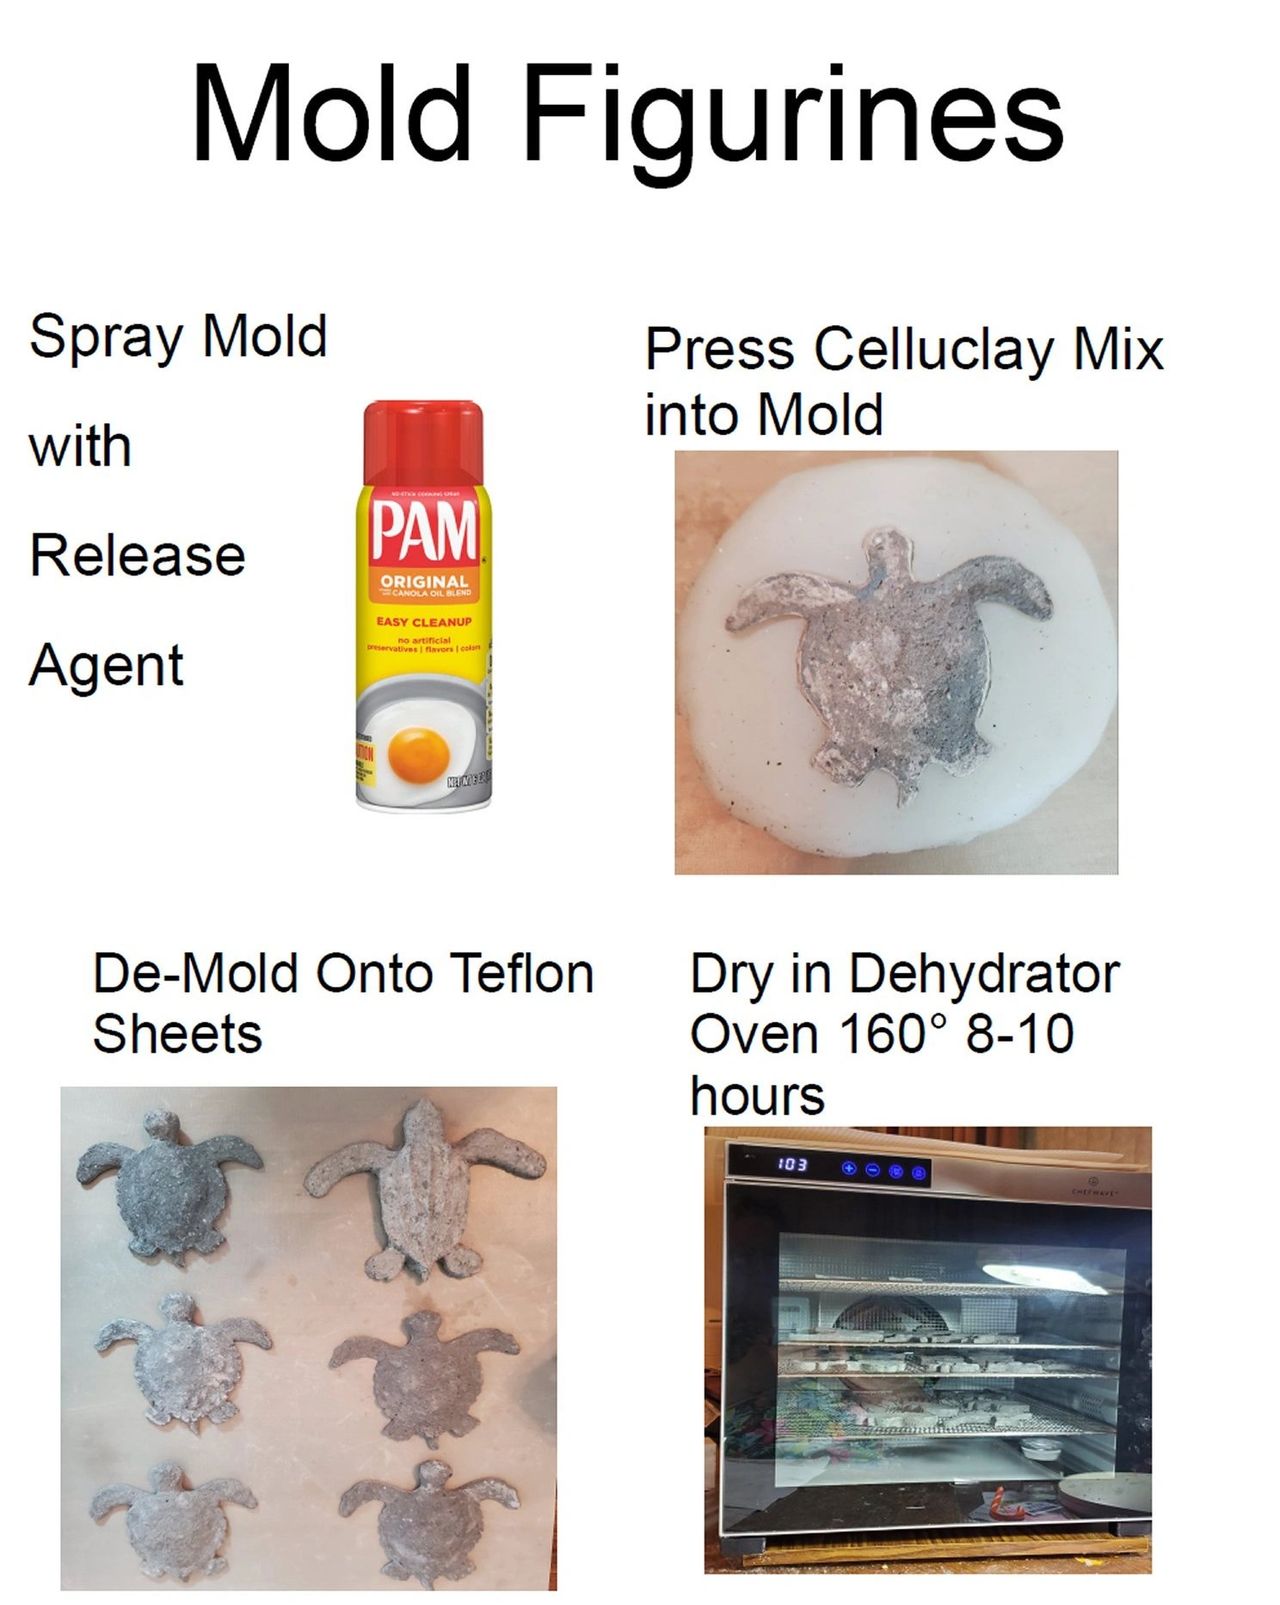
  • Press Mix into Sea Turtle Mold

    Prepare the silicone mold.  Spray non stick oil or rub the mold with vasoline or a small amount of dish soap to allow easy release of the mix onto the baking or drying surface.

    In this case, I use a food dehydrator and non-stick sheets.  Smallest turtles take about 3 to 4 hours to dry thoroughly.

    Larger molds can take 8 to 12 hours or more to dry.

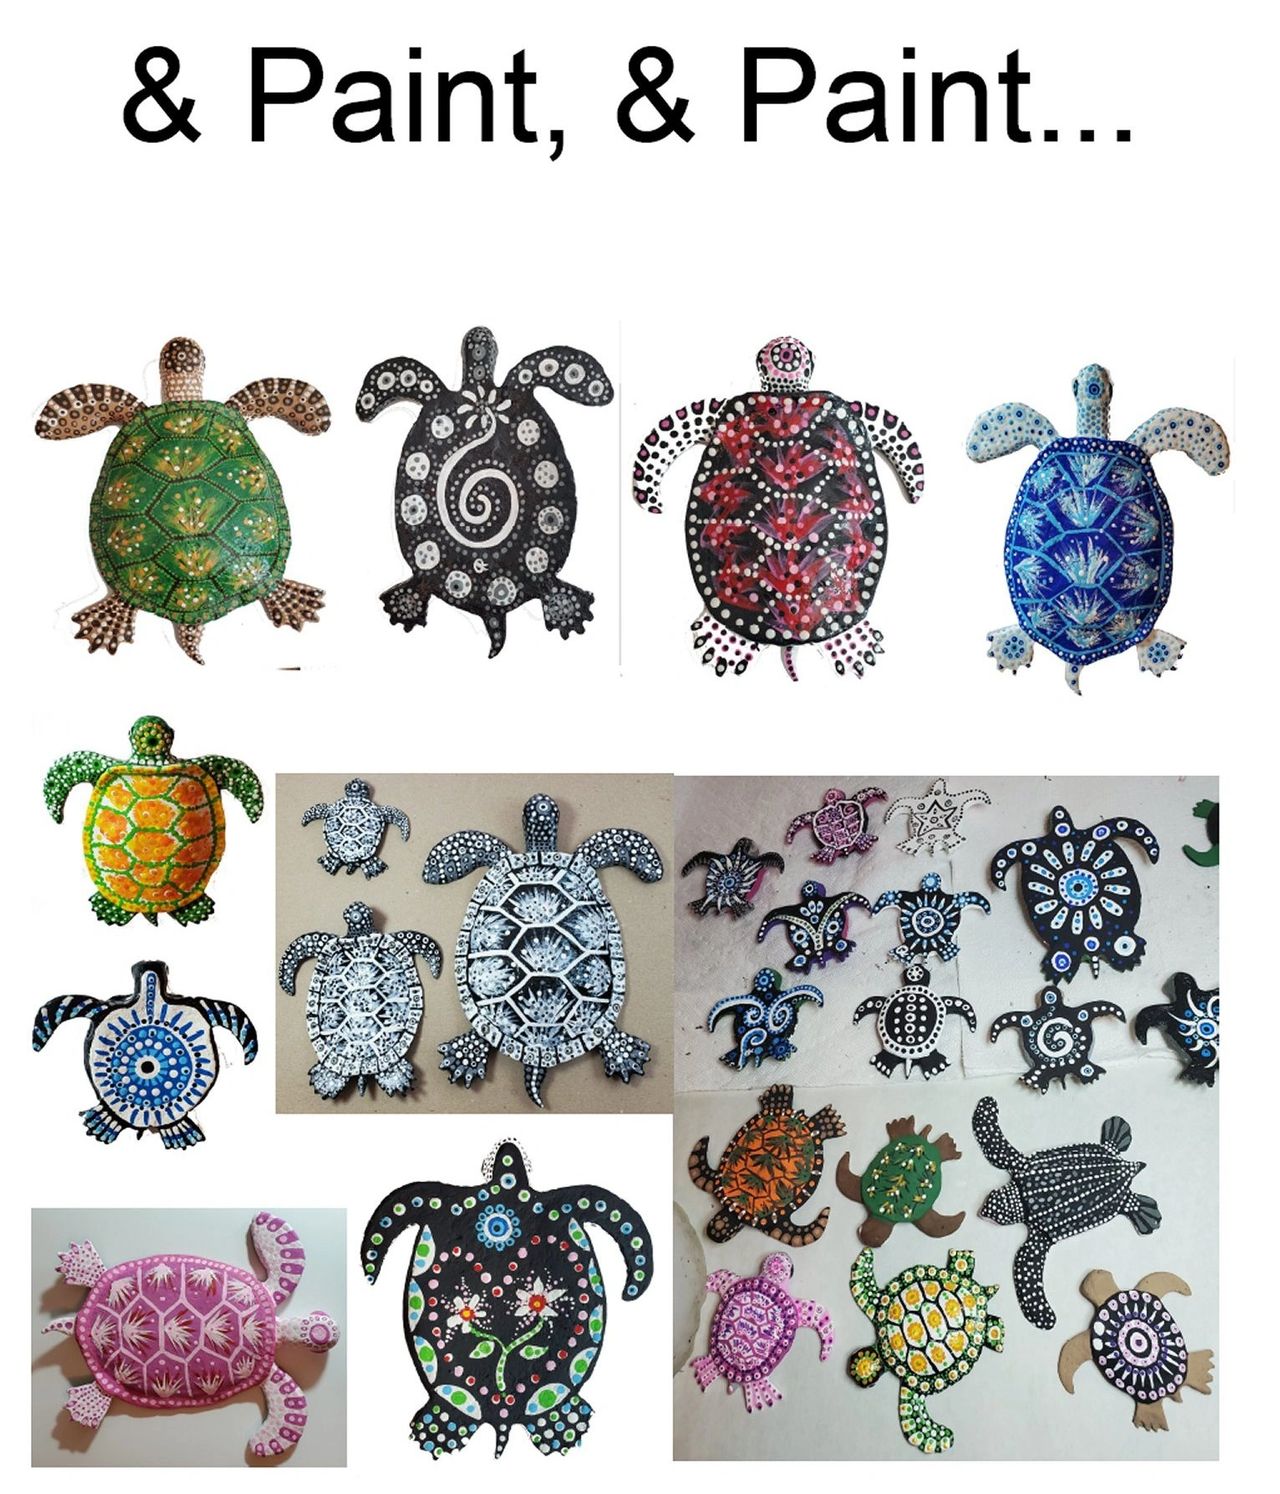
  • Paint Your Sea Turtles

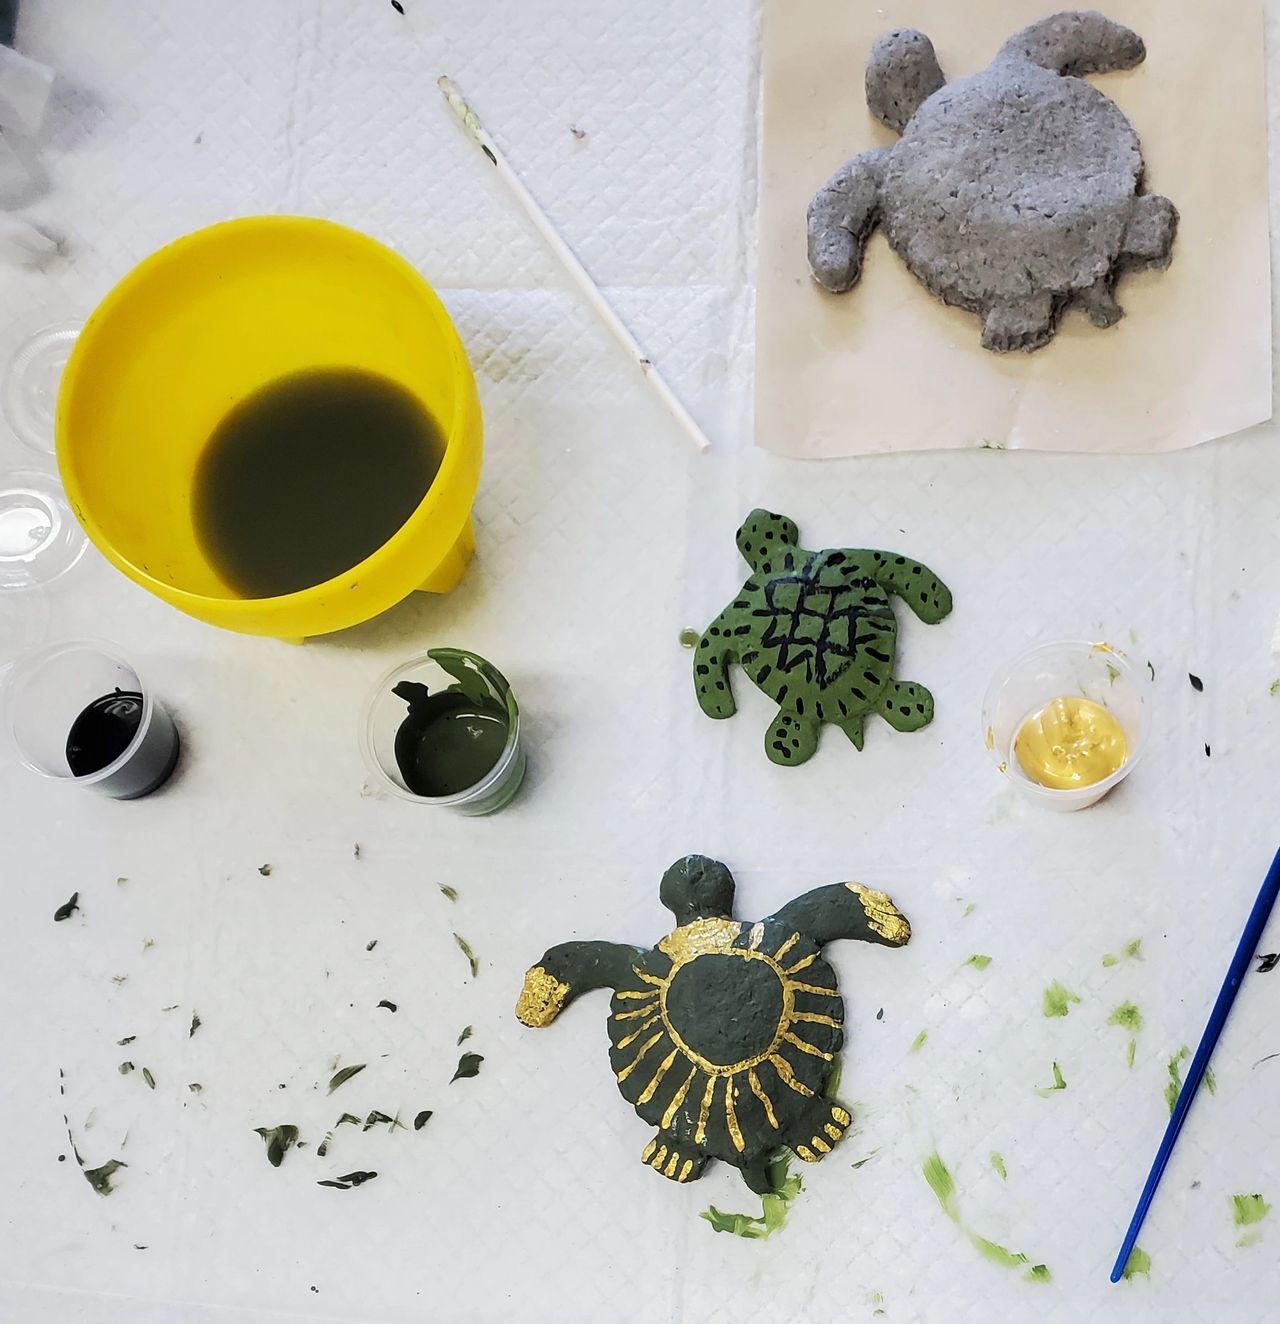
    Once the hatchlings come out of the oven it’s painting spree time.

    Baby Sea Turtles
    Baby Sea Turtles
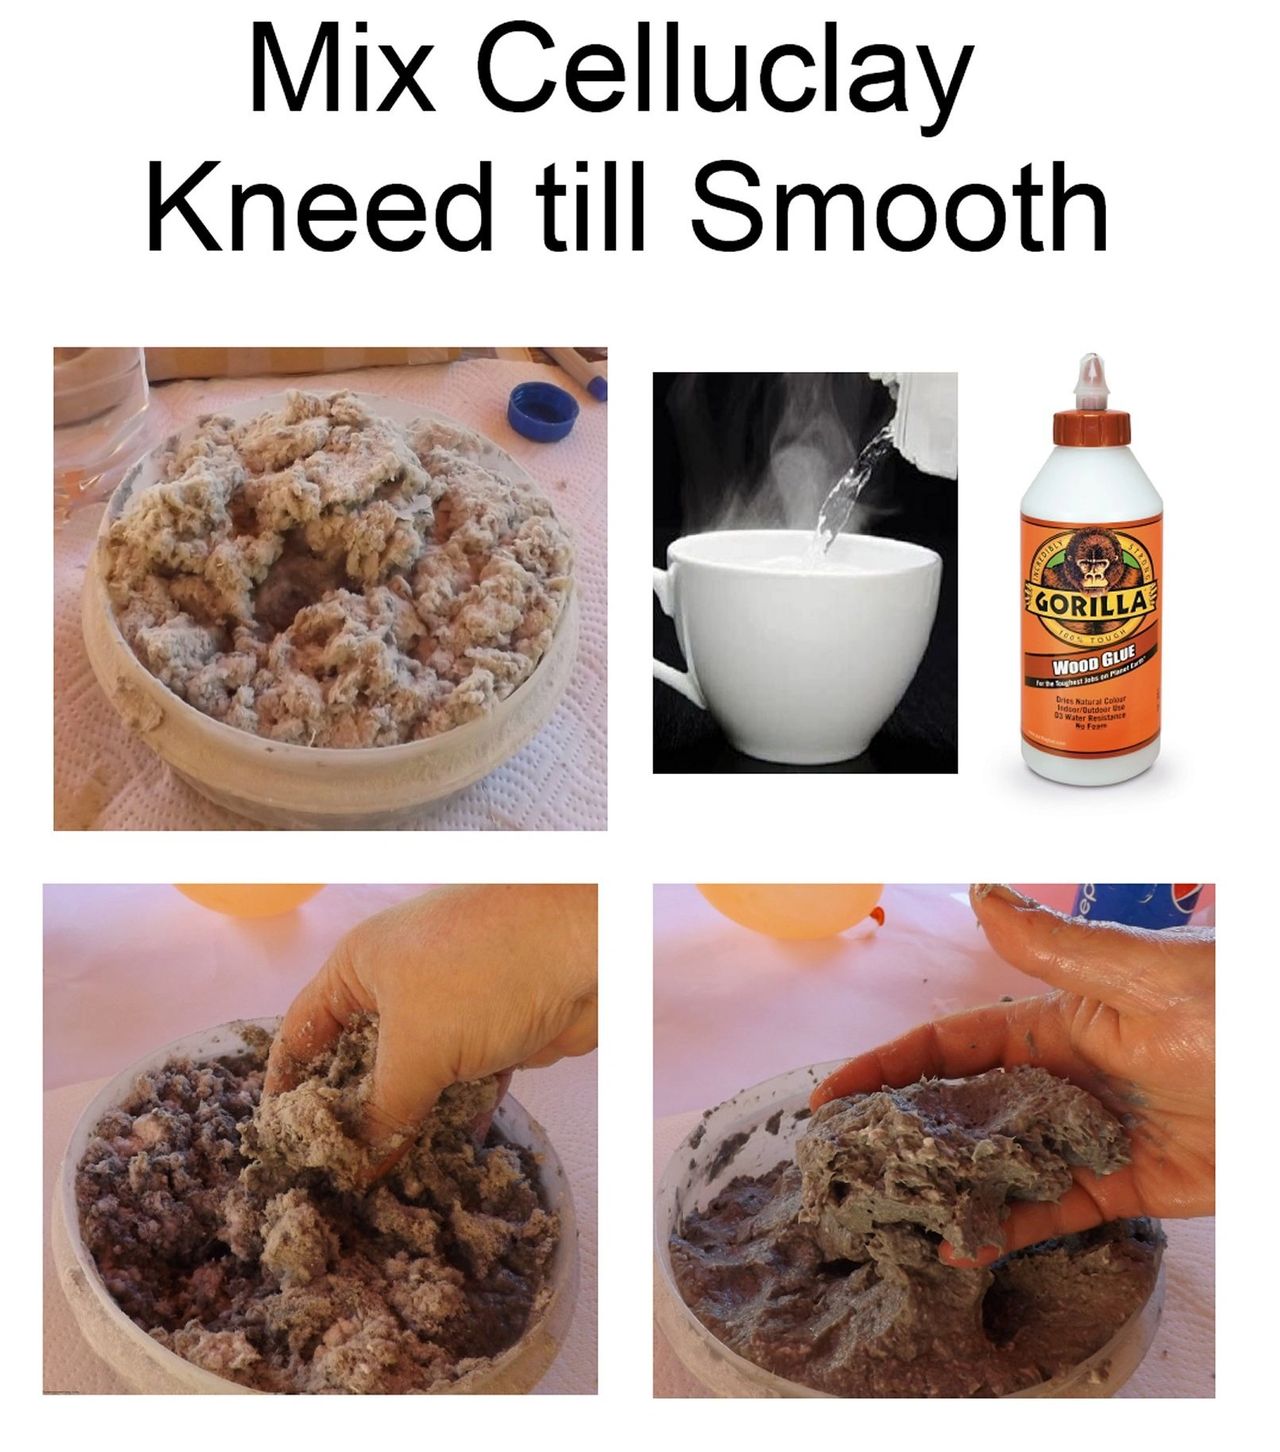
  • Mix CelluClay

    Product instructions for Celluclay

    When dry, Celuclay is extremely hard and duragbe, however once in a while a weak spot shows up after the mix has dried and something will snap off, usually in the sanding stage. 

    It’s all glueable at this stage, and usually nothing breaks again in such cases, but I like to add a table spoon or two of wood glue to the mix to make the figurine a bit stronger and less likely to have weak spots or break.

  • Prepare Sea Turtles for Painting

    Every figurine needs a bit of sanding and preparation for painting.  Sanding sticks come in very handy to reach tight spots the Dremel can’t touch. 

    Save some of the dust from the shavings.  Mix this extra fine celluclay dust with a bit of water and use to fill in holes or fix imperfections.  Allow to re-dry.

    CelluClay works well with acrylic.  I prefer Apple Barrel paints.  

    As for gloss, choose a clear gloss or matt finish.  Clear Gorilla Glue makes an excellent water resistent sealent. 

  • Prepare Turtle Mold for Casting

    It is not necessary to make hard copies of the clay models but eventually the silicone molds break, so if you like a design, make a couple of hard copies for posterity.

    Next Step, mixing the clay.