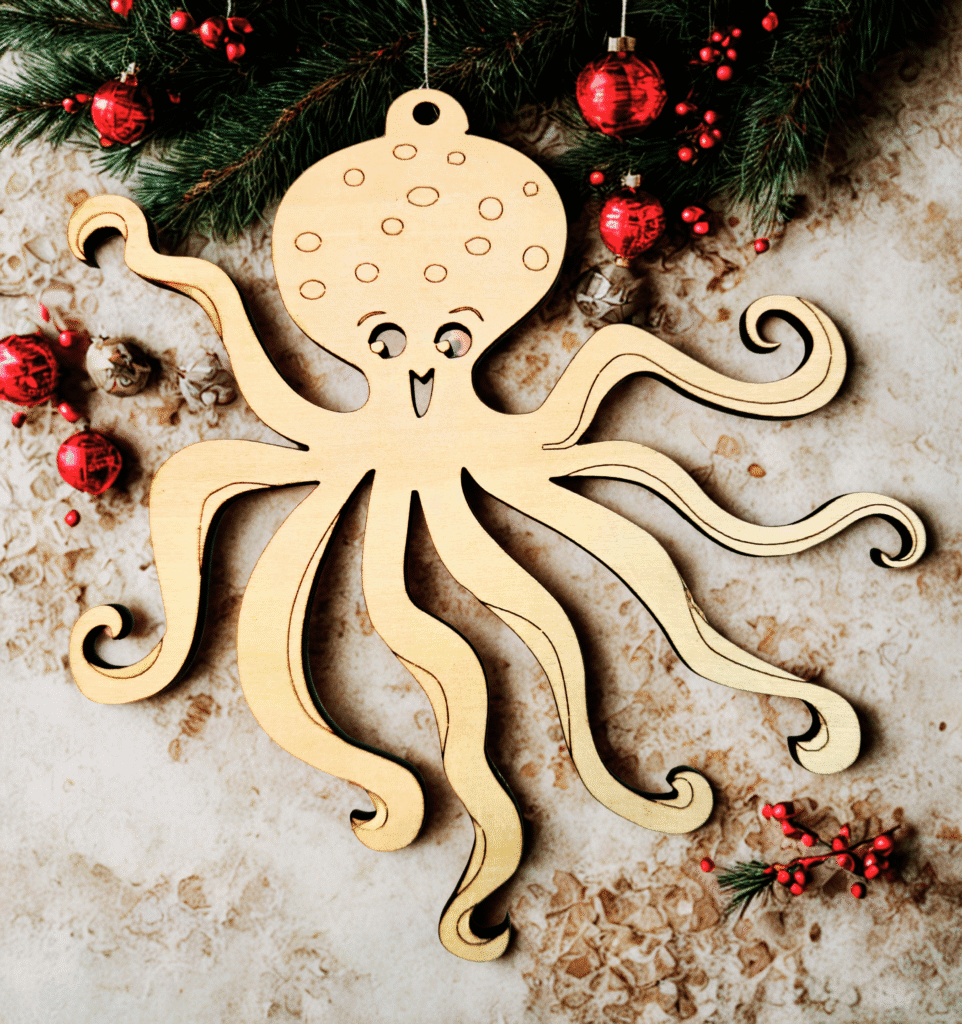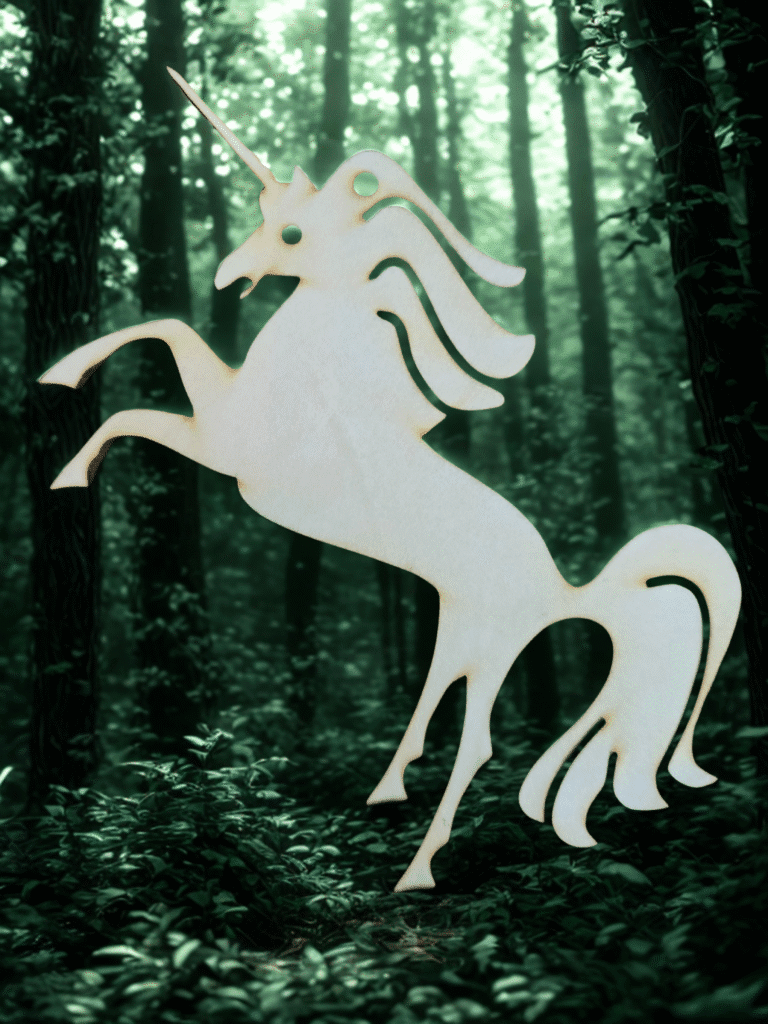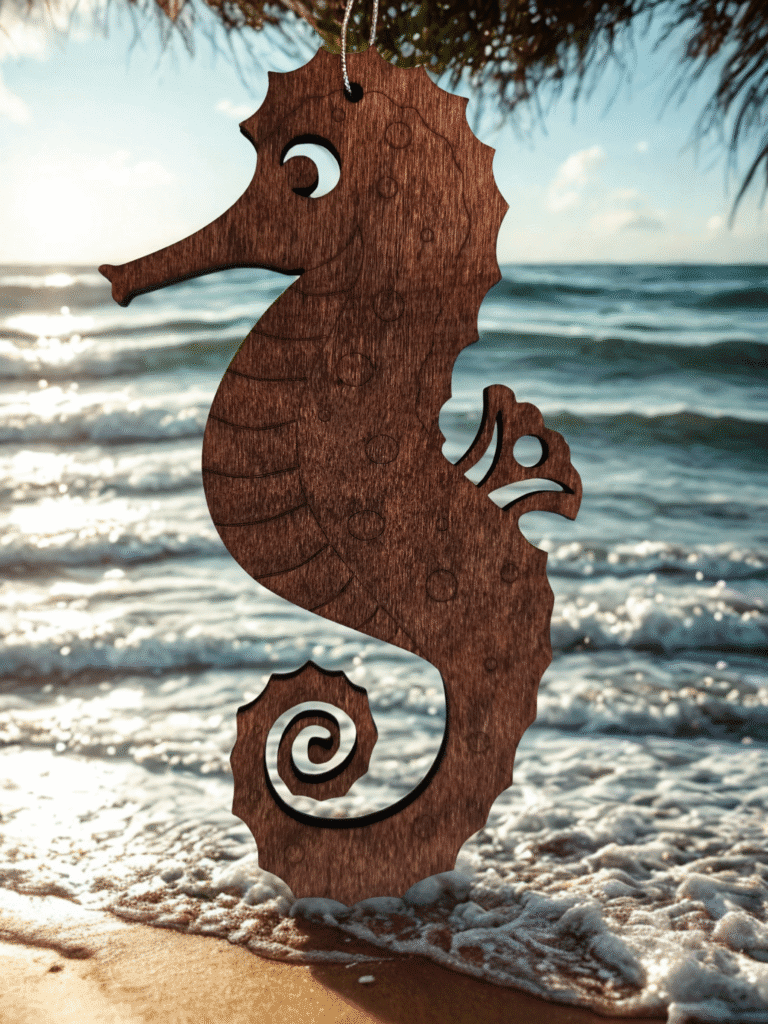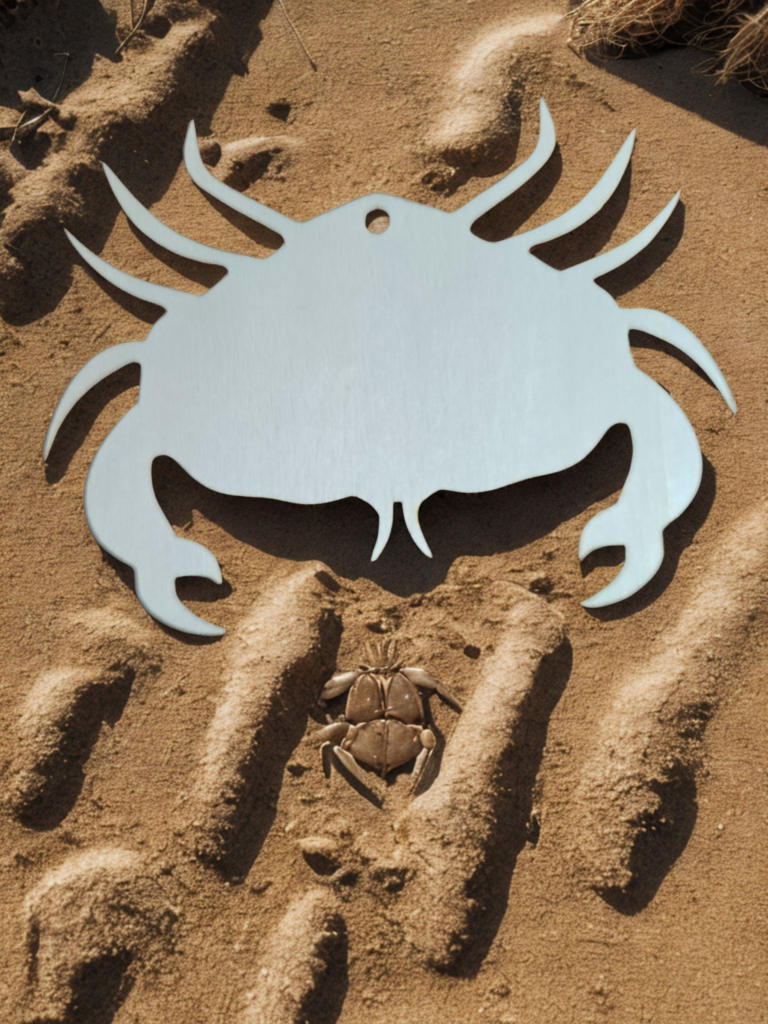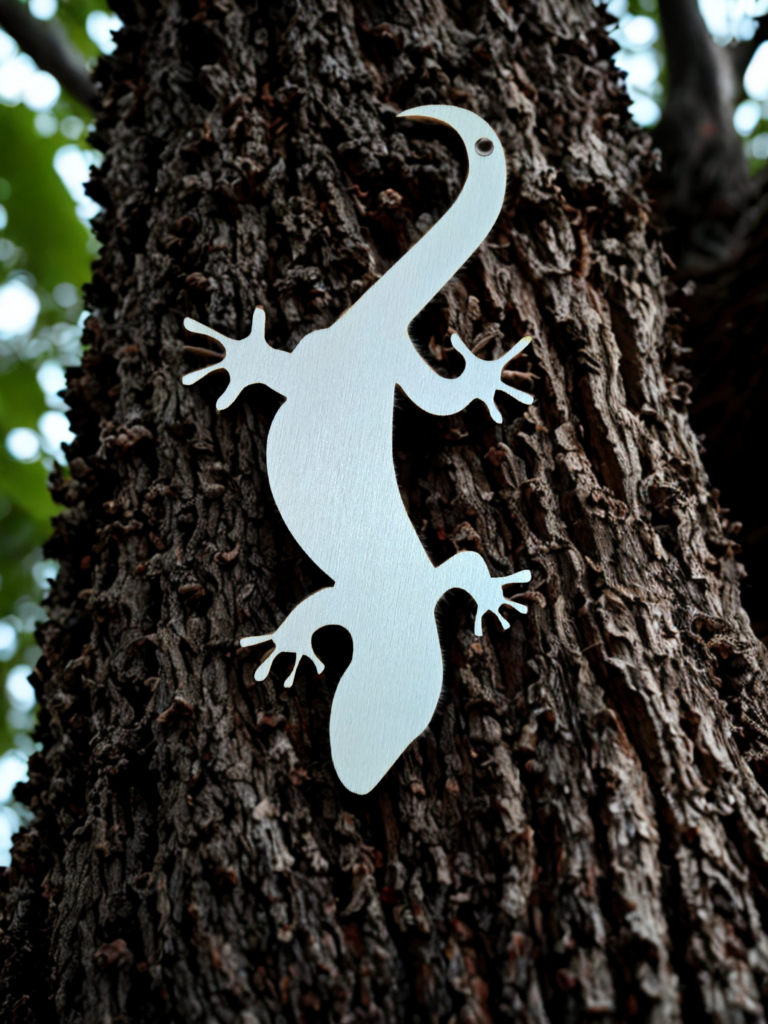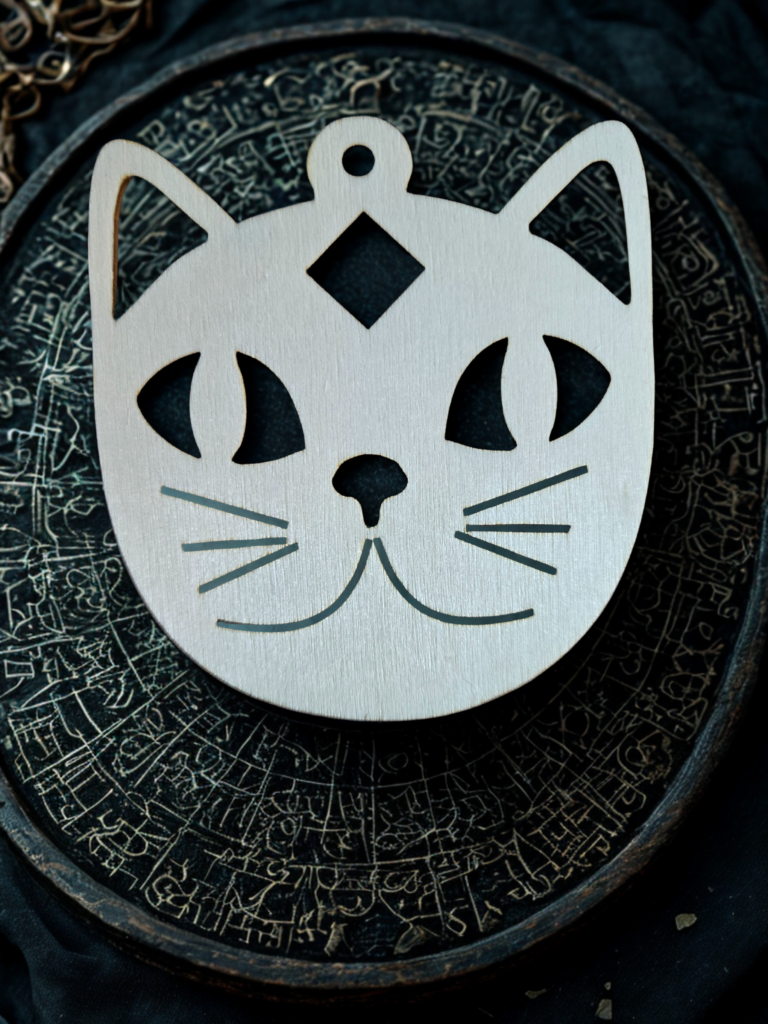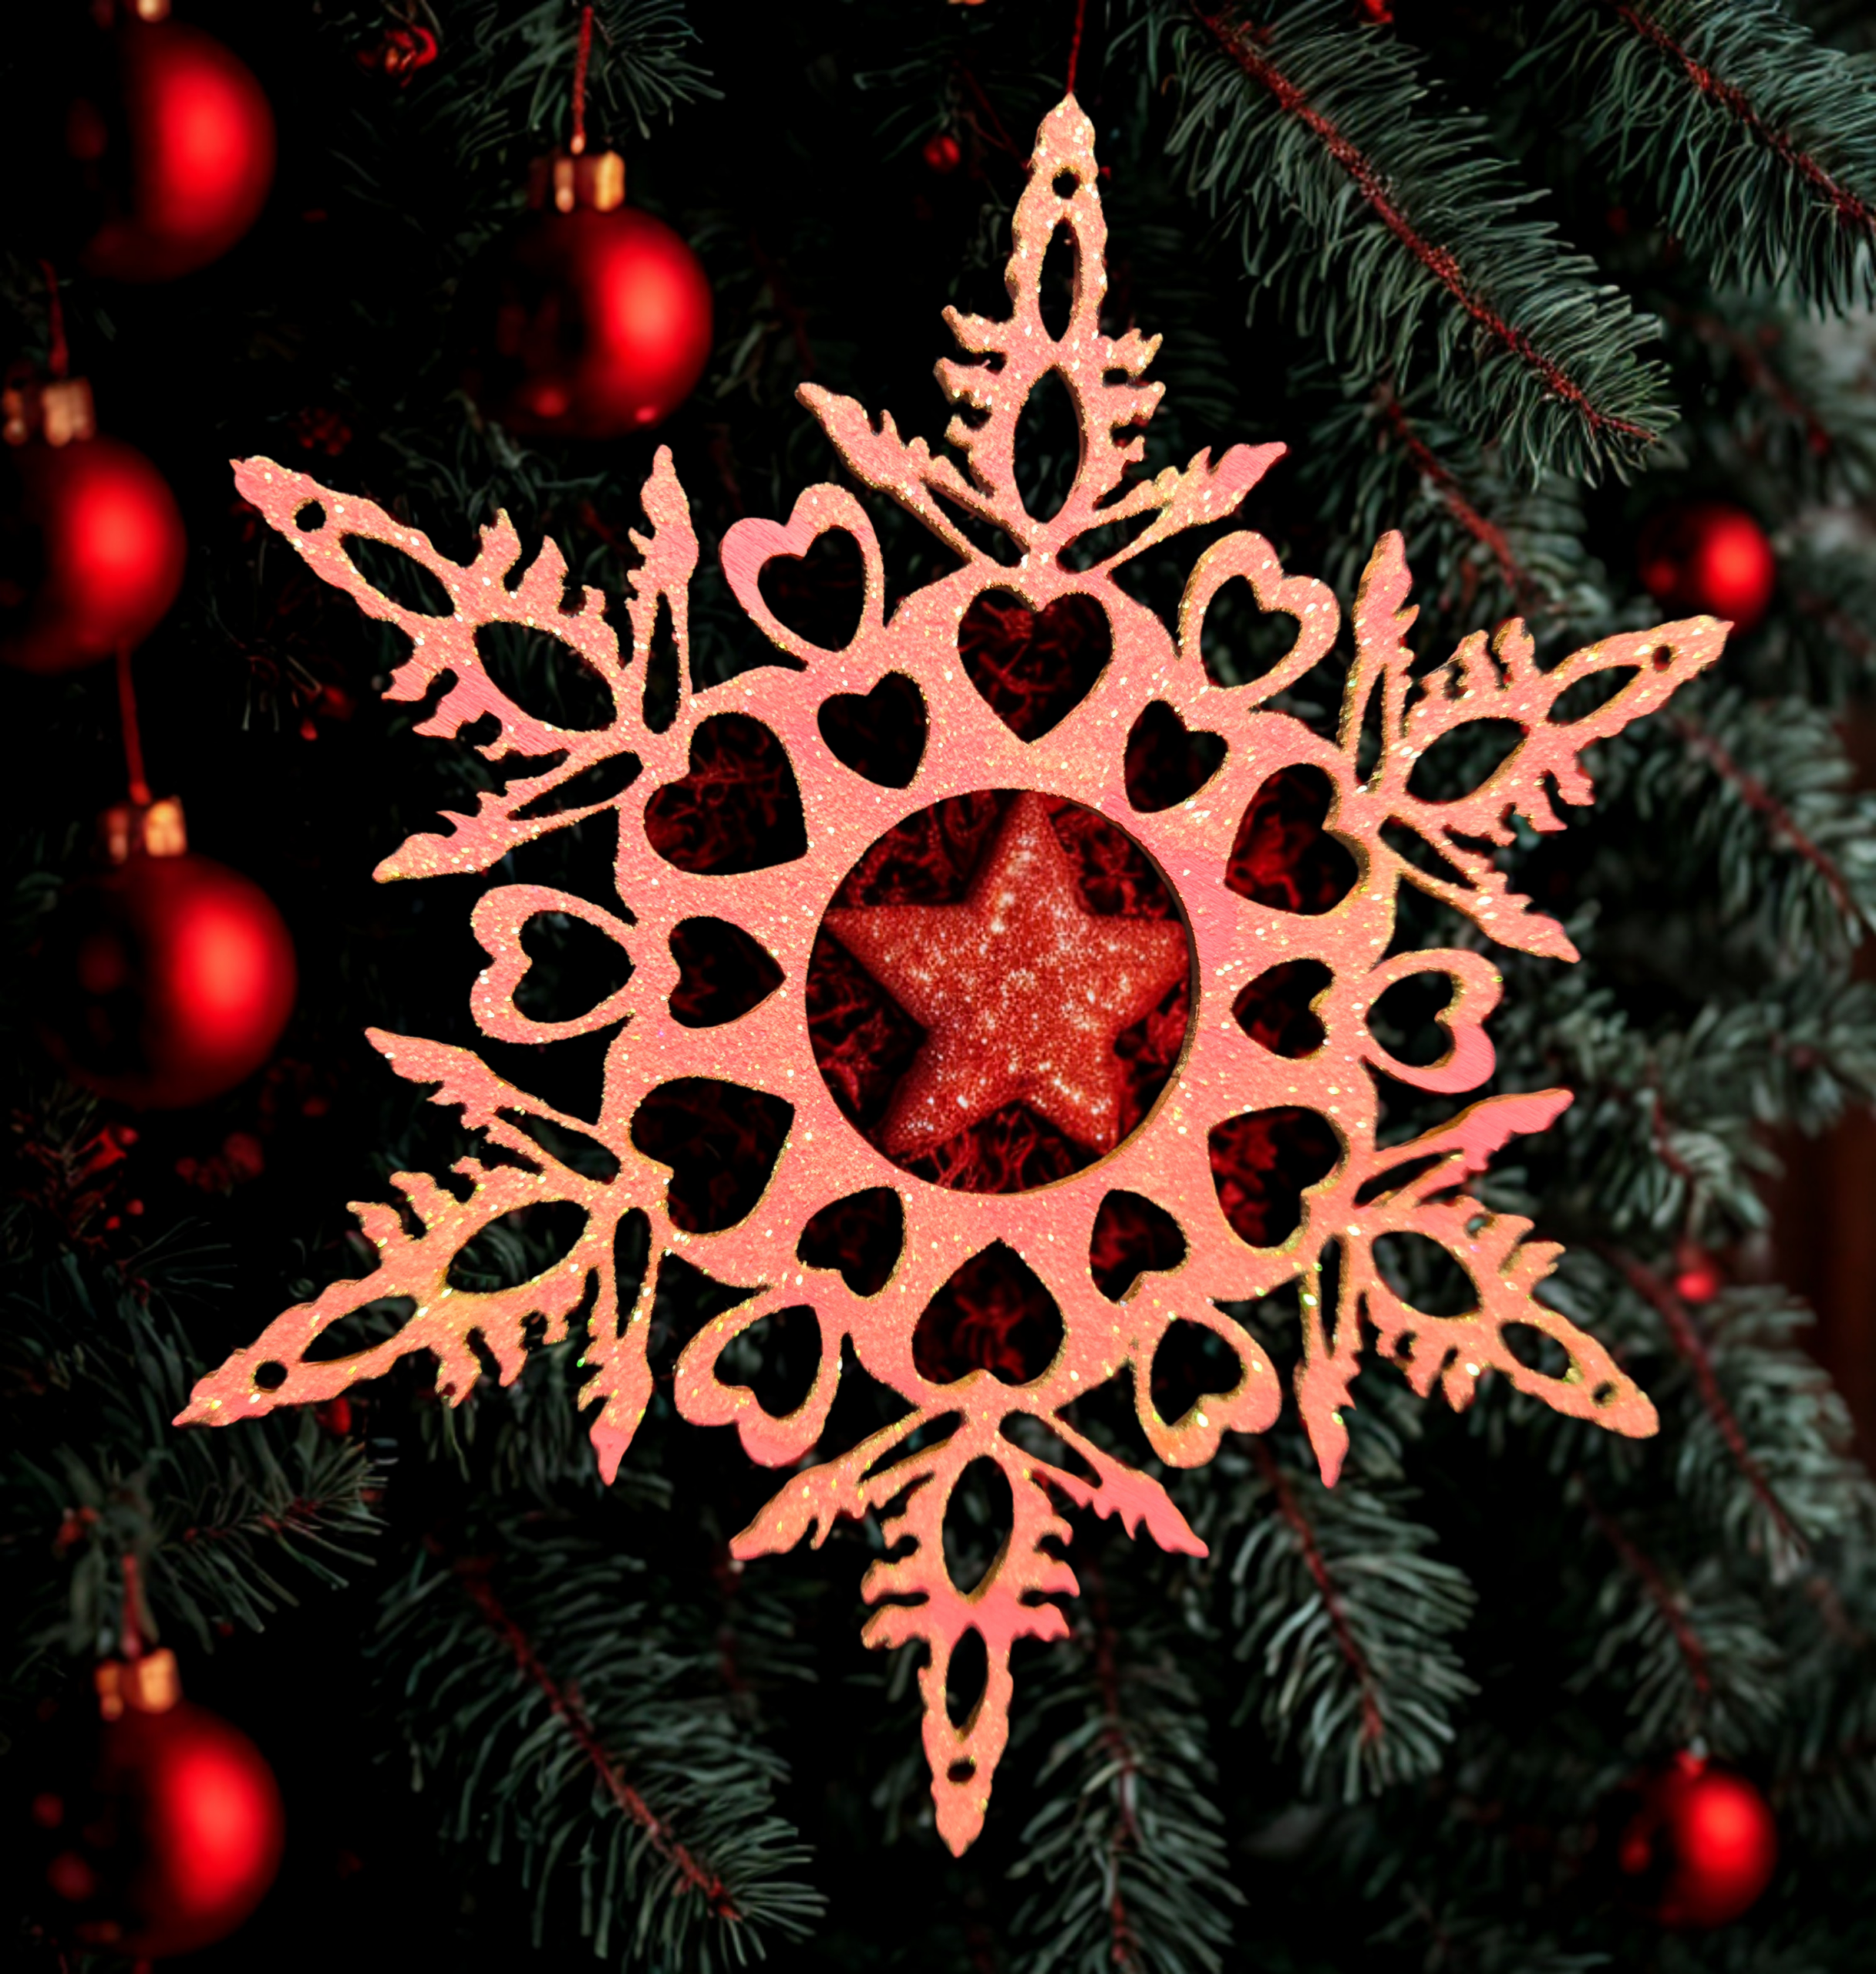
A holiday-themed laser wood cut ornament collection is the perfect hands-on classroom project to spark creativity and festive spirit! Each ornament is precision cut from smooth, lightweight wood, designed for easy painting, coloring, and decorating by children of all ages.
The collection includes a cheerful variety of seasonal favorites:
🎄 Christmas trees and wreaths for painting in bright greens and reds.
🎅 Santa, reindeer, and elves ready for rosy cheeks and golden sleigh bells.
❄️ Snowmen and snowflakes perfect for cool blues, whites, and glittery sparkle.
⭐ Stars, stockings, and gift boxes to fill with patterns, dots, and joyful designs.
👼 Angels, bells, and nativity shapes offering gentle detail for storytelling.
🐧 Winter animals like penguins, bears, and foxes bundled up for snowy days.
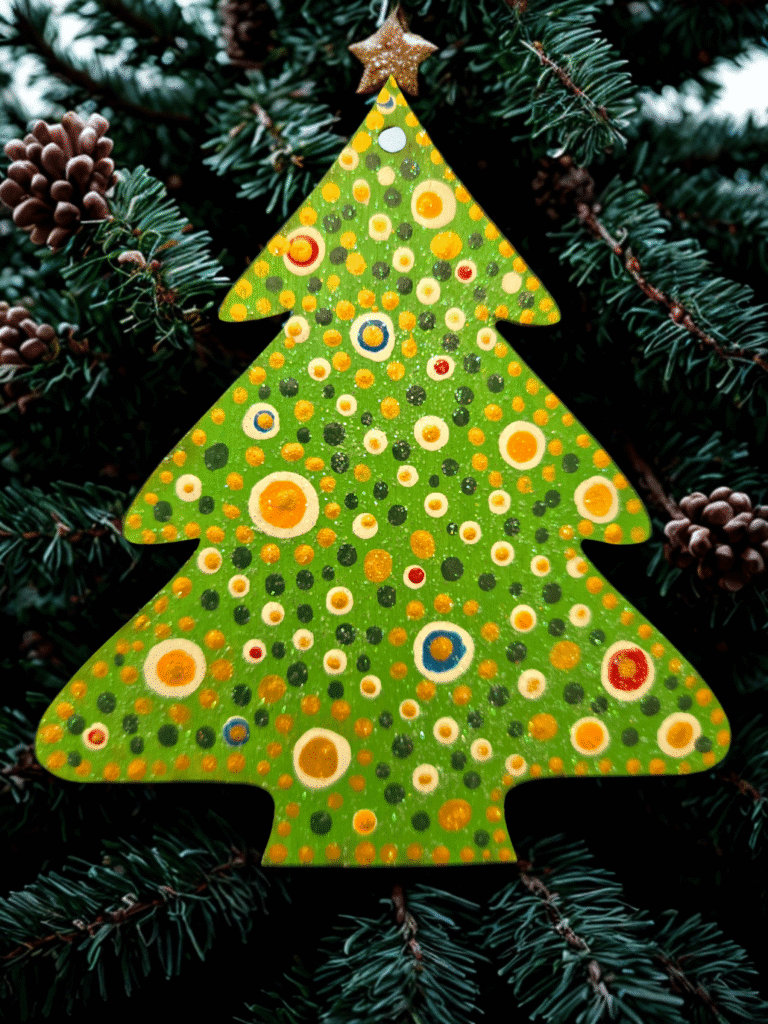
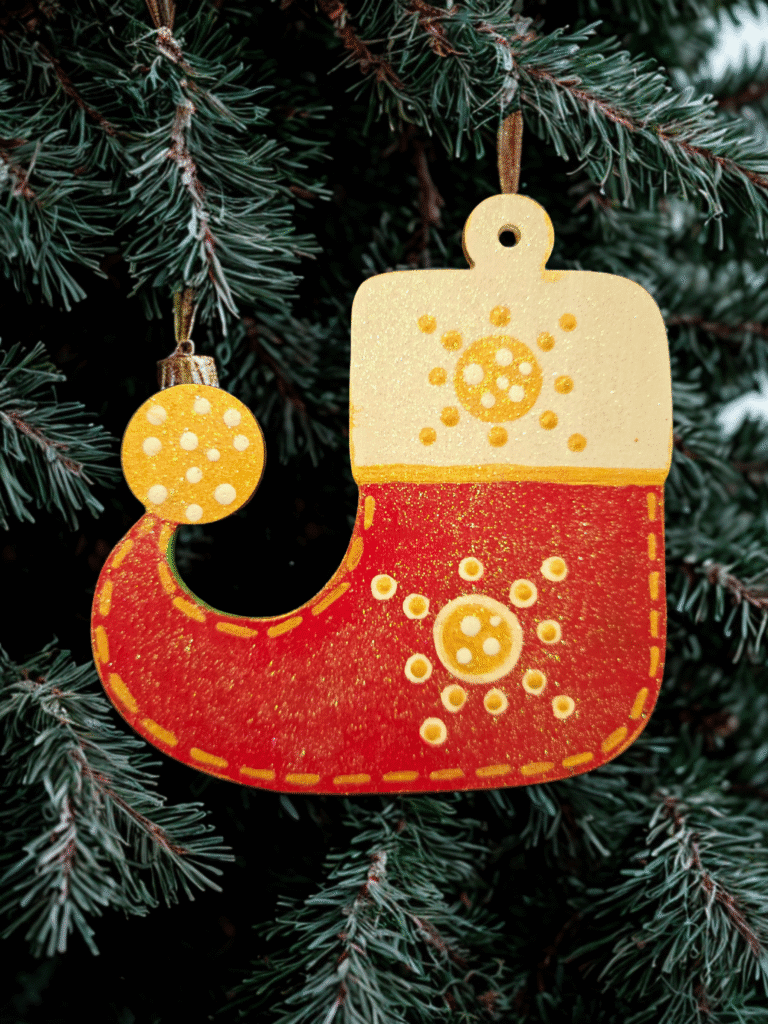
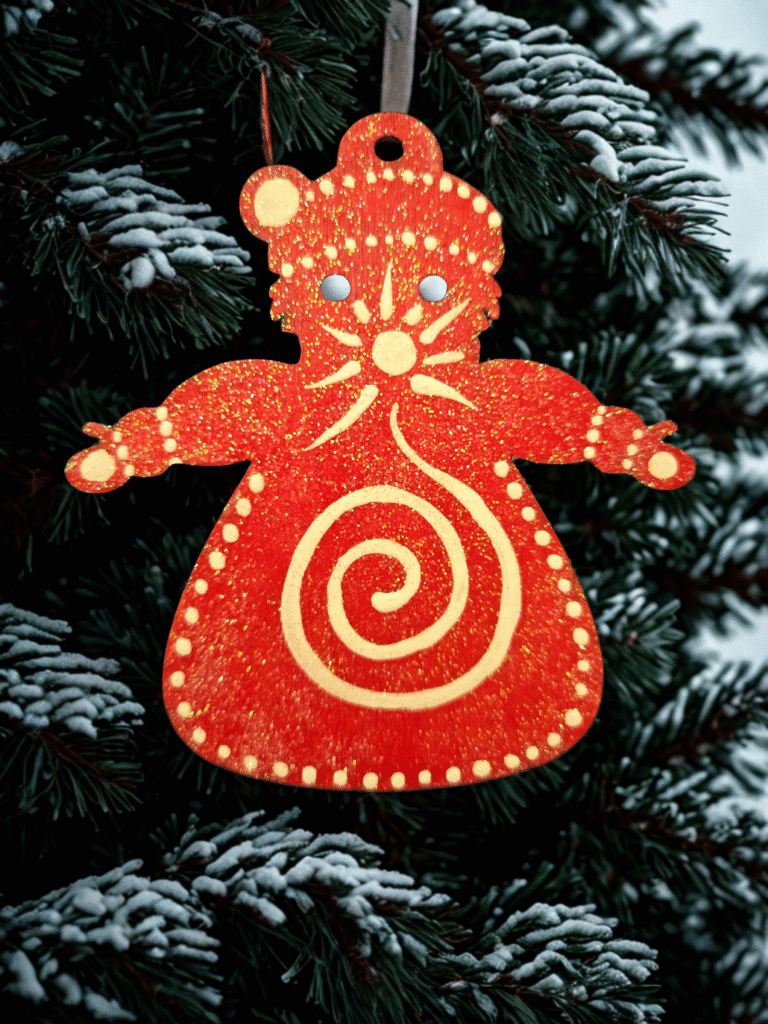
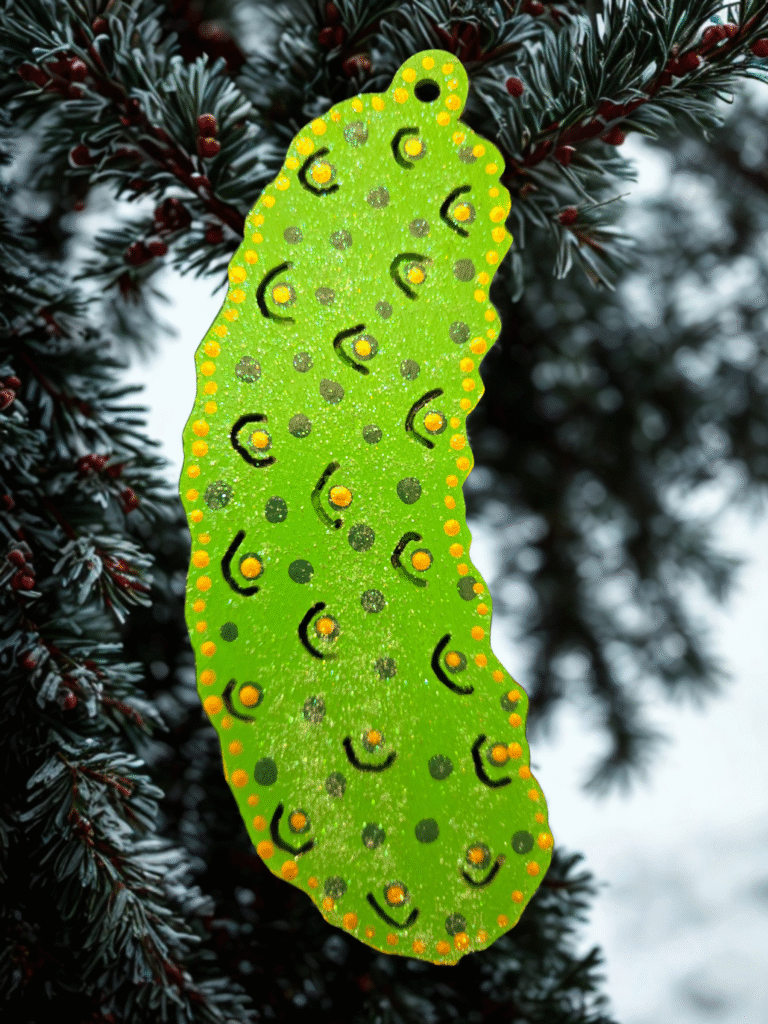
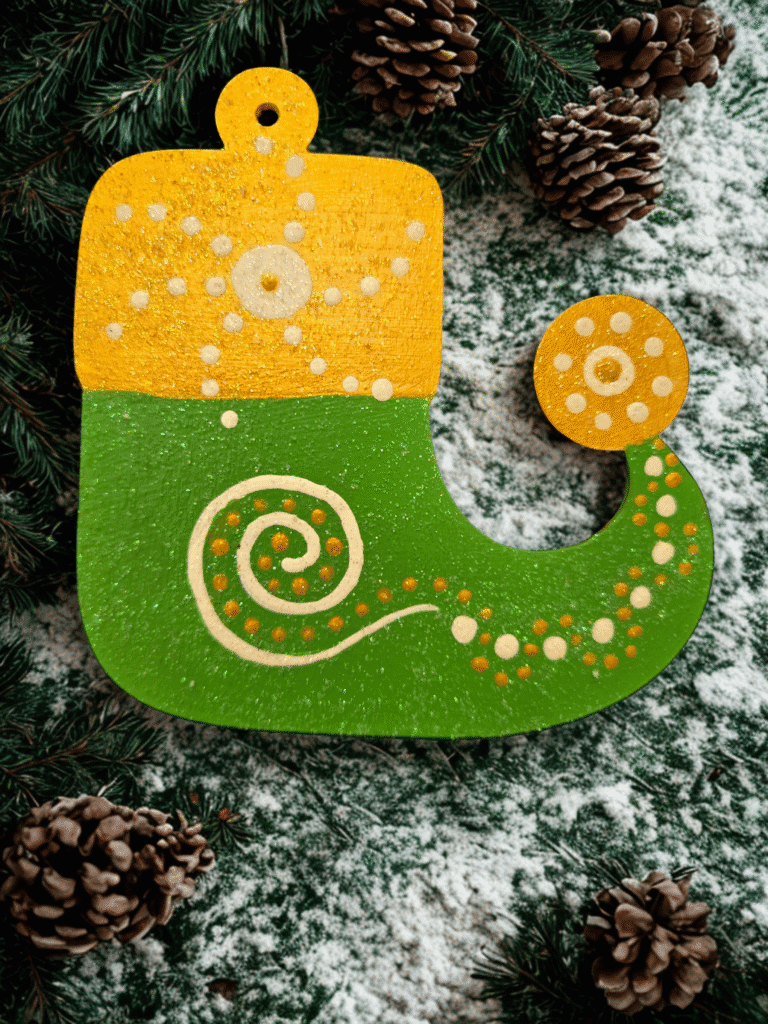
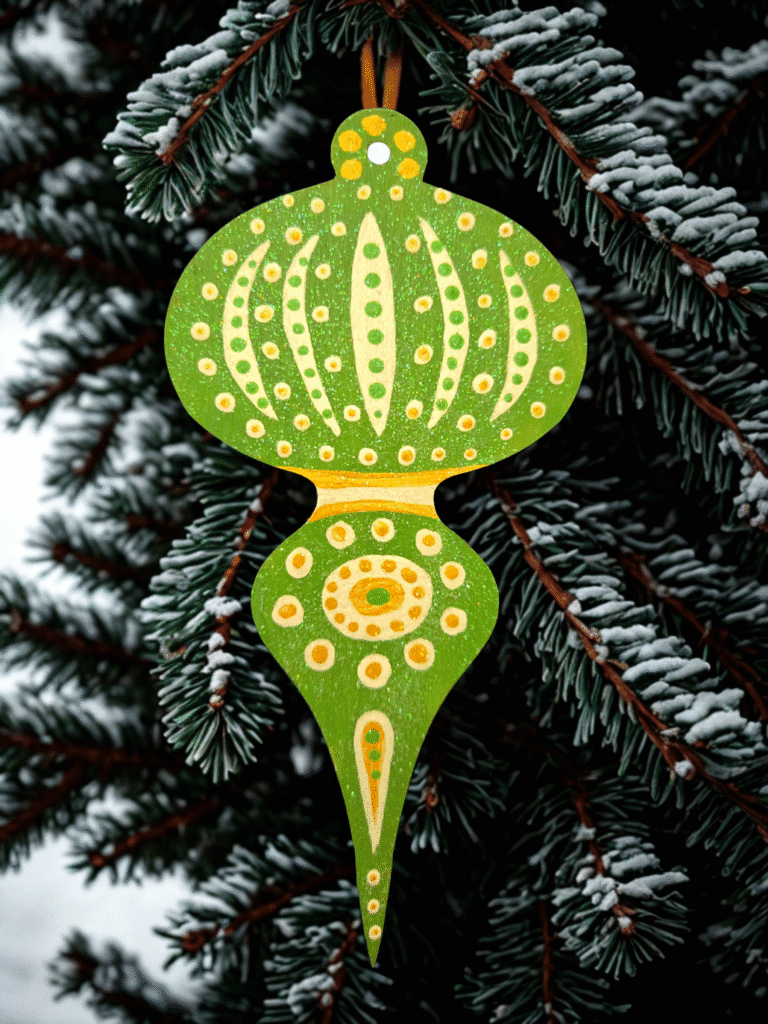
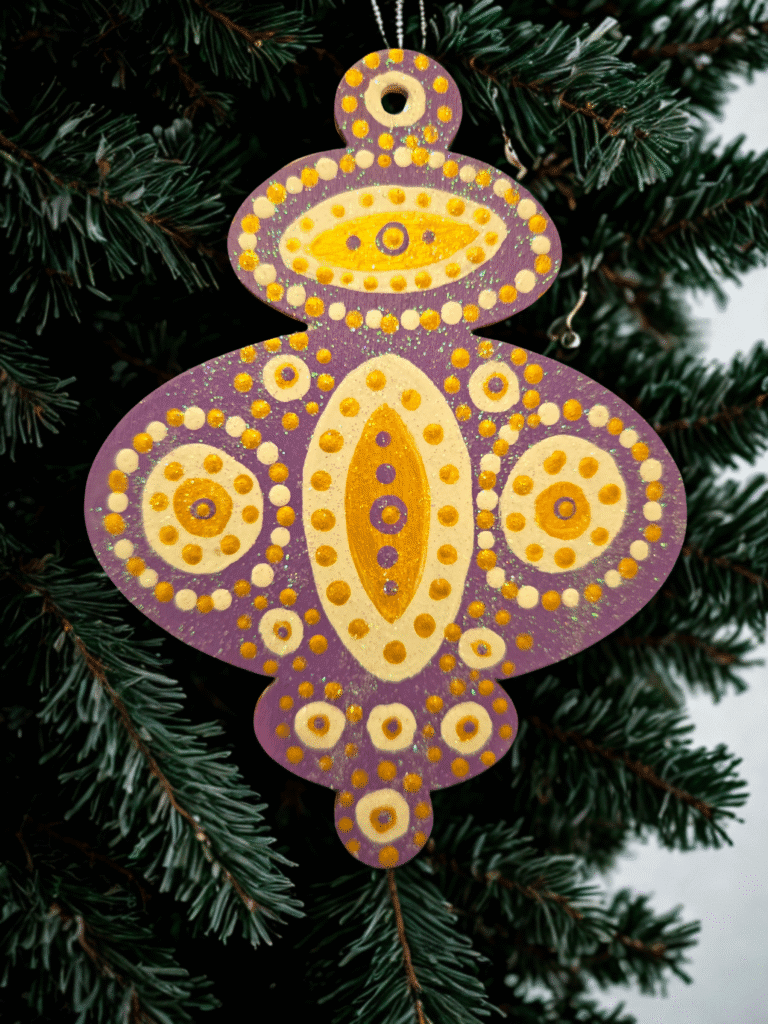
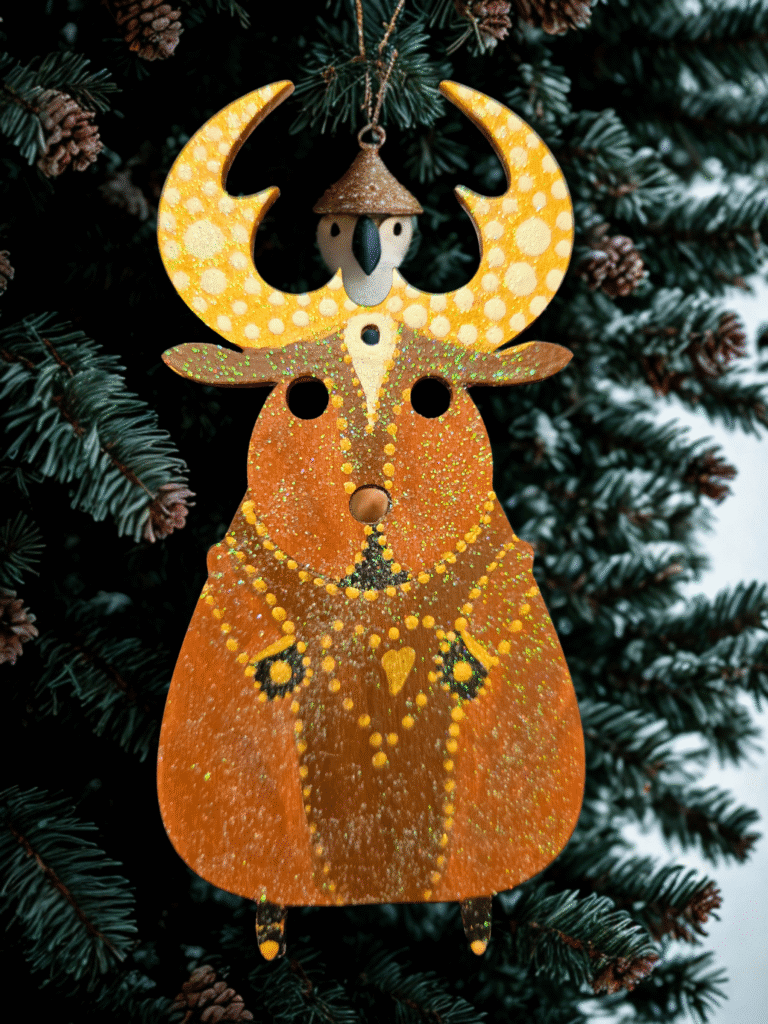
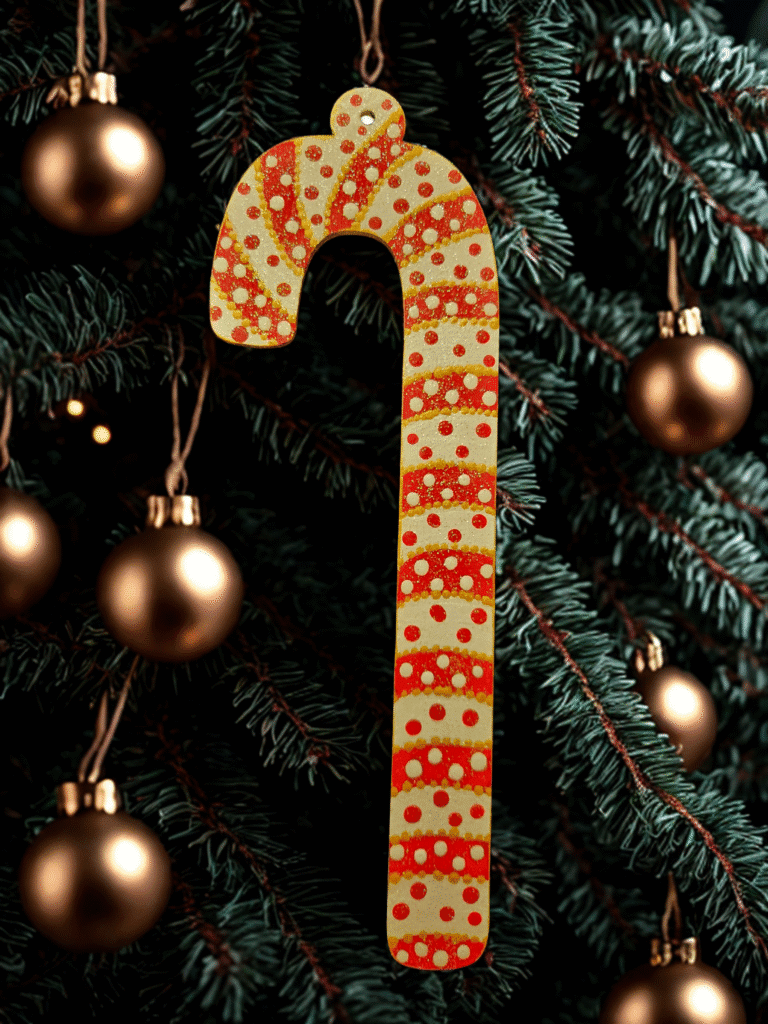
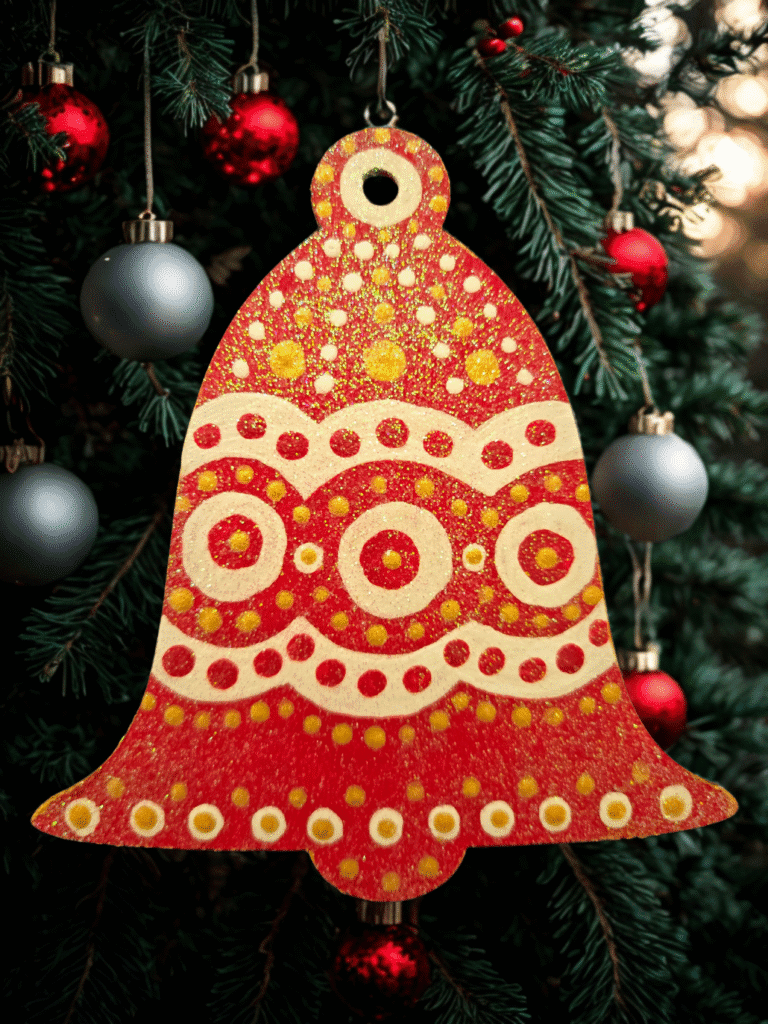
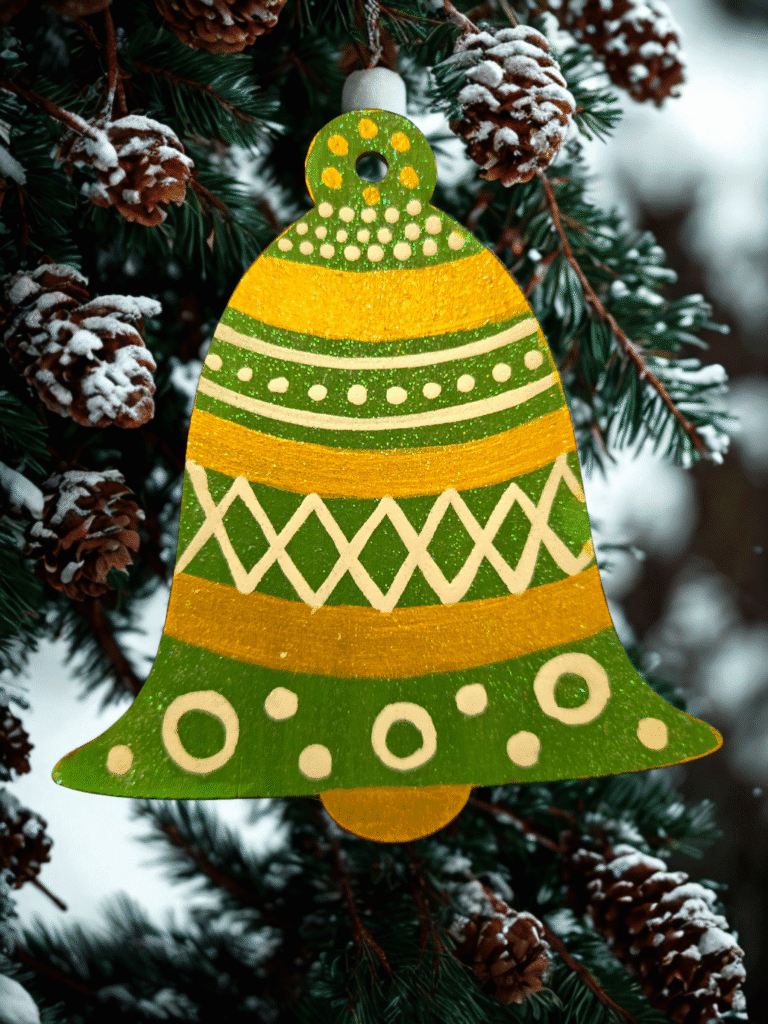
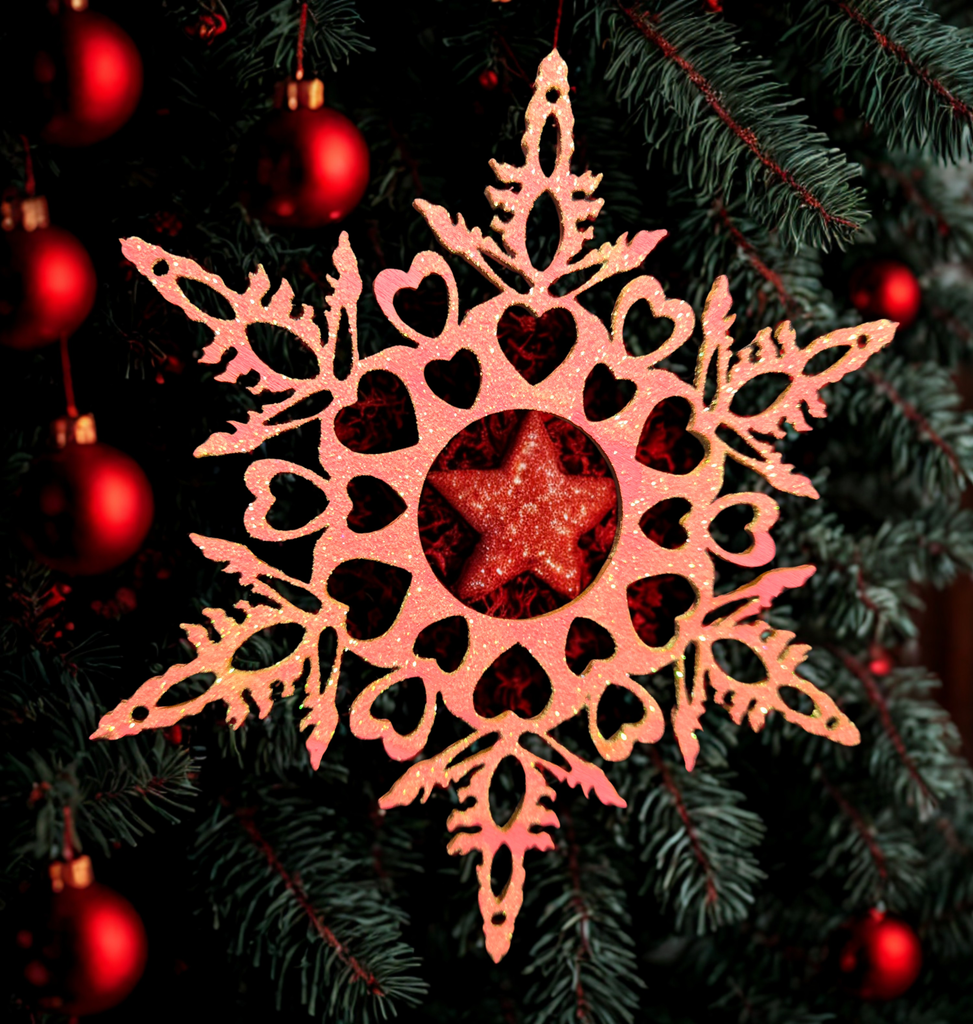
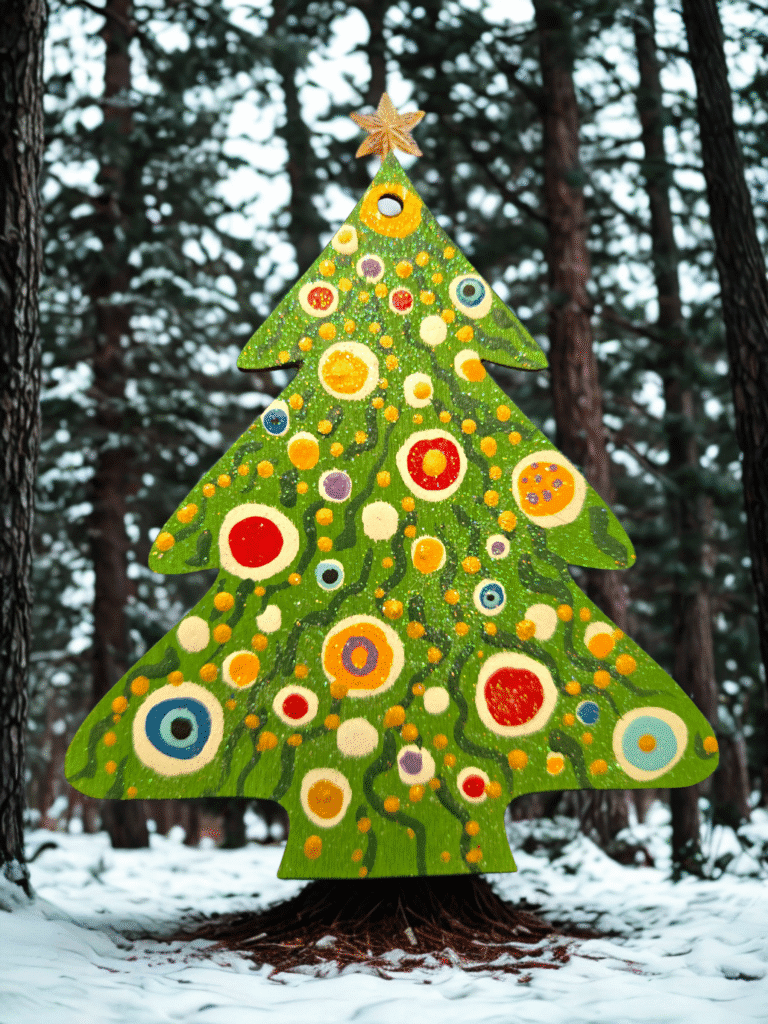

In the classroom, students can use acrylic paints, watercolor pencils, or markers to bring their ornaments to life. Add ribbon or string for hanging, and soon every window, bulletin board, or classroom tree will shimmer with one-of-a-kind student creations.
This activity encourages fine motor skills, color exploration, and individual expression, making it ideal for holiday craft days, art centers, or school fairs. The ornaments are sturdy enough to take home and hang year after year—turning a fun art lesson into a lasting family keepsake.
Here’s a teacher instruction guide and classroom setup tip sheet to go with your holiday-themed laser wood cut ornament collection project:
🎨 Holiday Ornament Classroom Craft Guide
(written by chatgpt)
Objective:
Students will paint and decorate wooden holiday ornaments to explore color, texture, and creativity while celebrating the festive season.
🧰 Materials Needed
- Laser wood cut holiday ornaments (1–3 per student)
- Acrylic paints or washable tempera paints
- Paintbrushes (small and medium sizes)
- Water cups and paper towels
- Markers or watercolor pencils (optional for fine detail)
- Glitter glue, sequins, or small embellishments (optional)
- String, yarn, or ribbon for hanging
- Table covers or craft mats
🪄 Setup Tips
- Prep Tables: Cover with paper or plastic cloths to make cleanup easy.
- Paint Stations: Set up small color trays or paper plates with red, green, white, blue, yellow, and metallics.
- Drying Area: Designate a flat space lined with wax paper or cardboard for ornaments to dry.
- Name Tags: Have students write their names on the back of each ornament with pencil before painting.
- Demo First: Show an example of a finished ornament and demonstrate how to use light paint layers.
✨ Classroom Activity Steps
- Introduction (5–10 minutes):
Discuss holiday traditions and the role of ornaments. Show examples of different shapes—trees, stars, snowflakes, animals, etc. - Painting Time (20–30 minutes):
Let students paint the main shapes first, then add detail layers like dots, stripes, or faces. - Decoration (optional, 10 minutes):
Once paint is dry to the touch, students can apply glitter, sequins, or stickers. - Finishing Touch:
Thread string or ribbon through the hanging hole. Students can take their ornaments home or hang them on the classroom tree or window. - Show & Share:
Host a short “gallery walk” where students admire each other’s ornaments and talk about their color choices.
💡 Teacher Tips
- Use washable paints for younger grades.
- Encourage individual expression—there’s no “right” way to decorate!
- Turn leftover ornaments into a holiday display mobile or classroom garland.
- Pair the activity with a short holiday story or music for added fun.