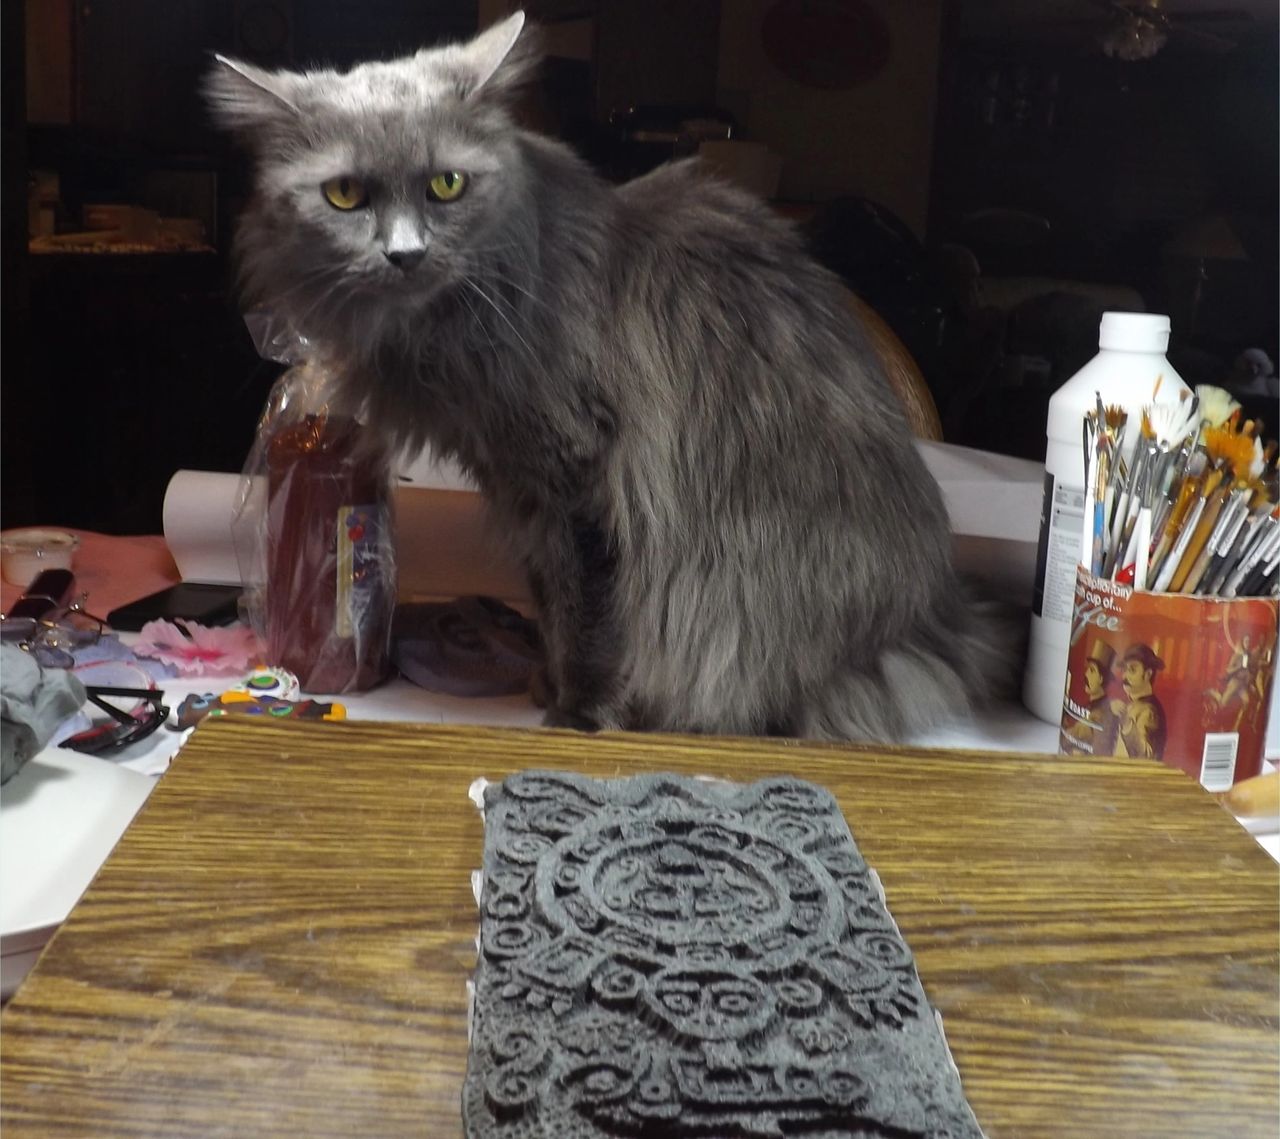
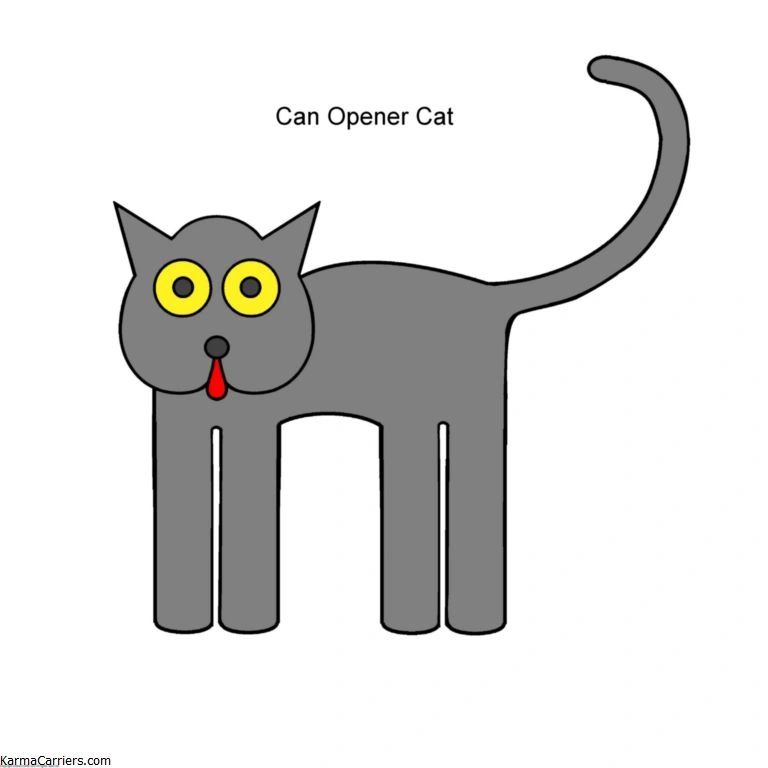
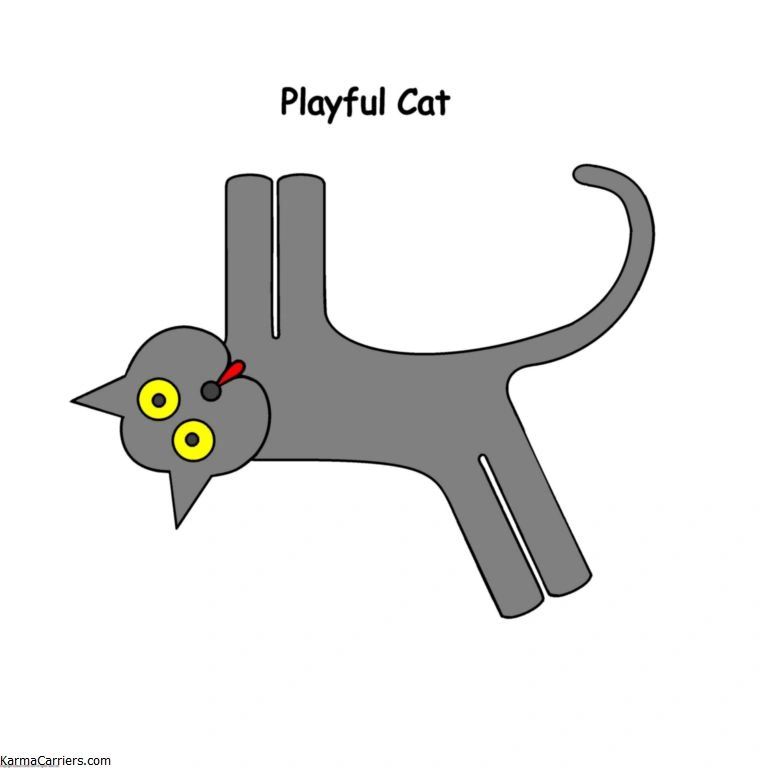
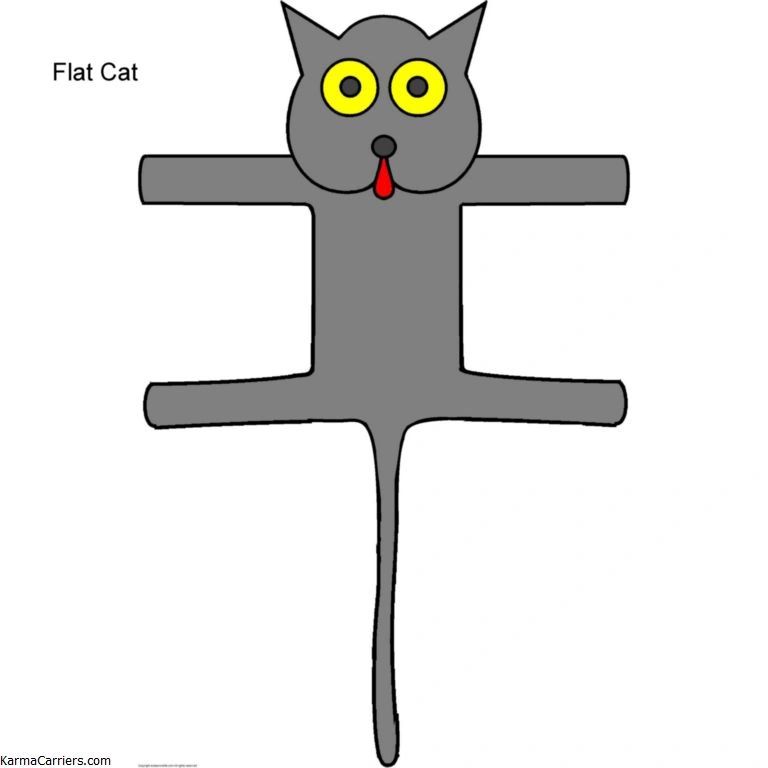
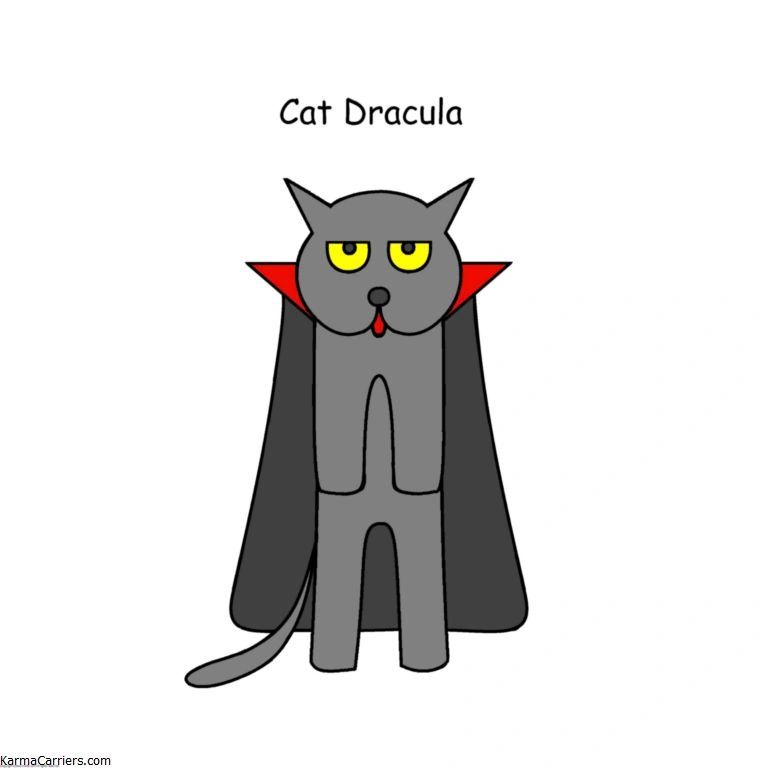
Sweetie Pie was an old grey cat that came to me somehow as a kitten. She was an indoor/outdoor cat who was an excellent mouser and survived bad neighbors, and dogs for nearly 20 years.
We had her spayed but when she was around 5 years old, we brought home a black kitten, named Little Girl, that she instantly took under her wing and taught everythig she knew.
She was the matriarch cat of the family and ruled with an iron paw.
When she died, I created a series of images to commemorate her existence. At first these were colorbook pages for children to print and color but eventually I began making Sweetie Pie paper mache ornaments.
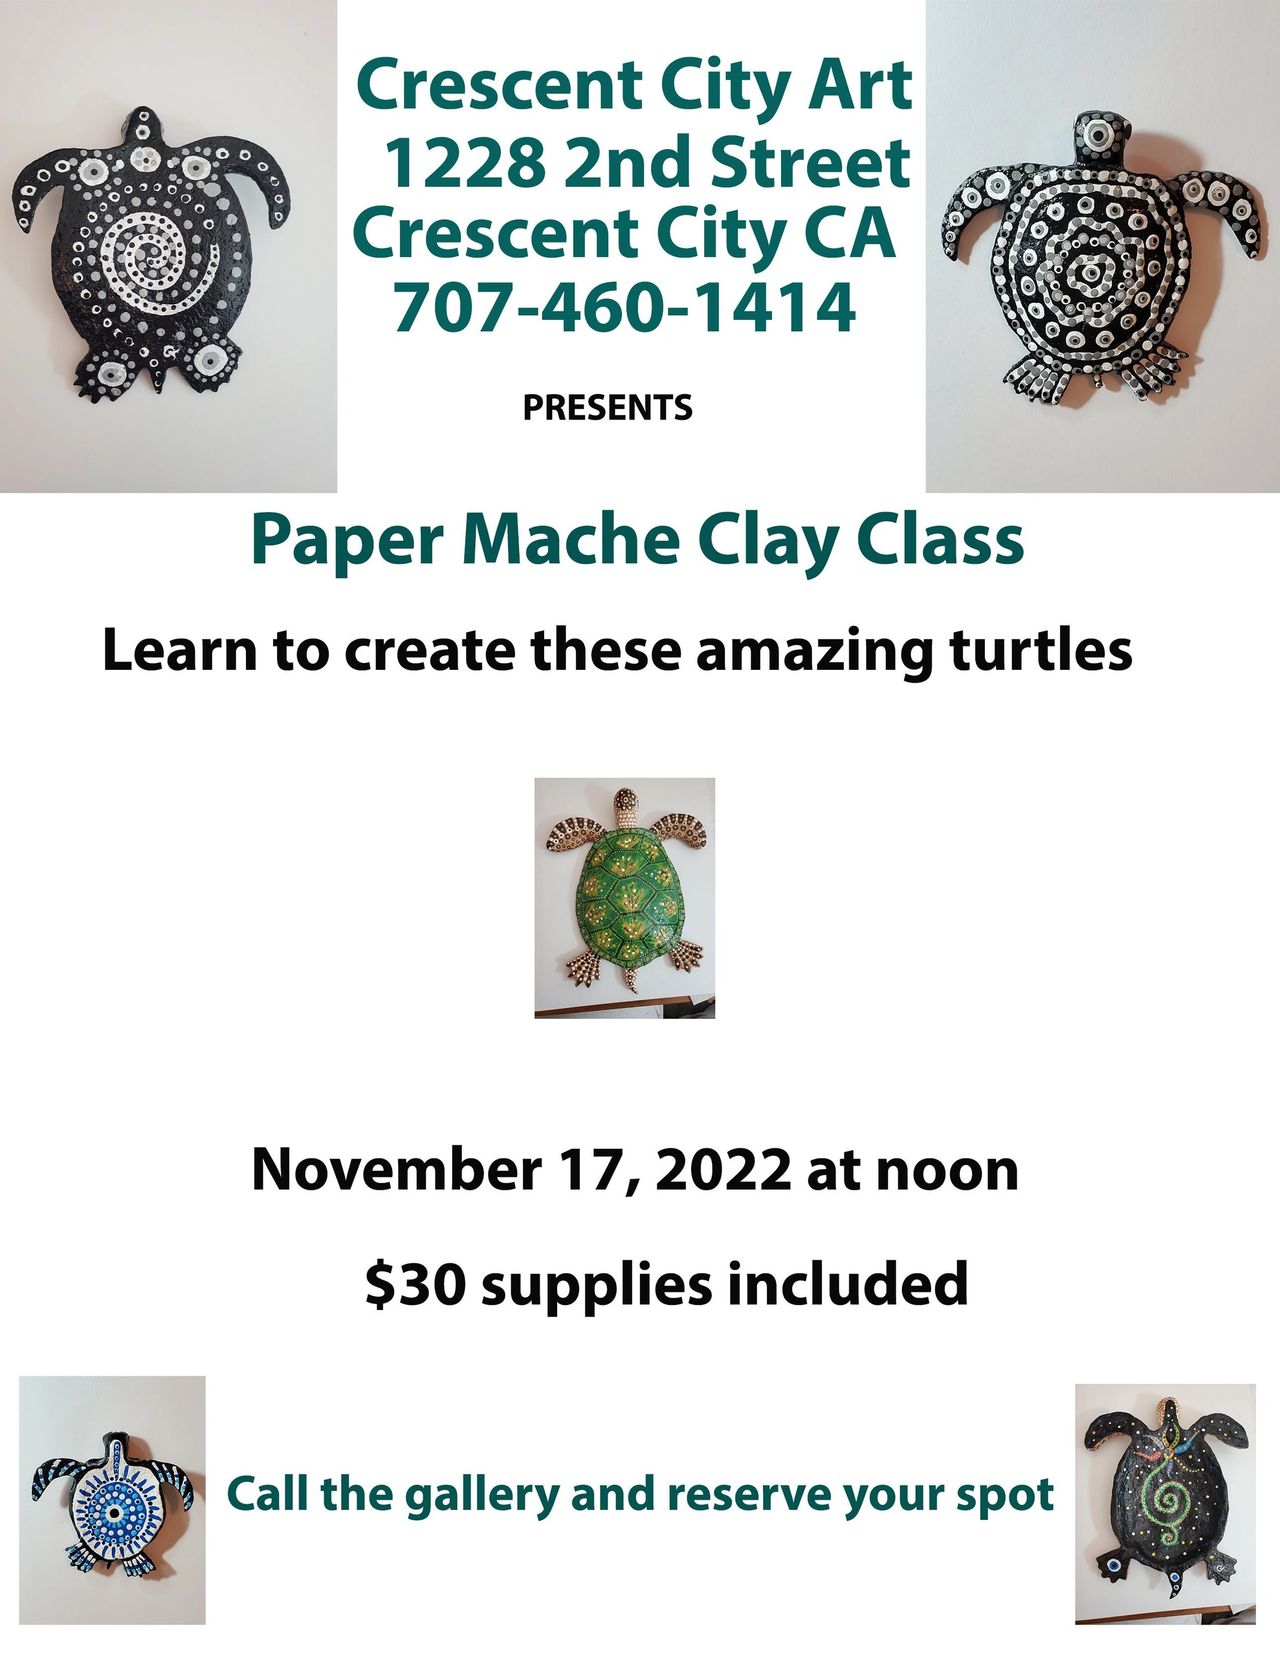
For this class I prepared a decent selection of baby turtle figurine silicone molds in various sizes from which to choose.
The largest mold for the class was around 4 1/2″ and the smallest was around 3″ nose to tail.
Original clay sculpture mini leatherback sea turtle
Original clay sculpture mini generic sea turtle
In setting up process
in setting up process
completed mini leatherback turtle silicon mold
Permenant plastic copy of mini sea turtle
permanent plastic copy of mini leatherback
Mini leatherback ready for demolding
Turtle size and shape chouces for the class
completed generic sea turtle mold
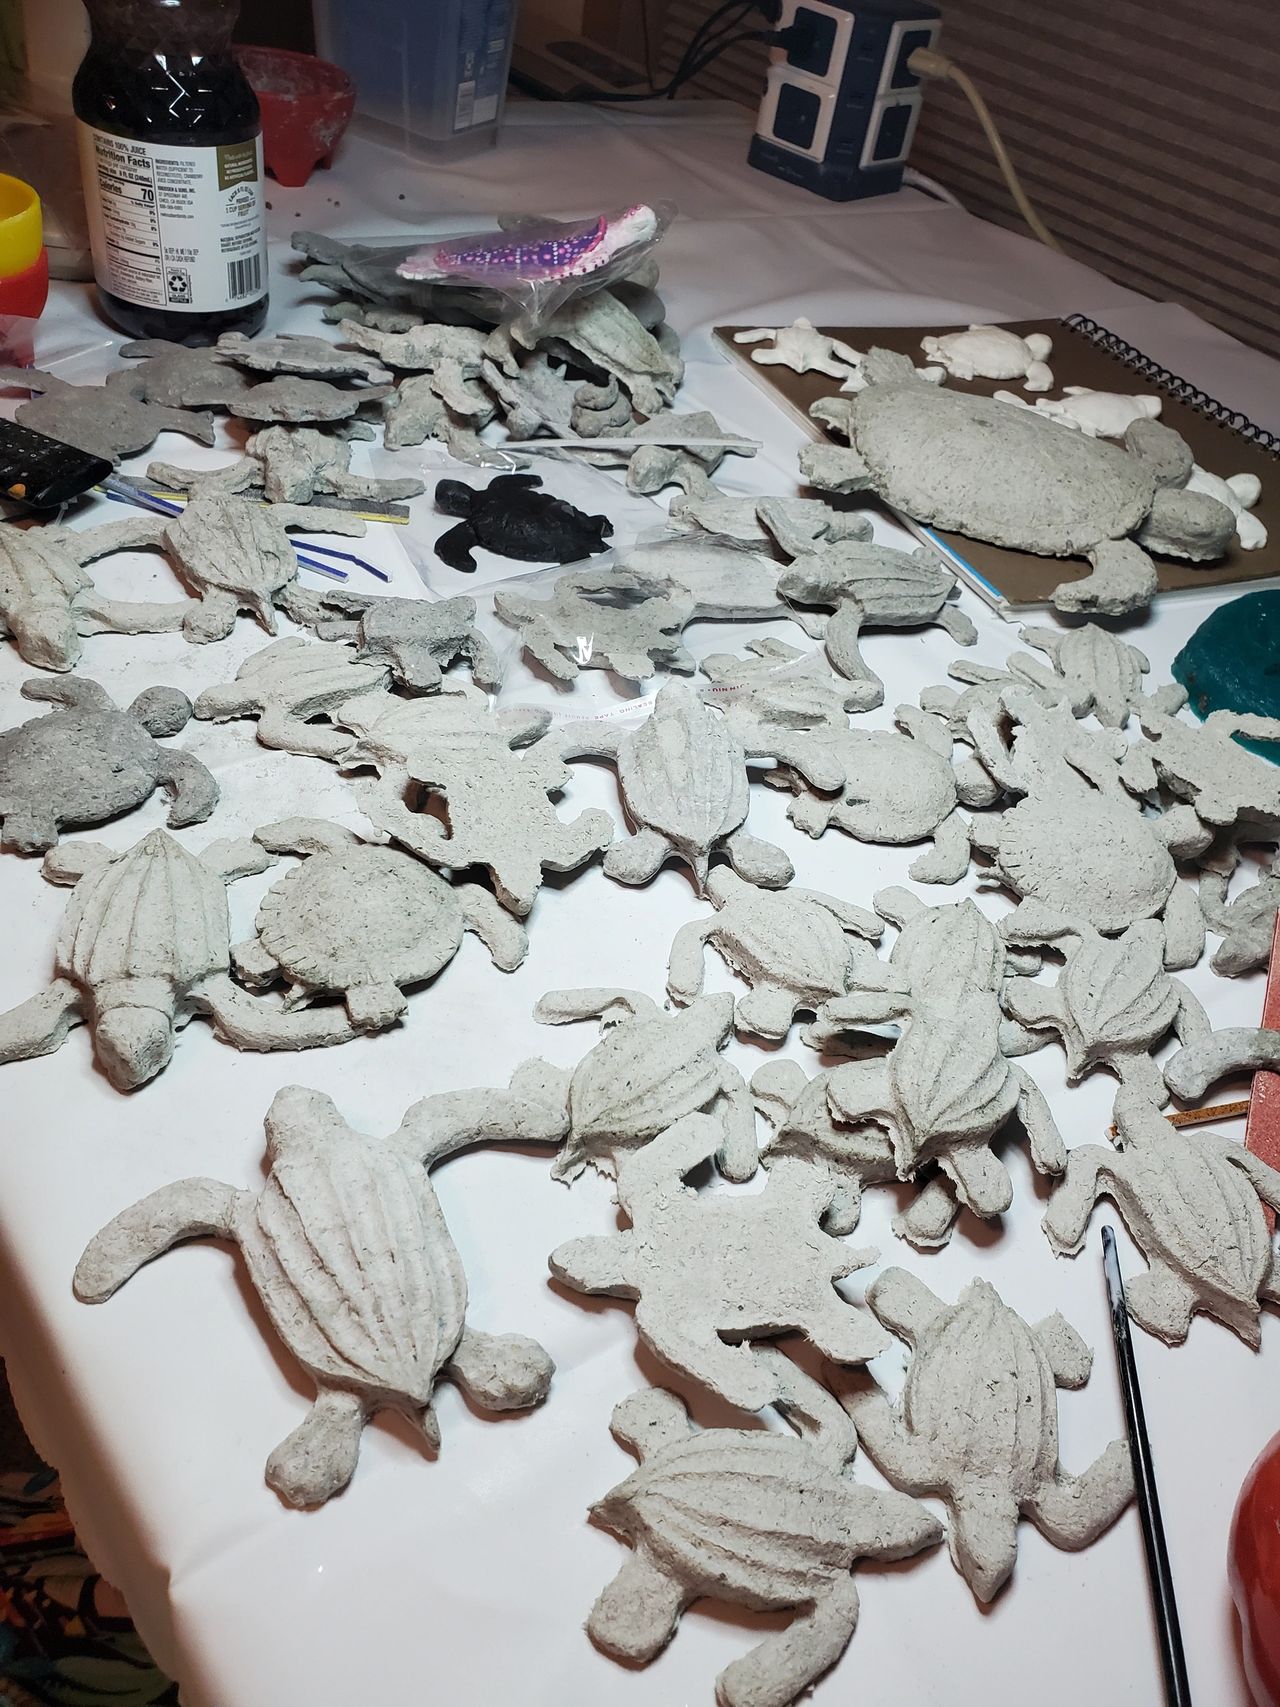
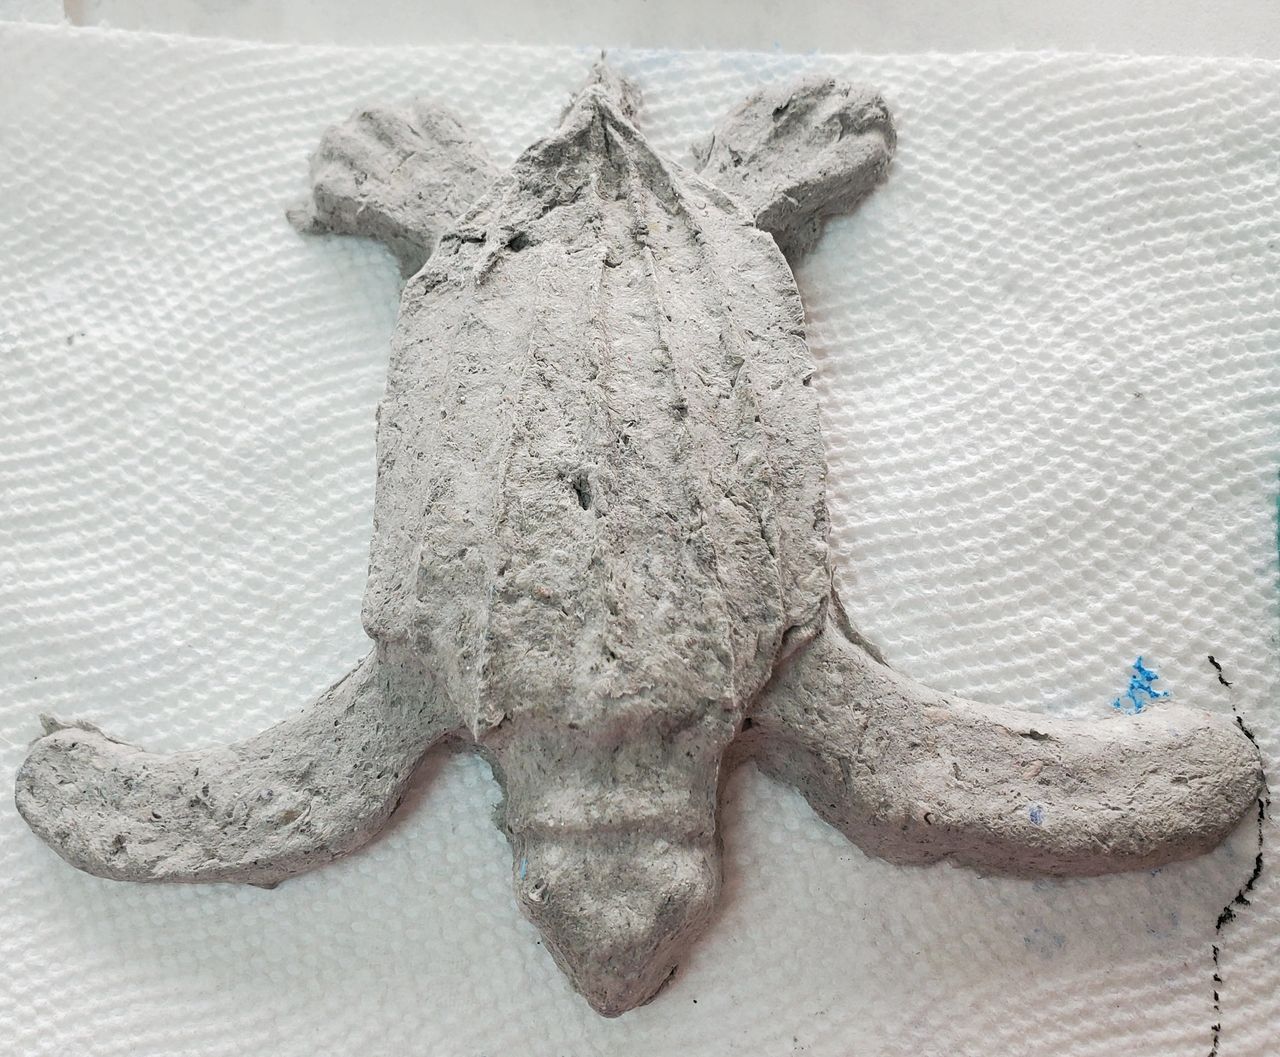
Mini leatherback cell-u-clay ready for sanding and painting
The plan:
1. provide more than enough celluclay to make one medium or two small turtles.
2. Provide ready made turtle figurines for sanding and painting.
Step 1.
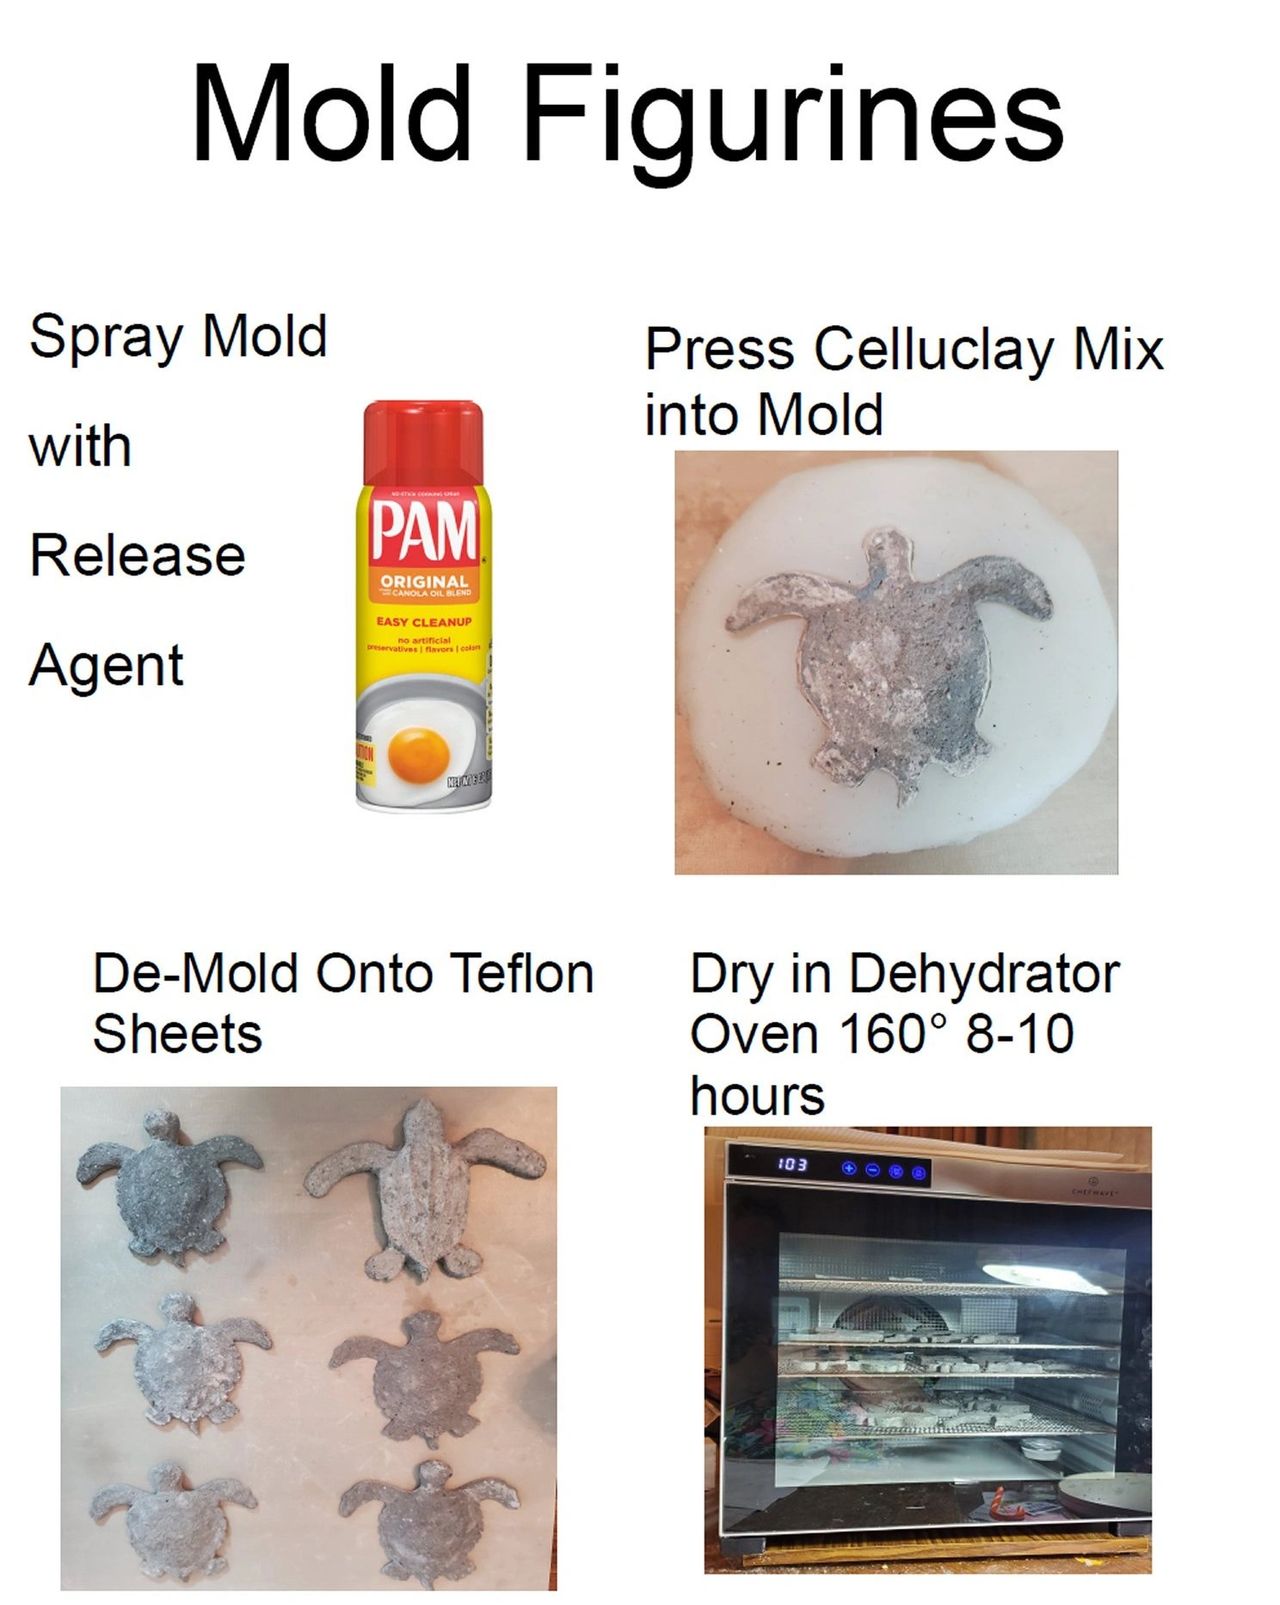
Take the students through the process of making the turtles.
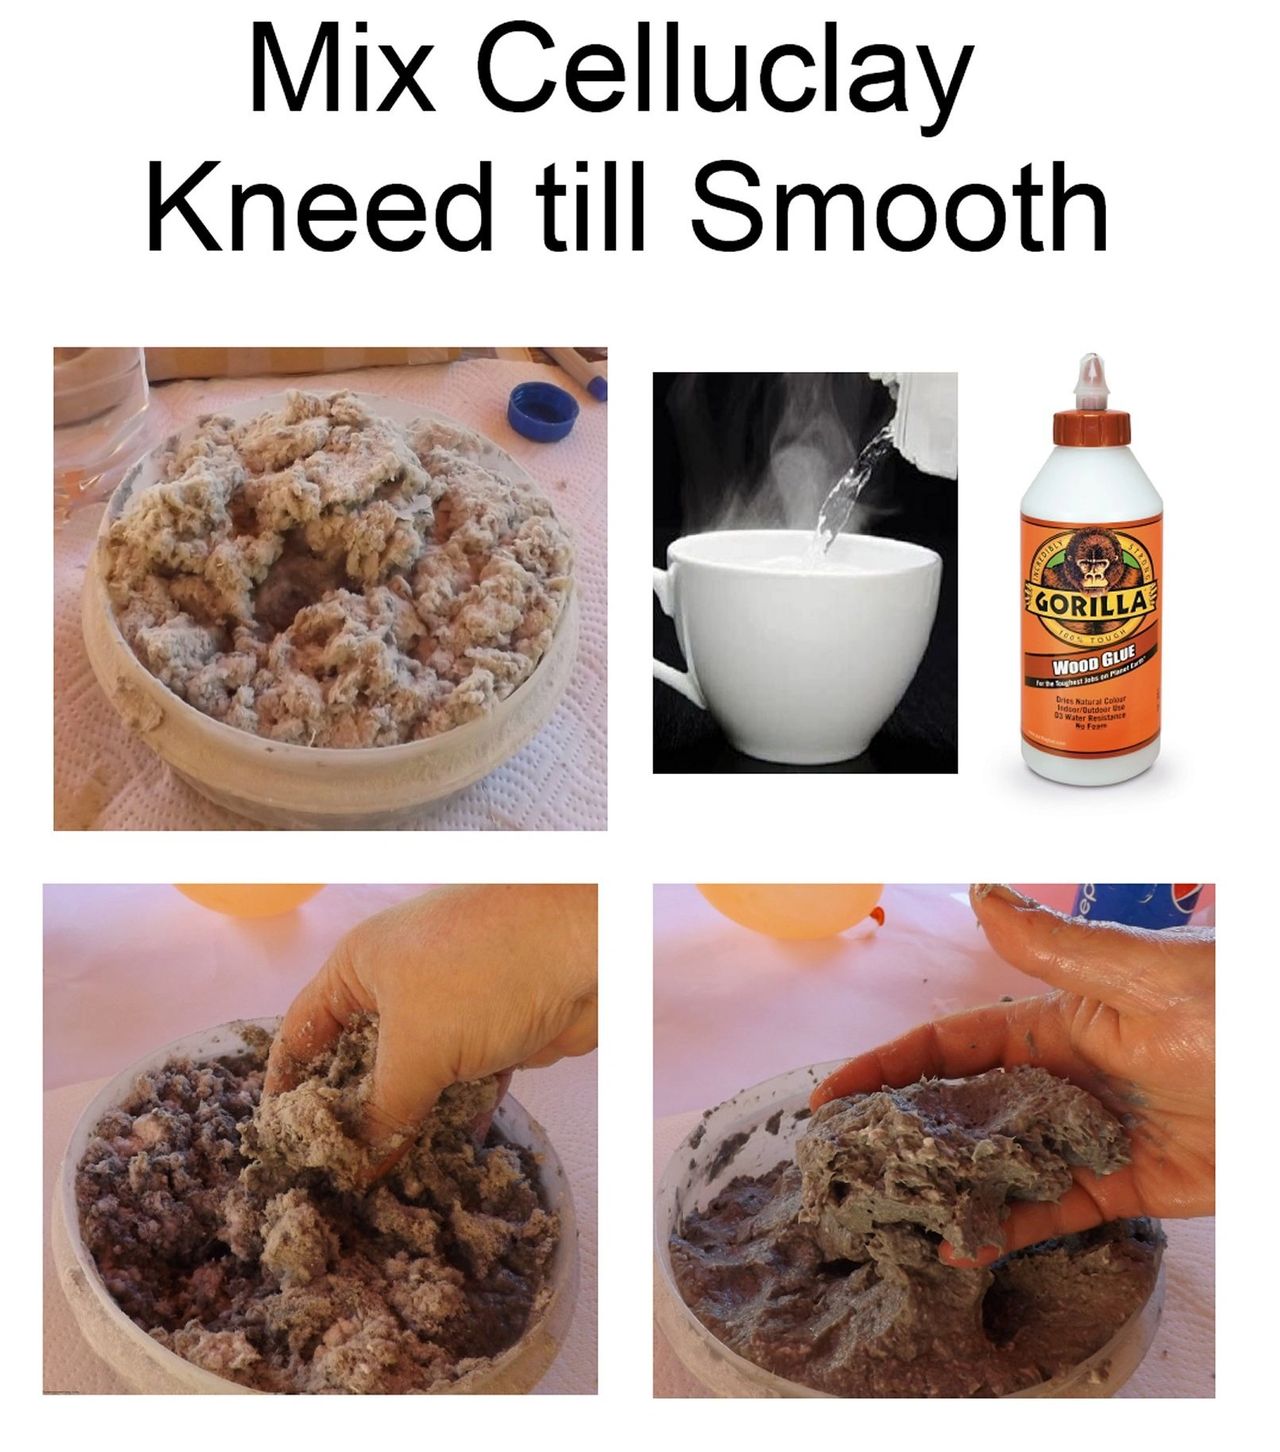
Mixing Celluclay,
Pressing the clay into pre-made silicone molds,
De-mold and touch up
Baking the figurines
Step 2.
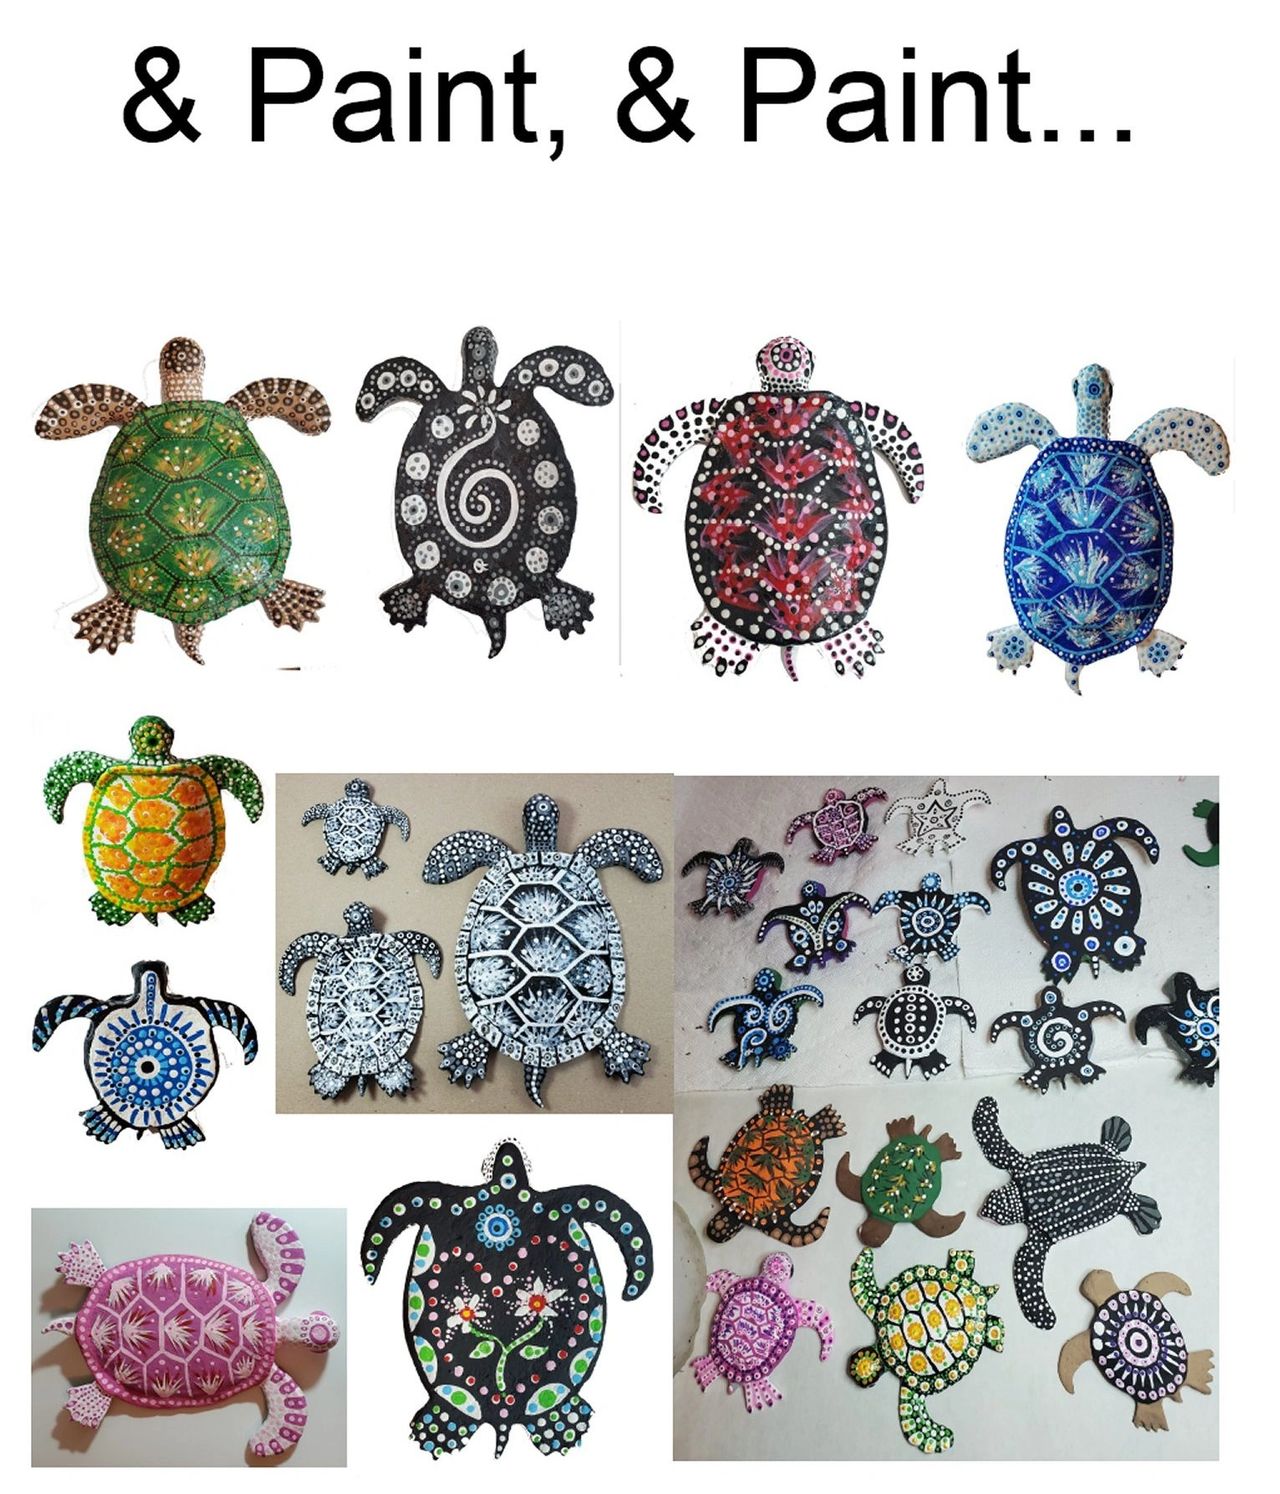
Break out premade turtles, acrylic paints and brushes and let students pick their favorites to decorate.
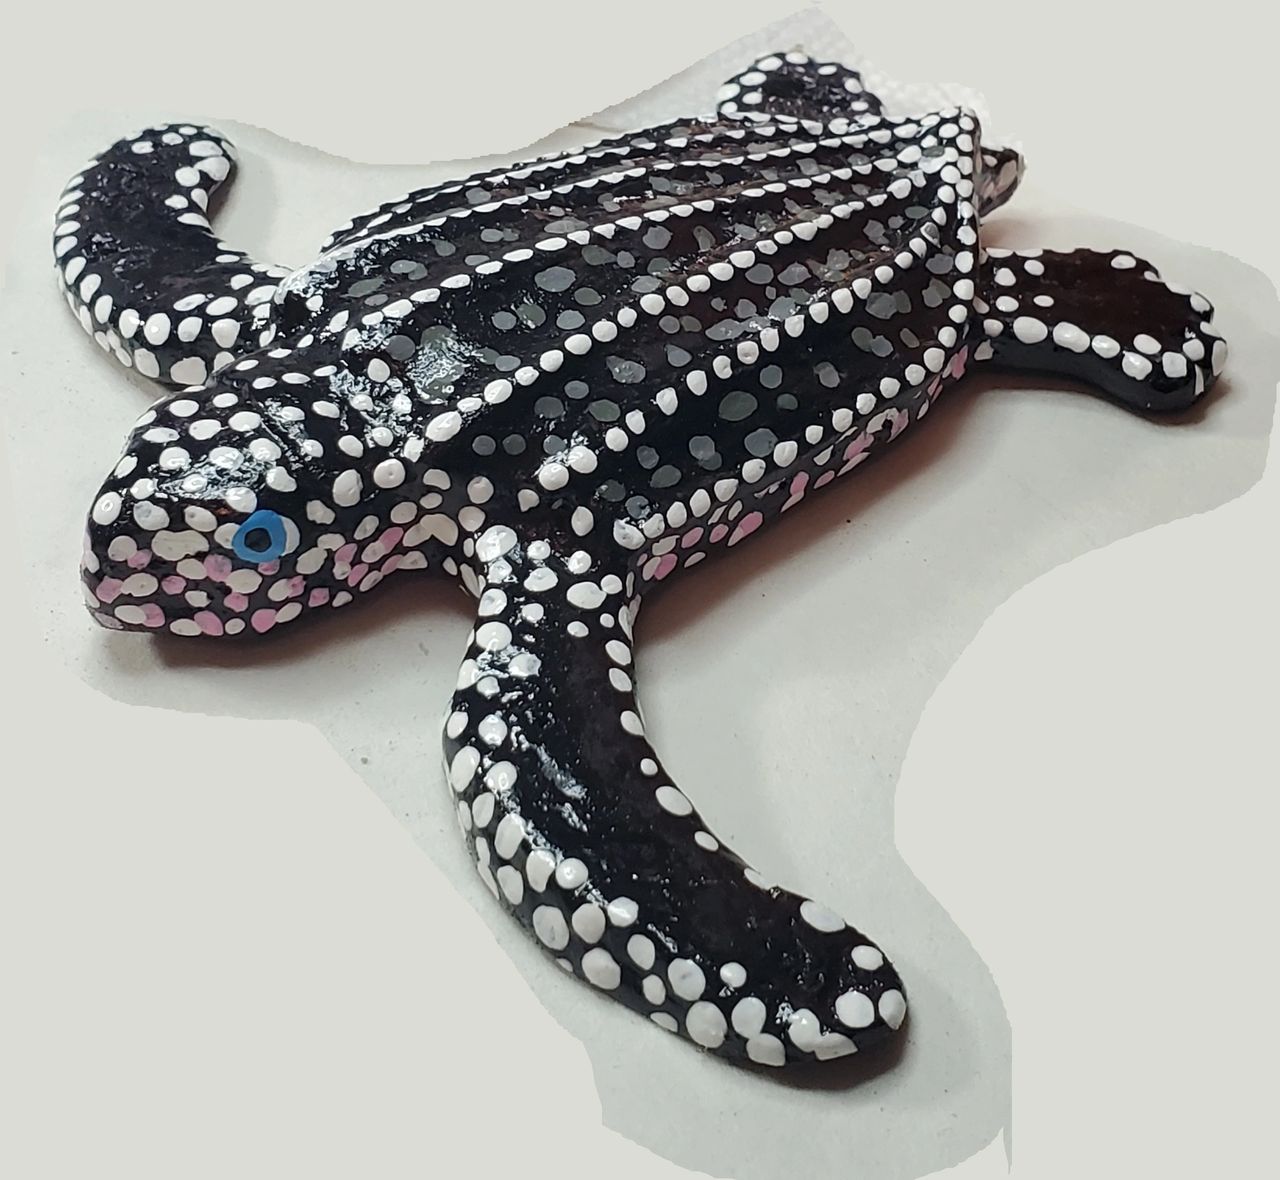
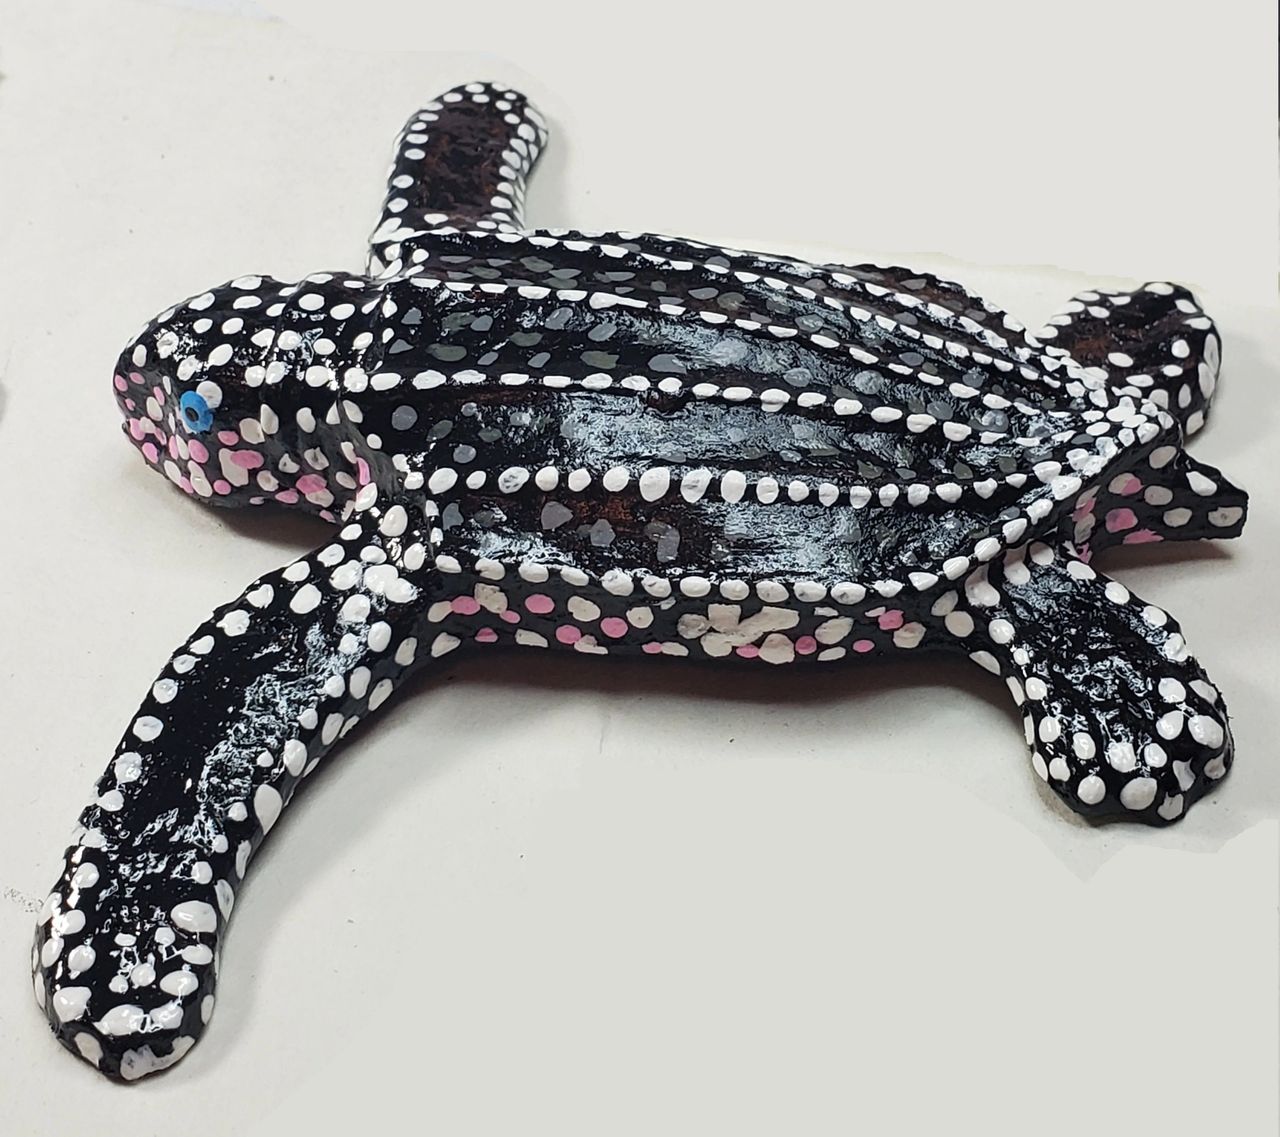
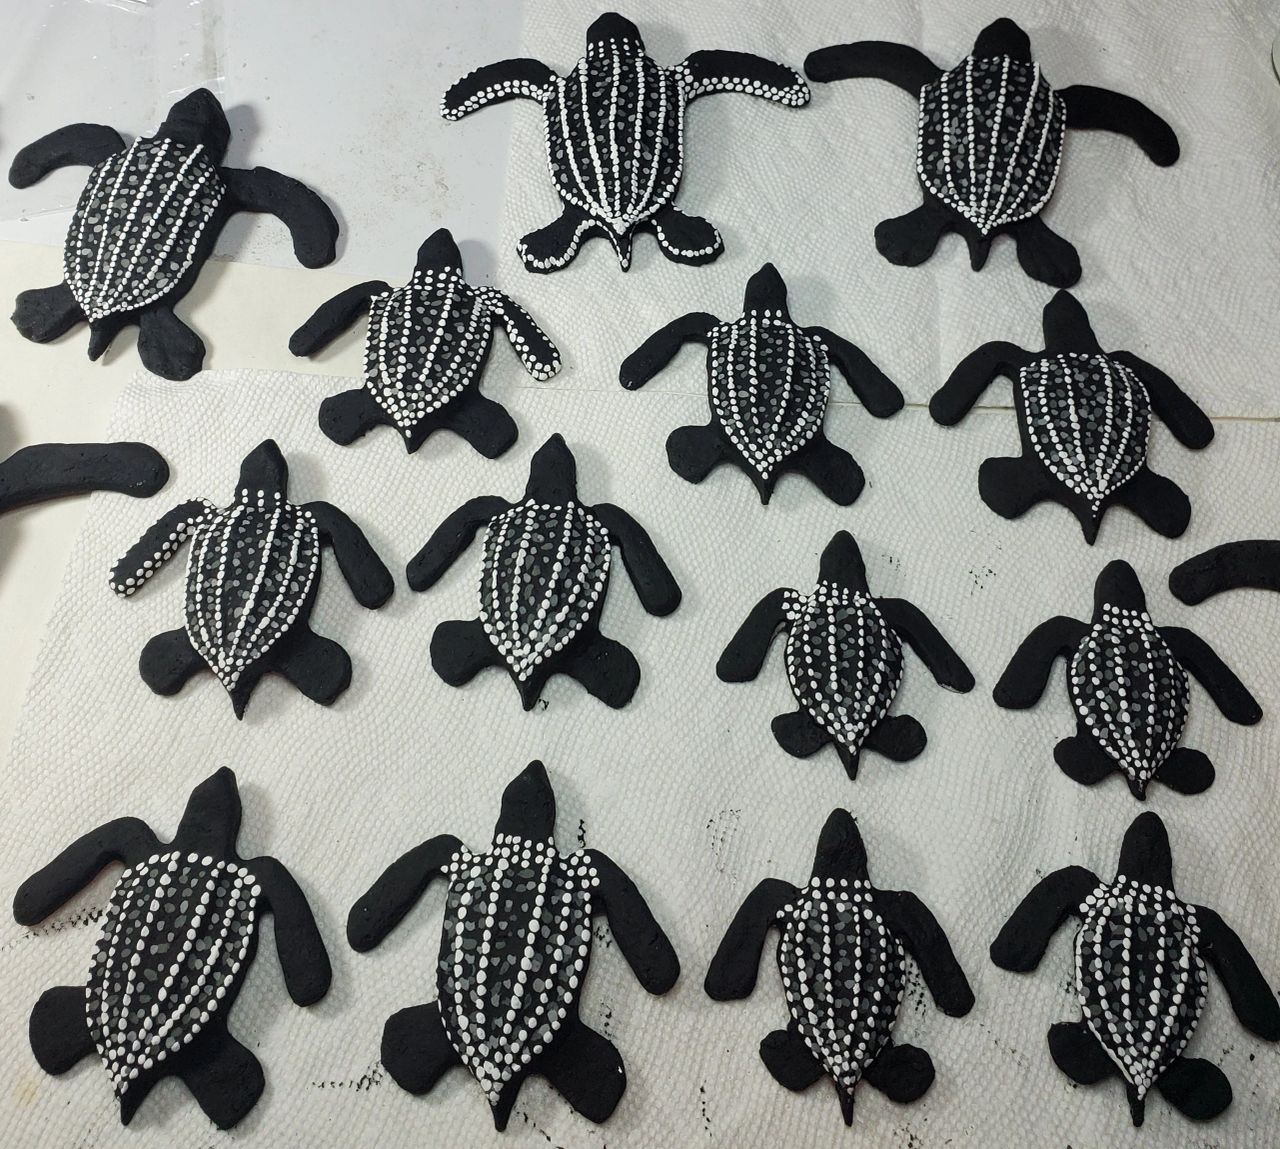
The product: Cell U Claythe toolsThe sculprures claythe unknown artistthe silicon moldsthe permanent copies for posterityhow to mix celluclaymolding prepsanding sticks and acrylic paintIdeas for paintingSome creative samples from the internetphotos of baby turtlescloseups of turtle headsA masterpiece
Prepare the silicone mold. Spray non stick oil or rub the mold with vasoline or a small amount of dish soap to allow easy release of the mix onto the baking or drying surface.
In this case, I use a food dehydrator and non-stick sheets. Smallest turtles take about 3 to 4 hours to dry thoroughly.
Larger molds can take 8 to 12 hours or more to dry.
When dry, Celuclay is extremely hard and duragbe, however once in a while a weak spot shows up after the mix has dried and something will snap off, usually in the sanding stage.
It’s all glueable at this stage, and usually nothing breaks again in such cases, but I like to add a table spoon or two of wood glue to the mix to make the figurine a bit stronger and less likely to have weak spots or break.
Every figurine needs a bit of sanding and preparation for painting. Sanding sticks come in very handy to reach tight spots the Dremel can’t touch.
Save some of the dust from the shavings. Mix this extra fine celluclay dust with a bit of water and use to fill in holes or fix imperfections. Allow to re-dry.
CelluClay works well with acrylic. I prefer Apple Barrel paints.
As for gloss, choose a clear gloss or matt finish. Clear Gorilla Glue makes an excellent water resistent sealent.
It is not necessary to make hard copies of the clay models but eventually the silicone molds break, so if you like a design, make a couple of hard copies for posterity.
How to sculpt, mold and decorate a paper mache sea turtle
In anticipation of teaching a class this month on how to make, bake and paint sea turtles using the Activa product CellUClay, I put together a tutorial that should explain the step by step process.
The first step is to create a figurine or sculpture to use as a mold.
I like to use polymer, non-drying clay to sculpt masks, ornaments and, yes, turtles. I’ve found it handy to set my little bucket of clay next to the foot warmer so the clay is always soft and plyable.
These were my first attempt at baby sea turtle sculptures. They are fairly large as baby sea turtles go, so I kept on trying to get smaller and smaller models.
Success.
I now have three sizes of Leatherbacks. The smallest one is about 2′
Size Matters
The challenge is to make a baby sea turtle that will cook and dry in an oven within a few short hours. Larger paper mache molds can take up to 12 hours to dry.
I like to make permanent casts of the clay sculptures to use as back ups. Eventually the silicone molds break. Having a backup copy is good.
Plus, when grandkids visit I’ve got a bucket of creatures for them to play with.
To make a clay model you must have a good selection of clay tools.
I find the blue tools with various sized metal balls quite handy for smoothing out surfaces.
Once you are satisfied with your clay model, prepare it for molding.
I use polymer clay to form the walls of my models simply because it saves a few bucks and the process doesn’t seem to affect the clay.
Spray the clay with a dusting of non-stick spray or vasoline to make de-molding easier once the mold sets.
Follow the instructions on the silicone mixtures. Slowly cover the clay model with the well-mixed resin to at least 1/4 ” over the highest point. Wait the appropriate length of time before demolding.